How to Insert a Drill Bit: Keyless and Keyed Chucks
Open the chuck, seat the bit straight, tighten evenly, and check the spin before you drill.

On this page
Top picks at a glance
As an Amazon Associate I earn from qualifying purchases.
- 1
 GMTOOLS 29PCS Drill Bit Set9.7/10View on Amazon
- 2
 Drill America 29 Piece Cobalt Stepped Point Drill Bit Set in9.7/10View on Amazon
- 3
 Axelord 29Pcs Cobalt Drill Bit Set9.6/10View on Amazon
Learning how to insert a drill bit comes down to opening the chuck, seating the bit straight, and tightening the chuck evenly around the shank. Get those moves right and the bit spins true; get them wrong and the bit wobbles, slips, or snaps. This guide walks through the moves for keyless and keyed chucks, plus how to check the bit before you drill.
This guide links to our product roundups, where WeldGearLab gets a commission on purchases made through links on this page, and your price stays the same. Read our affiliate disclosure.
Before you start: how to insert a drill bit
Unplug the drill or pull the battery before you touch the chuck. A drill that starts while your fingers are on the chuck can spin the bit into your hand. Set the drill on the bench with the chuck pointing away from you, and pick a bit with a shank the chuck can grip: a round shank or a hex shank both seat in a standard three-jaw chuck, while a quick-change holder takes hex shanks only. Wipe the shank clean so grit cannot keep the jaws from gripping.
Keyless chuck, step by step
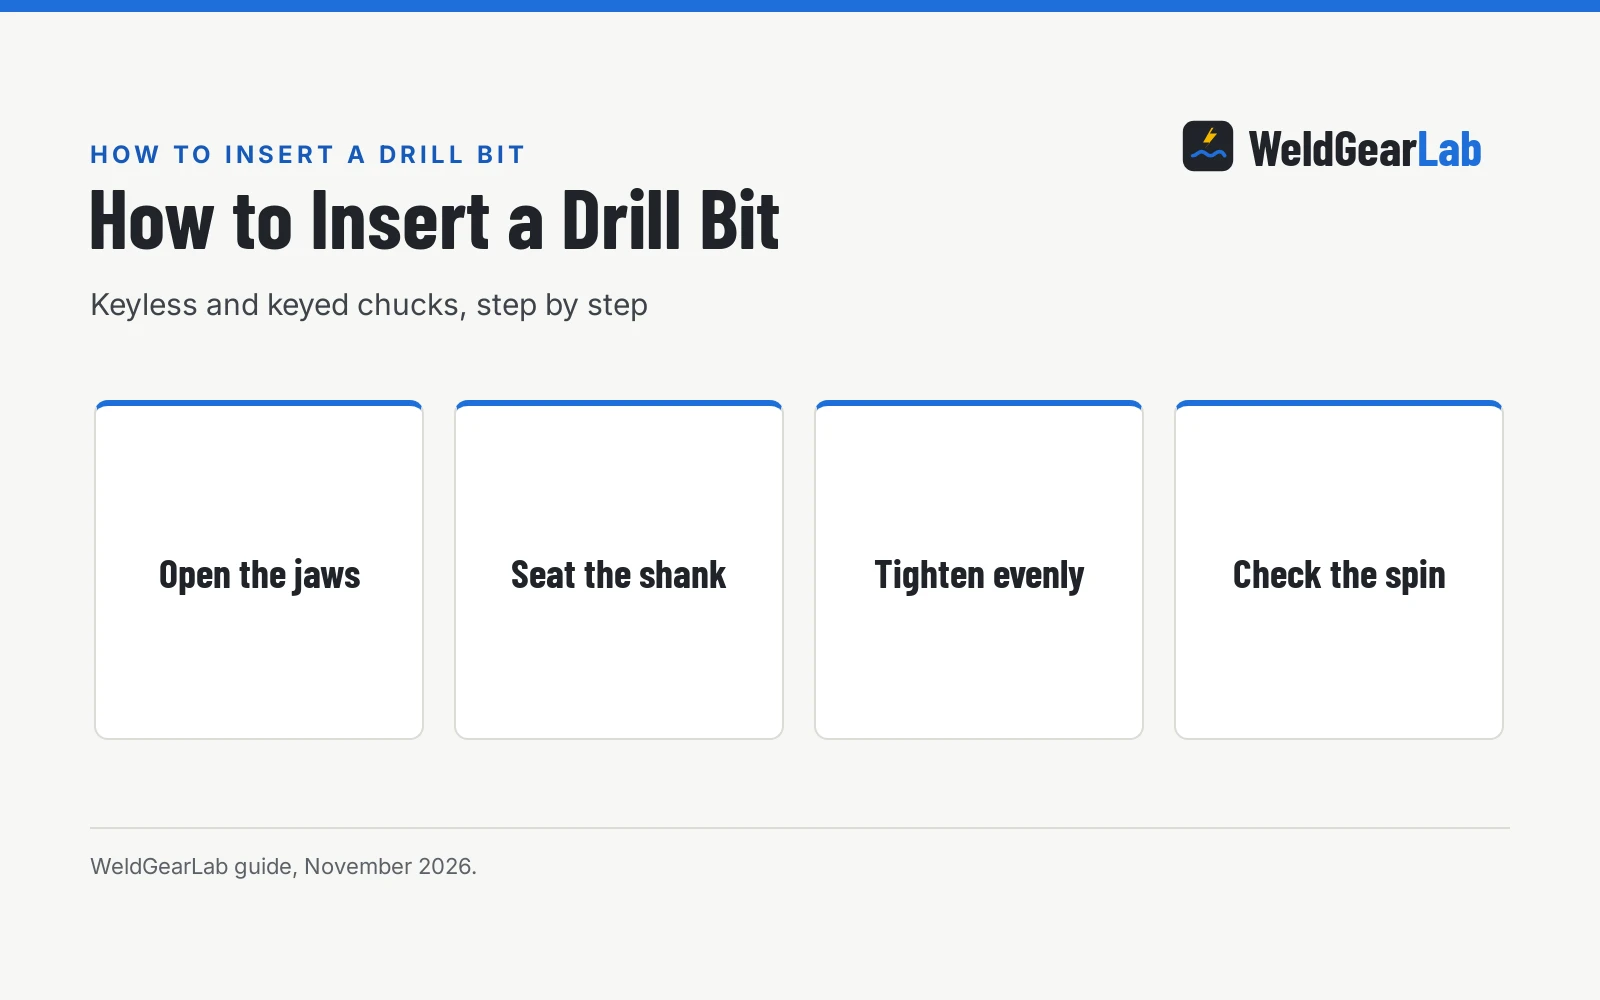
- Open the jaws. Hold the back of the chuck still and turn the front sleeve the way that opens the jaws, until the gap takes the shank with room to spare.
- Seat the bit. Slide the bit straight into the chuck until the smooth shank is in as far as it goes and the flutes stay outside the jaws. A bit that sits crooked will wobble.
- Tighten by hand. Hold the back of the chuck still and turn the front sleeve the way that closes the jaws, until the jaws grip the shank all around. Give the sleeve a firm final twist by hand.
- Check the spin. Hold the drill with the bit pointing away from you and spin the chuck slowly by hand, watching the tip. A true bit stays on center; a wobbling tip means the bit is not seated straight, so loosen the chuck and seat it again.
Keyed chuck, step by step
- Open the jaws with the key. Fit the chuck key into the hole in the chuck body and turn it until the jaws open wide enough for the shank.
- Seat the bit. Slide the bit straight in until the smooth shank seats and the flutes stay outside the jaws.
- Tighten with the key. Turn the key until the jaws grip the shank. If your chuck has more than one key hole, move the key to the next hole and tighten again, working around the chuck so the jaws close evenly; a chuck with a single hole needs only that hole.
- Check the spin. Spin the chuck slowly by hand and watch the tip, just as with a keyless chuck. Pull the key out of the chuck before you switch the drill on: a key left in the chuck flies out when the drill starts.
Side by side
| Keyless chuck | Keyed chuck | SDS chuck | |
|---|---|---|---|
| How it tightens | Hand twist on the sleeve | Chuck key in the body | Push in until it clicks; pull the collar back to release |
| Changing bits | Fast, no key to lose | Slower, key needed | Fast, made for hammer drills |
| Grip | Hand-tightened; grip varies by chuck | Key gives extra tightening leverage | Built for hammer drilling |
| Common on | Cordless drills | Drill presses | Rotary hammers |
Keyless chucks are common on drills that change bits often, and keyed chucks are common on drill presses, though either type can appear on either tool. Either chuck holds a bit well when the shank seats straight and the jaws close evenly.
Check the bit before you drill
Look at the bit before you switch the drill on. The shank should sit straight in the chuck with the flutes clear of the jaws, and the jaws should grip the shank all around with no gap showing on one side. Spin the chuck slowly by hand and watch the tip: a bit that runs true stays on center, while a bit that wobbles needs seating again. A dull bit or a chipped tip cuts badly no matter how well it seats, so swap it for a sharp one. See our best drill bit for stainless steel metal guide when the work calls for a fresh bit, and our best drill chuck guide when the chuck itself is the problem.
When the bit slips or wobbles
A bit that slips under load usually has a dirty shank, worn jaws, or a chuck that was tightened unevenly. Clean the shank, seat the bit again, and tighten at each hole on a keyed chuck or give the sleeve a firm final twist on a keyless chuck. A bit that wobbles is often seated crooked: loosen the chuck, push the bit in straight, and tighten again. A bent bit or a worn chuck can wobble the same way, so swap the bit if reseating does not help. If the chuck still will not grip, the jaws may be worn and the chuck may need replacing. See our how to clean rusty drill bits guide for bits that have sat in a damp shop.
How to remove a drill bit
Removing a bit is the same job in reverse. Unplug the drill or pull the battery, open the chuck until the jaws let go, and pull the bit straight out. On a keyed chuck with more than one key hole, loosen at each hole in turn so the jaws open evenly. Put the bit back in its case or rack so the cutting edges stay sharp and the next bit is easy to find. See our drill index sizes guide for keeping a set in order.
Drill press and chuck safety. Wear eye and face protection when you drill, clamp the work to the table instead of holding it by hand, and keep gloves away from rotating parts. Make sure guards are in place before you switch the drill on, and keep the chuck key out of the chuck when the drill runs. See the OSHA machine guarding guide.
FAQ for welders
How do I change a drill bit?
Open the chuck, pull the old bit straight out, seat the new bit with the shank in as far as it goes, and tighten the chuck evenly. On a keyless chuck, tighten the sleeve by hand; on a keyed chuck, tighten with the key, using each hole in turn if the chuck has more than one. Check the spin by hand before you drill.
How do I remove a drill bit from a drill?
Unplug the drill or pull the battery, then open the chuck until the jaws let go and pull the bit straight out. On a keyed chuck with more than one key hole, loosen at each hole in turn so the jaws open evenly. Put the bit back in its case so the cutting edges stay sharp.
Which way do I turn the chuck to tighten it?
Turn the sleeve or the key the way that closes the jaws, with the drill unplugged or the battery out. The jaws should close evenly around the shank with no gap on one side. If the chuck turns the wrong way and the jaws open wider, turn it the other way.
Why does my drill bit slip in the chuck?
A slipping bit usually has a dirty shank, worn jaws, or a chuck that was tightened unevenly. Clean the shank, seat the bit straight, and tighten evenly all around the chuck. If the chuck still will not grip, the jaws may be worn and the chuck may need replacing.
Can I put a drill bit in backwards?
No. The smooth shank goes into the chuck and the flutes stay outside the jaws. A bit seated the wrong way round will not cut, and the chuck cannot grip the flutes the way it grips the shank.
Related: best drill bit set for metal, best drill for metal, drilling and tapping chart, and the drilling and tapping hub. Also see our drill press safety guide and the welding safety gear hub.