Plasma Cutter Set Up: Step-by-Step Guide
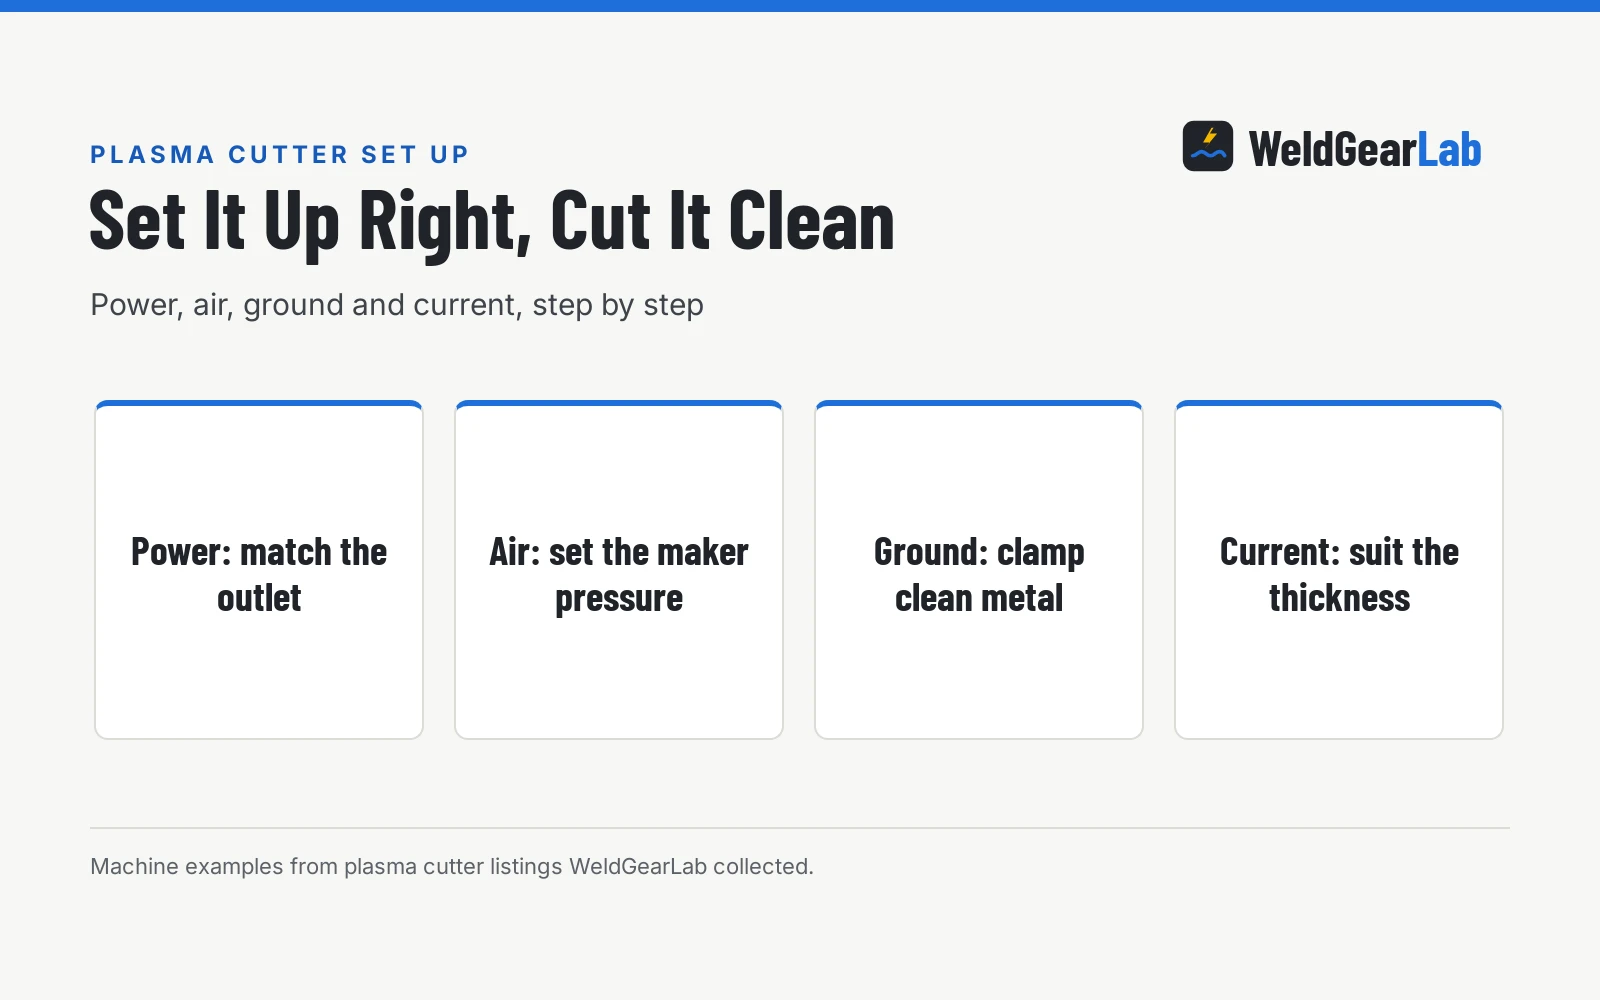
Plasma cutter set up means connecting power, air, ground and torch in the right order, then setting the current to suit the metal before making a trial cut on scrap.

On this page
Top picks at a glance
As an Amazon Associate I earn from qualifying purchases.
- 1
 YESWELDER 45PCS Plasma Cutting Torch Consumables Set Tip9.7/10View on Amazon
- 2
 FLARING Plasma Cutter9.5/10View on Amazon
- 3
 YESWELDER AG-60 Plasma Cutter Consumables Kit9.5/10View on Amazon
A sheet of steel waits on the bench, marked and ready, and the cutter still sits in its box with the torch, the ground clamp and the air hose coiled beside it. Plasma cutter set up is the work of getting power, air, ground and torch connected in the right order, then setting the current to suit the metal in front of you. Get those pieces right and the cut runs clean; skip a step and the arc sputters, the cut wanders, or the machine throws an error before the torch ever fires.
This guide links to our product roundups, where WeldGearLab gets a commission on purchases made through links on this page, and your price stays the same. Read our affiliate disclosure.
Plasma Cutter Set Up in Short
A plasma cutter needs a power outlet it can run on, a supply of clean dry air at the pressure the maker states, a ground clamp on clean metal, and a torch with the right consumables fitted. Set the current for the thickness of the metal, check the air pressure on the display, and make a short trial cut on scrap before cutting the real part.
Power: Match the Outlet to the Cut
Start with the outlet. The machines covered here run on dual voltage: the ARCCAPTAIN CUT65 and the AWT CUT-55 switch between 110V and 220V, while the ARCCAPTAIN CUT55 MP runs on 120V and 240V. On 220V, the ARCCAPTAIN CUT65 (on Amazon) reaches a maximum cut of 1-3/16 inch (30mm) with an ideal clean cut of 3/4 inch (20mm), while on 110V it gives up to 5/8 inch max cut and 7/16 inch clean cut. The AWT CUT-55 lists a clean cut of 3/8 inch (10mm) at 110V and 5/8 inch (16mm) at 220V, with a max cut of 1/2 inch (12mm) at 110V and 3/4 inch (20mm) at 220V.
For metals over 18mm, the maker of the CUT65 states to use a stable 220V input, and warns that unstable voltage may reduce cutting performance. If the shop outlet cannot give the machine what it needs, cut thinner stock on the lower input. The ARCCAPTAIN CUT55 MP (on Amazon) lists a cutting range of 12–15mm on 120V and 18–26mm on 240V, with cuts up to 1 inch (26mm) thick.
Cut Capacity by Input Voltage
| 110V / 120V input | 220V / 240V input | Notes | |
|---|---|---|---|
| ARCCAPTAIN CUT65 | 5/8 inch max cut | 1-3/16 inch (30mm) max cut | Clean cut 3/4 inch (20mm) on 220V |
| AWT CUT-55 | 1/2 inch (12mm) max cut | 3/4 inch (20mm) max cut | Clean cut 5/8 inch (16mm) on 220V |
| ARCCAPTAIN CUT55 MP | 12–15mm cutting range | 18–26mm cutting range | Up to 1 inch (26mm) thick on 240V |
Capacity figures come from the makers of these machines. Our best plasma cutter roundup and best 120V plasma cutter guide compare machines by the same capacities.
Air Supply: Pressure and Clean Air
A plasma cutter cuts with compressed air, so the air supply is part of the setup, not an afterthought. The ARCCAPTAIN CUT55 MP lists a recommended pressure of 0.3–0.55 MPa or 0.4 MPa (57.5 PSI), and the ARCCAPTAIN CUT65 MP lists 0.3–0.55 MPa / 43–80 PSI. Set the regulator to the pressure the maker of your machine states, then watch the display while the torch fires: the CUT55 MP shows air pressure in real time and sounds an alert when pressure goes out of the optimal range.
Pressure outside the optimal range risks undercutting, an unstable arc, or torch damage. The AWT CUT-55 uses an air sensor that shows L for low pressure, M for normal pressure and H for high pressure on its LED display. Dry air matters too, so drain the compressor and any filter before a cutting session, since moisture in the line shortens consumable life. Our best air compressor for plasma cutter guide covers compressors that pair with these machines.
Ground Clamp and Torch
Clamp the ground lead to clean, bare metal on the workpiece, close to the cut, with the jaw biting bare metal rather than paint, rust or mill scale. The pilot arc on these machines starts without touching the metal, which helps on rusty or painted surfaces, but the ground still needs a clean path back to the machine. Our best ground clamp for plasma cutter guide covers clamps scored for shop use.
Fit the torch consumables the maker lists for the job. The ARCCAPTAIN CUT65 ships with a P80 torch and a roller guide wheel that helps hold a steady standoff for straighter cuts on long plates. Check the nozzle and electrode before starting. Our plasma cutter consumables guide covers torch kits and spare parts.
Set the Current and the Mode
Set the current on the display to suit the thickness of the metal. The ARCCAPTAIN CUT65 delivers up to 65A of cutting power, the AWT CUT-55 up to 55A, and the ARCCAPTAIN CUT55 MP up to 55A on 240V, while the CUT65 MP delivers up to 65A on 240V. More current cuts thicker metal, so match the setting to the stock and to the input voltage the machine is running on.
Pick the cut mode for the job. The ARCCAPTAIN CUT65 offers plate cutting, expanded-metal cutting and rust removal, and the CUT55 MP and CUT65 MP also list plasma gouging. Use plate mode on flat stock, expanded-metal mode on mesh, and rust removal mode to clean the surface before cutting or welding. The trigger modes on the CUT65, the CUT55 MP and the AWT CUT-55 are 2T and 4T: 2T means press and hold, while 4T means press to start and press to stop, which suits long runs. PA and PT modes on the CUT65 and the CUT55 MP cover pilot arc and post time.
Trial Cut and Adjust
Before cutting the real part, make a short trial cut on a scrap piece of the same metal and thickness. Watch the arc, the cut edge and the dross on the back of the cut. If the cut wanders or the edge comes out rough, check the ground clamp, the air pressure on the display, and the consumables in the torch before changing the current.
Safety Before You Cut
Plasma cutting throws sparks, hot metal and bright light, and it makes fumes from the metal and any coating on it, especially galvanized or painted steel. Wear a welding helmet, safety glasses, gloves and flame-resistant clothing, and work with ventilation or outdoors with your head out of the plume. The ARCCAPTAIN machines in this guide list built-in protections for overload, overheating and overcurrent, and the CUT55 MP and CUT65 MP add automatic shutdowns on faults, but those protections do not replace safe setup and protective gear.
For more options, see our plasma cutters guides.
FAQ for welders
What do I need to set up a plasma cutter?
Power from an outlet the machine can run on, a supply of clean dry air at the pressure the maker states, a ground clamp on clean metal, and a torch with the right consumables. The machines covered here run on 110V and 220V or 120V and 240V, and the ARCCAPTAIN CUT65 shows current, air pressure and system status on its LED display. Set the current for the metal, then make a trial cut on scrap before the real cut.
What air pressure does a plasma cutter need?
It depends on the machine, so use the pressure the maker states for your model. The ARCCAPTAIN CUT55 MP lists a recommended pressure of 0.3–0.55 MPa or 0.4 MPa (57.5 PSI), and the CUT65 MP lists 0.3–0.55 MPa / 43–80 PSI. The CUT55 MP and the CUT65 MP show air pressure in real time on the display and sound an alert when it goes out of range.
Can a plasma cutter run on a household outlet?
Some can. The AWT CUT-55 and the ARCCAPTAIN CUT65 switch between 110V and 220V, so they can run on a household outlet at reduced cutting capacity: the CUT65 gives up to 5/8 inch max cut on 110V, and the AWT CUT-55 gives up to 1/2 inch (12mm) on 110V. For thicker metal, use the higher input voltage the maker lists.
Why does my plasma cutter not cut through the metal?
Check the setup in order: the ground clamp on clean metal, the air pressure on the display, the current setting, and the consumables in the torch. For metals over 18mm, the maker of the CUT65 states to use a stable 220V input, since unstable voltage may reduce cutting performance.
What is the difference between 2T and 4T on a plasma cutter?
2T means press and hold the trigger to cut, which gives close control on short cuts. 4T means press to start and press to stop, which takes the load off the hand on long runs. The CUT65, the CUT55 MP and the AWT CUT-55 list these trigger modes, and the CUT65 and the CUT55 MP also list PA and PT modes.
Do I need a special mode to cut mesh or rusty metal?
Yes, if the machine offers one. The ARCCAPTAIN machines in this guide list expanded-metal mode for mesh and rust removal mode for surface rust, paint and coatings, plus plasma gouging on the CUT55 MP and CUT65 MP. The pilot arc starts without touching the metal, which helps on rusty or painted surfaces.
Related: best plasma cutter, best 120V plasma cutter, plasma cutter roundup, best air compressor for plasma cutter, and plasma cutter consumables guide. Also see our MIG welder set up guide and how to use a CNC plasma table.