MIG Welder Set Up: Step-by-Step for Beginners
MIG welder set up, step by step: the box check, the wire, the polarity, the gas and the voltage and wire feed, with the figures one listing states.

On this page
Top picks at a glance
As an Amazon Associate I earn from qualifying purchases.
- 1
 Millermatic® 142 MIG Welder9.4/10View on Amazon
- 2
 ARCCAPTAIN 180A MIG Welder 110V 220V 6 in 1 Multiprocess9.7/10View on Amazon
- 3
 Eastwood 180 Amp MIG Welder Machine Dual Voltage 110V 220V9.6/10View on Amazon
A new welder on the bench, a spool of wire and a helmet that still smells new: the first bead starts with the setup, not the trigger. MIG welder set up is the order of jobs that turns a boxed machine into a welder that runs: check the box, fit the wire, set the polarity, connect the gas if the job needs it, and set the voltage and wire feed before the first bead.
This guide links to our product roundups, where WeldGearLab gets a commission on purchases made through links on this page, and your price stays the same. Read our affiliate disclosure.
Below: the box check, the wire and polarity, the gas setup, the voltage and wire feed, and the safety checks before the first bead. The figures here come from one listing, the BESTMIG 145A, so check them against the manual for the machine on the bench.
What’s in the Box
Check the box against the packing list before anything else. The BESTMIG 145A listing states the box holds the welding machine, a ground clamp, an electrode holder, a 120V-240V power adapter cable, a MIG torch, 0.8mm flux-cored wire, 0.8mm solid wire, welding gloves, an auto darken helmet, a MIG torch contact tip, a gas tube with connector, a brush and hammer set, a strap for the machine, V and W (K)-shaped wire feed wheels installed in the machine, and a user manual. A TIG torch is not included.
If a part is missing, stop there: a setup that starts with a missing contact tip or a missing ground clamp ends with a trip back to the box. The machine weighs 11.55 lb and measures 11.5 by 17.9 by 13.8 in, with a handle and a shoulder strap for carrying it.
MIG Welder Set Up: The Steps in Order
- Check the box. Match every part against the list above, and read the user manual for the machine on the bench.
- Connect the ground clamp. Clip it to clean metal on the work, close to the joint, so the circuit has a short path back to the machine.
- Fit the wire. The wires in the box are 0.8mm, and the V and W (K)-shaped wire feed wheels come installed in the machine. Feed the wire through the torch and fit the contact tip.
- Set the polarity for the wire. Self-shielded flux core wire, the gasless wire in the box, runs electrode negative, and solid wire with gas runs electrode positive. Follow the polarity printed on the wire label and in the machine manual.
- Connect the gas, for gas MIG only. The gas tube with connector is in the box. A gas cylinder is not in the box list, so it comes from a welding supplier, with a regulator.
- Set the voltage and wire feed. The machine is synergic: when the wire diameter changes or the current is adjusted, the machine alters the voltage and wire feed speed on its own. Manual adjustments are also supported, so the settings can be fine-tuned by hand.
- Put on the helmet and gloves. The auto darken helmet and the welding gloves are in the box. Check the machine’s protections before the first bead: over-current, overload, over-voltage and overheat protection are all stated for this machine.
Flux Core or Gas MIG: Which Setup to Use First
| Flux core (self shielded) | Gas MIG (solid wire) | TIG and stick (same machine) | |
|---|---|---|---|
| Shielding | Flux inside the wire | Gas from a cylinder | Gas for TIG; flux coating or bare rod for stick |
| Gear beyond the welder | Flux core wire | Solid wire, cylinder, regulator, gas hose | Electrode holder in the box; TIG torch not included |
| Wind and outdoor work | Tolerates a breeze | Shielding gas disperses in wind, needs shelter | Stick tolerates wind; TIG needs shelter |
| Dirty or rusty steel | More forgiving | Needs cleaner metal | Stick more forgiving; TIG needs clean metal |
| Thin sheet and auto body | Harder, more heat and burn through | Easier, cleaner small beads | TIG finest control; stick harder on thin sheet |
| Spatter and cleanup | Slag to chip, more spatter | No slag, less spatter | TIG clean; stick leaves slag |
| Fumes | More smoke | Less smoke | Varies by process |
| Typical polarity | DCEN for self-shielded flux core | DCEP (electrode positive) | TIG DCEN on steel; stick follows the rod |
Polarity follows the wire: self-shielded flux core runs electrode negative, solid wire with gas runs electrode positive, and gas-shielded flux core runs electrode positive. Always follow the polarity printed on your wire’s label and in the machine’s manual. How polarity is set differs by machine, so follow the manual for the machine on the bench.
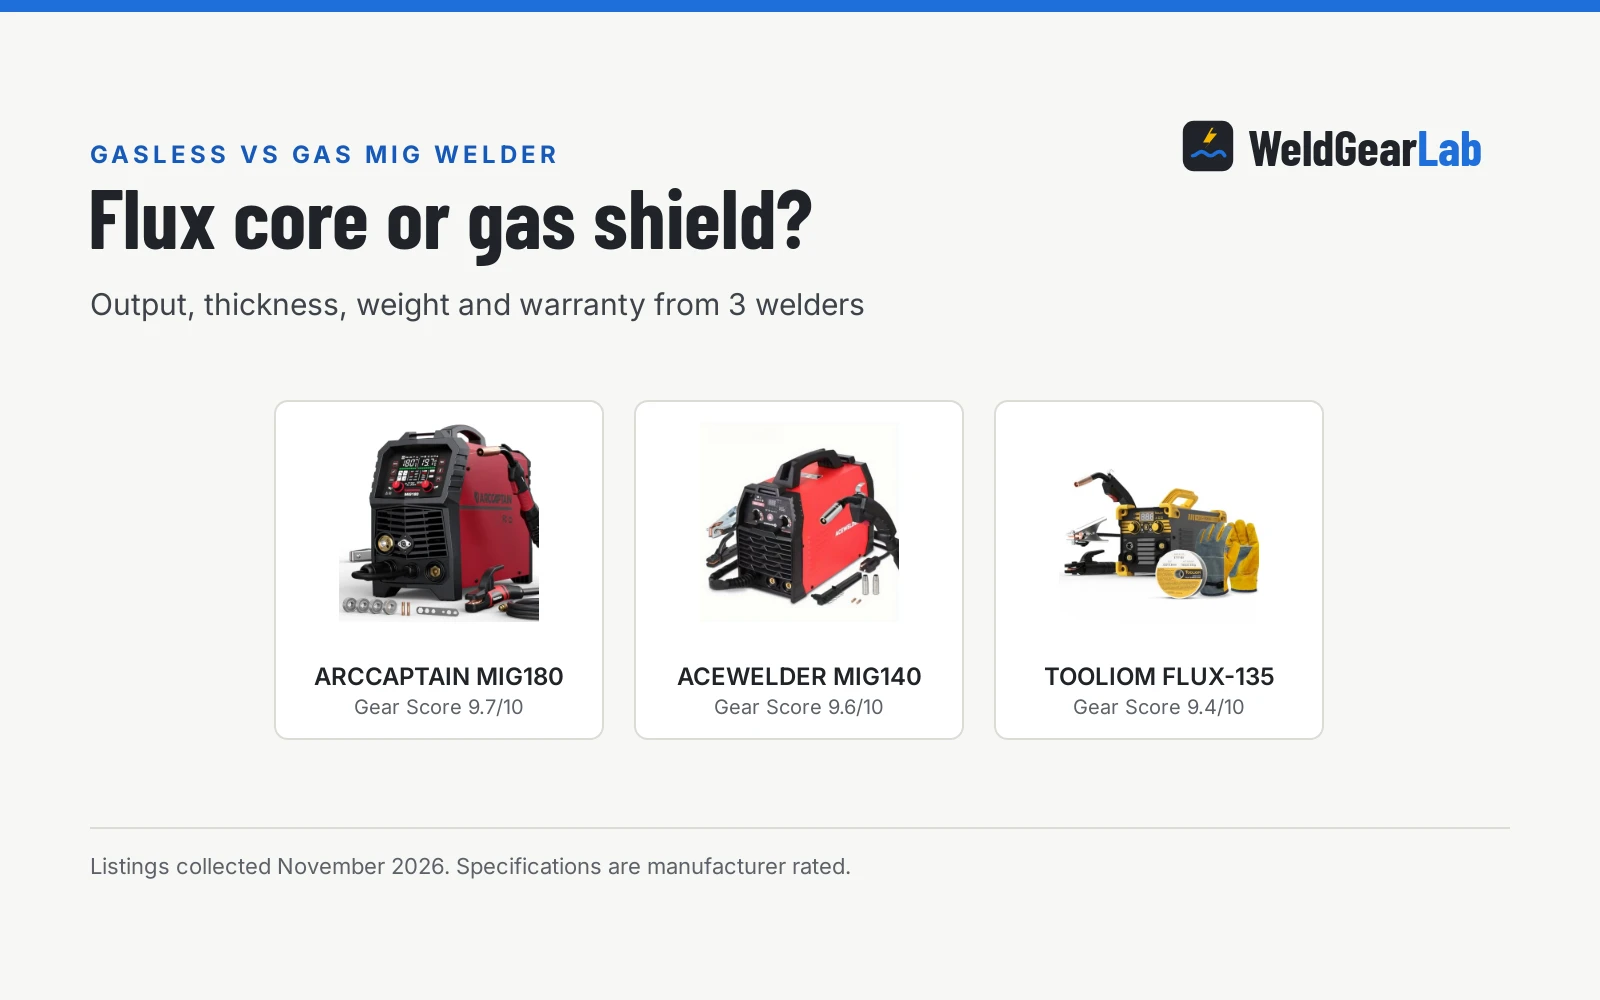
Start with flux core if the job is outdoors or the cylinder has not arrived yet: the 0.8mm flux-cored wire is in the box, and no gas is needed. Start with gas MIG if the job is thin sheet or visible work indoors: the 0.8mm solid wire is also in the box, and the gas tube with connector is included, so only the cylinder and regulator are missing. The machine runs both, and the setup changes with the wire.
Voltage, Wire and Thickness
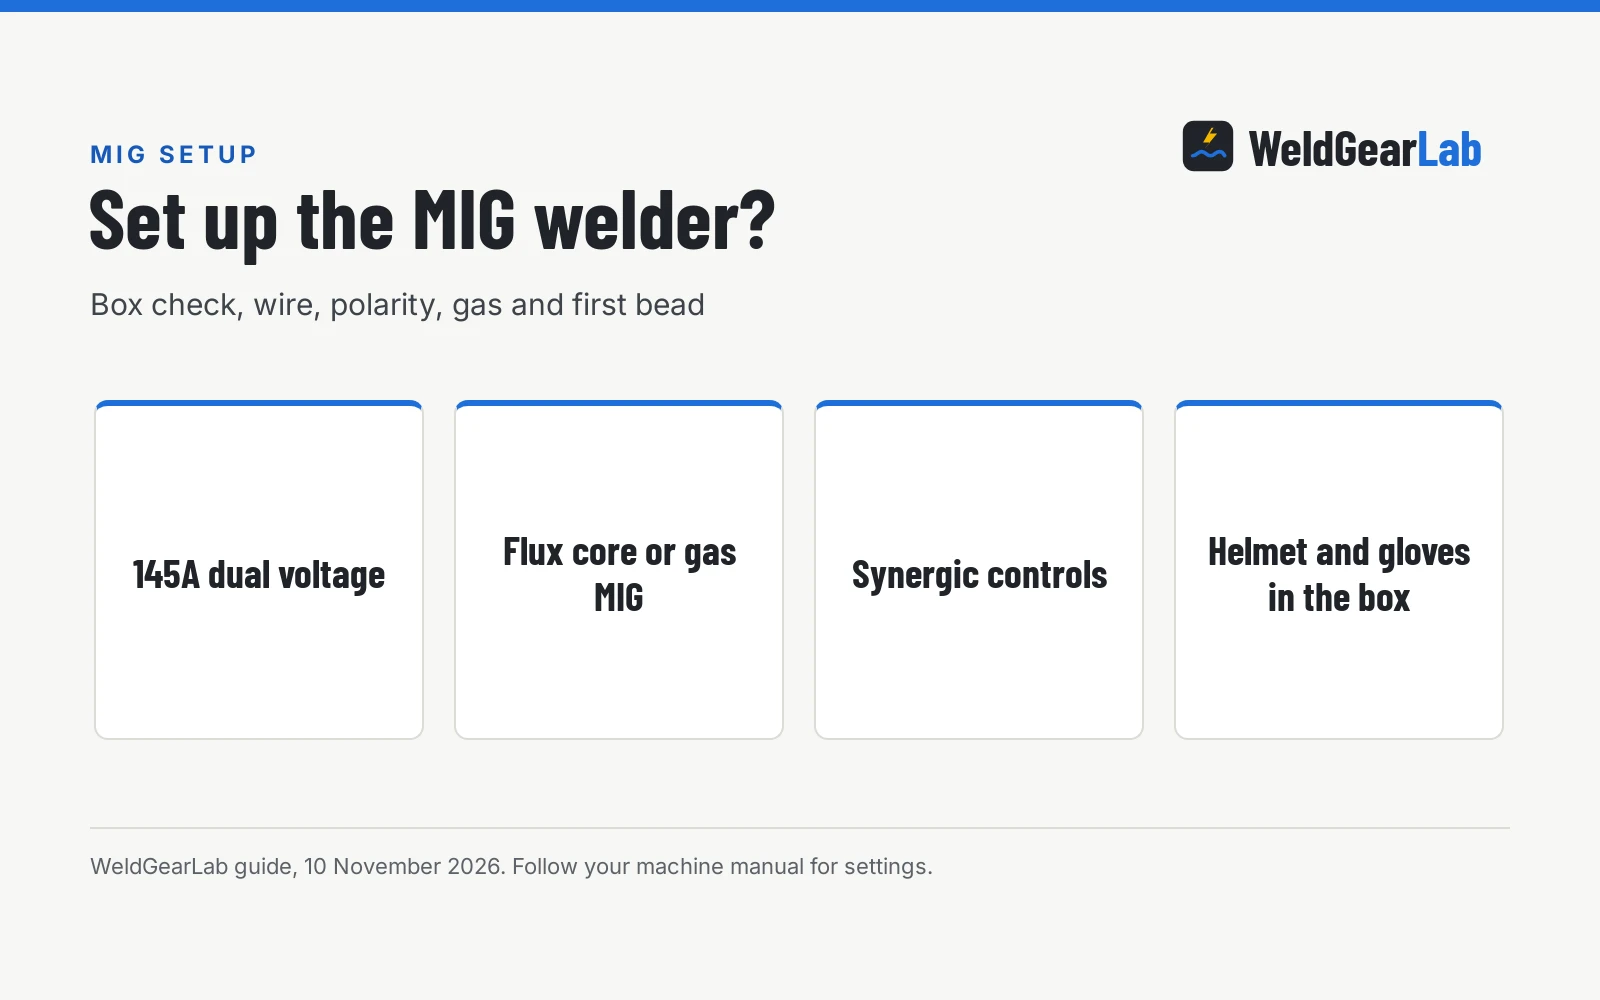
The machine is dual voltage, 110V/220V, and the box includes a 120V-240V adapter cable. Those figures do not match, so check the manual for the voltage the machine is set for. It is rated at 145A. The listing states flux-cored wire from .030 to .040 in, solid wire from .030 to 0.03 in, and silicon wire from .030 to .040 in, and it states that solid wire only welds at 0.8mm. The solid wire range as written, .030 to 0.03 in, reads as a misprint, so check the wire label and the manual before ordering solid wire.
The listing states the machine handles stainless steel, carbon steel and mild steel up to 3mm thick, and also writes 2/5 inch beside it. Those figures do not agree, so check the manual for the thickness the machine is rated for. The maker claims a 30% increase in work efficiency compared to traditional MIG welders. The display is headed as a large LCD display in one place and called an LED digital screen in another, so the wording differs inside the listing.
The machine is 4-in-1: Gas and Gasless MIG, Stick and Lift TIG in one unit. The electrode holder in the box covers stick, and the TIG torch is not included, so Lift TIG needs a torch bought separately.
Safety Before the First Bead
Flux core makes more smoke and fumes than gas MIG, and hot slag can flick off when it is chipped. For flux core, weld with good ventilation or outdoors with the head out of the plume, wear safety glasses under the helmet when chipping, and clear dry grass and anything flammable from the area. Secure gas cylinders upright.
The machine states over-current, overload, over-voltage and overheat protection, and a durable metal housing protects the internal components. Wear the helmet and gloves in the box for every bead, and read the manual for the machine before the first arc.
FAQ for welders
Do I need gas to start MIG welding?
No. The machine runs flux core gasless with the 0.8mm flux-cored wire in the box, and no gas is needed for that setup. Gas MIG needs a cylinder and a regulator, and neither is in the box list.
What wire size does the machine take?
Flux-cored wire from .030 to .040 in, solid wire from .030 to 0.03 in as written, and silicon wire from .030 to .040 in. The wires in the box are 0.8mm, and the listing states solid wire only welds at 0.8mm.
Can the machine run on a household outlet?
The machine is dual voltage, 110V/220V, and the box includes a 120V-240V adapter cable. Check the outlet matches the voltage the machine is set for before switching it on.
Does the machine do TIG and stick as well?
Yes. It is a 4-in-1 machine: Gas and Gasless MIG, Stick and Lift TIG in one unit. The electrode holder for stick is in the box, and the TIG torch is not included.
How thick can the machine weld?
The listing states steel up to 3mm thick, and also writes 2/5 inch beside it. Those figures do not agree, so check the manual for the thickness the machine is rated for.
Related: how to choose a MIG welder, best welder for beginners, best flux core welder and the MIG welders hub in the welders section. Also see our why a MIG welder spatters.