Flux Core Welding Setup for Beginners
Flux core welding setup, step by step: power, wire, polarity and feed speed for a gasless 120V welder, with the figures from 3 reference machines.

On this page
Top picks at a glance
As an Amazon Associate I earn from qualifying purchases.
- 1
 TOOLIOM 135A 110V Gasless Flux Core MIG Welder Kit with Wire9.5/10View on Amazon
- 2
 DURATECH 125A MIG Welder9.7/10View on Amazon
A cracked bracket, a gate hinge torn off its post, a trailer rail that needs a bead laid down before the next load: flux core welding setup starts with the job on the bench and a machine that runs on household power with no gas cylinder to drag along. Flux core welding setup means a wire feed welder, a spool of flux core wire, the right polarity and a steady hand, and the rest is practice on scrap. This guide walks through the setup step by step, with the figures from gasless machines that run on a standard outlet.
This guide links to our product roundups, where WeldGearLab gets a commission on purchases made through links on this page, and your price stays the same. Read our affiliate disclosure.
The machines behind the figures
The figures in this guide come from three gasless machines: the Lincoln Weld-Pak 90i FC, the TOOLIOM 135A (on Amazon) and the DURATECH 125A (on Amazon). All three run on household power, all three feed flux core wire, and together they cover the range of what a beginner meets in a small shop.
| Lincoln Weld-Pak 90i FC | TOOLIOM 135A | DURATECH 125A | |
|---|---|---|---|
| Input power | 120V | 110V | 120V |
| Output | 20-120 Amp | 135A | 125 Amp |
| Duty cycle | 30% at 90 Amp | Not stated | Not stated |
| Flux core wire | Not stated | 0.030 and 0.035 in | 0.030 and 0.035 in |
| Weight | 15.0 lb | 11.24 lb | 10.5 lb |
| Warranty | 12 months | Not stated | 2 year warranty |
Power, output, wire and weight are the figures the listings state. The Lincoln lists a 20-120 Amp range with a 30% duty cycle at 90 Amp, the TOOLIOM lists a 135A output on 110V, and the DURATECH lists a 125 Amp output on 120V with a 15A to 20A plug adapter.
Flux core welding setup, step by step
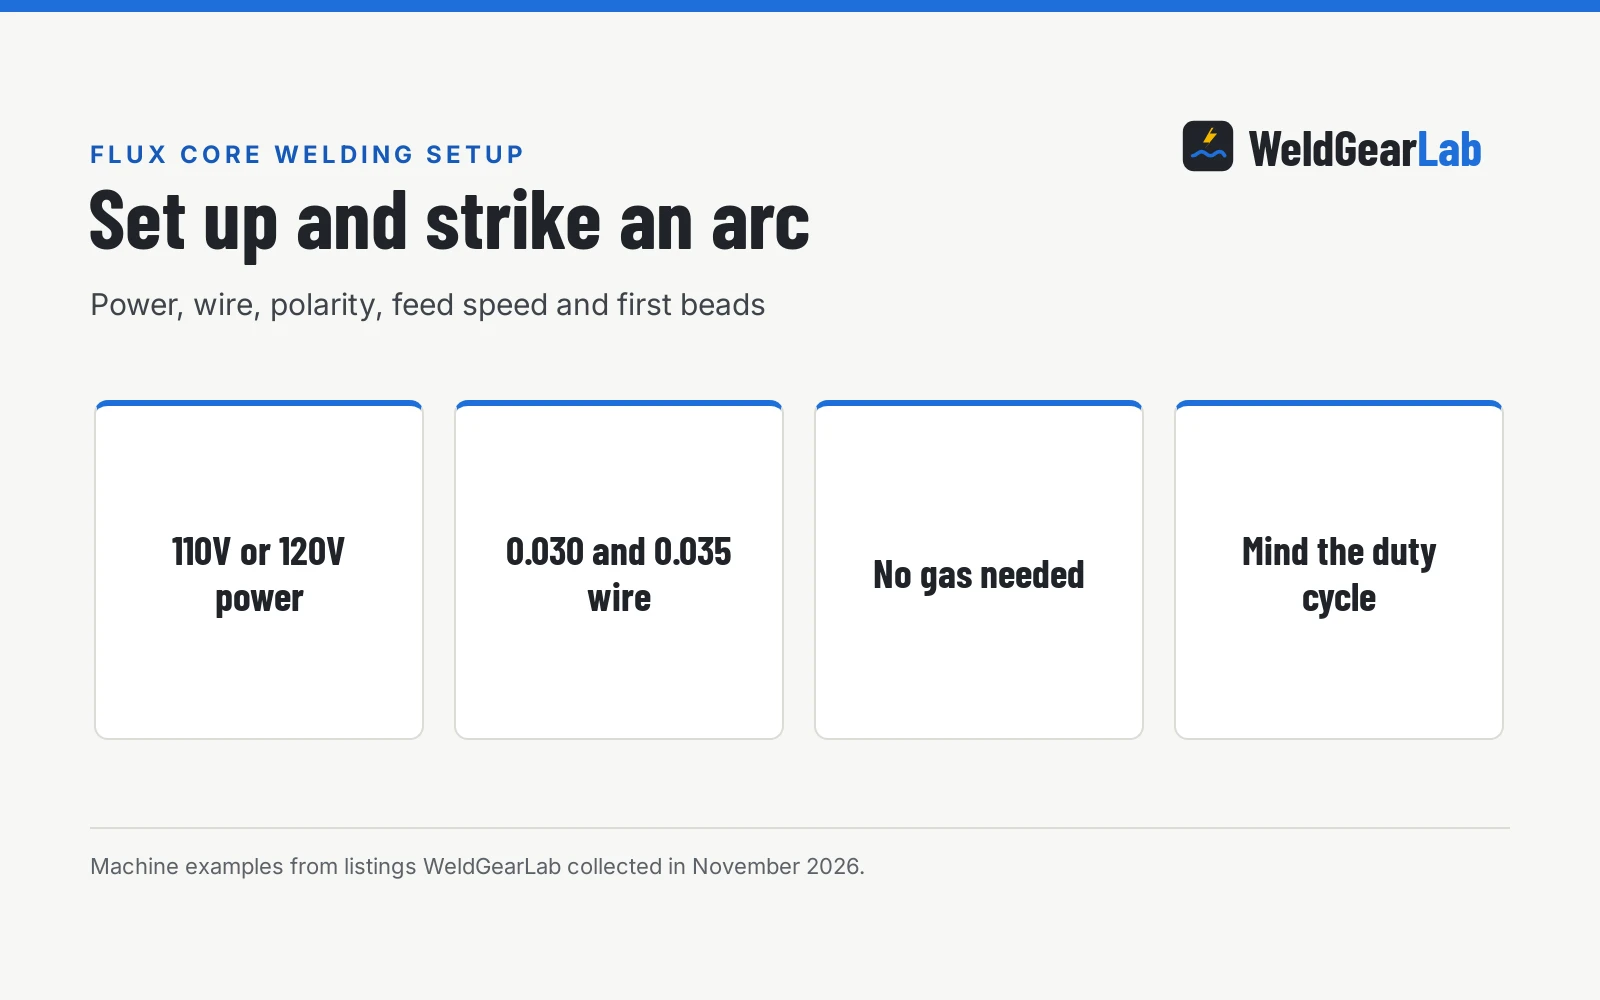
Setup runs in the same order every time: power, wire, polarity, voltage and feed speed, then a bead on scrap before the real joint. Work through the steps in order and check the machine’s door chart or manual when a setting is unclear.
Power first
Flux core machines for home shops run on household power. The Lincoln runs on 120V input, the DURATECH runs on 120V with a 15A to 20A plug adapter, and the TOOLIOM runs on a standard household 110V socket. Plug the machine straight into the outlet, keep the cord clear of the work, and make sure the circuit can carry the load before striking an arc.
Load the wire
Load a spool of flux core wire on the machine. The Lincoln loads its spool on top of the machine, and the DURATECH takes 2-pound rolls of wire. The TOOLIOM and DURATECH listings name 0.030 and 0.035 inch flux core wire, so match the wire to the drive rolls and the tip. Feed the wire through the gun by hand until it shows at the tip, then close the drive rolls.
Set the polarity
Self-shielded flux core wire usually runs DCEN, electrode negative, so set the polarity the wire calls for. Always follow the polarity printed on the wire’s label and in the machine’s manual. Most machines that run both flux core and gas MIG have a polarity lead to swap when the wire changes.
Voltage and wire feed speed
Set the voltage and the wire feed speed for the metal at hand. The TOOLIOM pairs a large LCD display with synergic control: select the wire size and metal thickness and the machine recommends the voltage and wire speed, with live feedback of the welding current and fine-tuning of plus or minus 3V. The DURATECH gives infinite voltage and wire feed speed control, and the Lincoln gives infinite voltage control, so dial both in by hand. For 0.030 inch wire the TOOLIOM lists a feed speed of 120-420 inches per minute, and for 0.035 inch wire it lists 120-308 inches per minute.
Mind the duty cycle
Duty cycle is the share of a run the machine can weld before it needs to cool, always with the amps it applies to. The Lincoln lists a 30% duty cycle at 90 Amp, and its automatic thermal protector shuts off output until the machine cools to a normal operating temperature. Short beads with pauses between them keep a small machine inside its duty cycle on a long joint.
Run the first beads on scrap
Run the first beads on a scrap piece of the same metal before the real joint. Watch the puddle, listen to the arc, and adjust the voltage and feed speed until the bead lies flat with even edges. Chip the slag off each bead and look at the metal underneath before the next pass.
After the first beads
Flux core leaves a crust of slag on every bead. Chip it off with a chipping hammer and wire brush before the next pass or painting, and wear safety glasses under the helmet when chipping, since hot slag can flick off. Spatter grinds off, but a bead laid down with the right voltage and feed speed needs less of it.
Flux core smoke and slag. Flux core makes more smoke and fumes than gas MIG, and hot slag can flick off when you chip it. Weld with good ventilation or outdoors with your head out of the plume, wear safety glasses under the helmet when chipping, and clear dry grass and anything flammable from the area. Keep a fire extinguisher in the shop and check the machine’s manual for its safety notes.
For more options, see our welders guides.
FAQ for welders
What do I need for a flux core welding setup?
A wire feed welder that lists flux core, a spool of flux core wire, and the usual shop gear: a helmet, gloves, and a chipping hammer with a wire brush. The Lincoln kit includes extra large metal working gloves and flux core wire, and the TOOLIOM kit includes welding gloves and welding wire. Household power is enough for the machines in this guide, since all three run on 110V or 120V.
What wire size do I use for flux core?
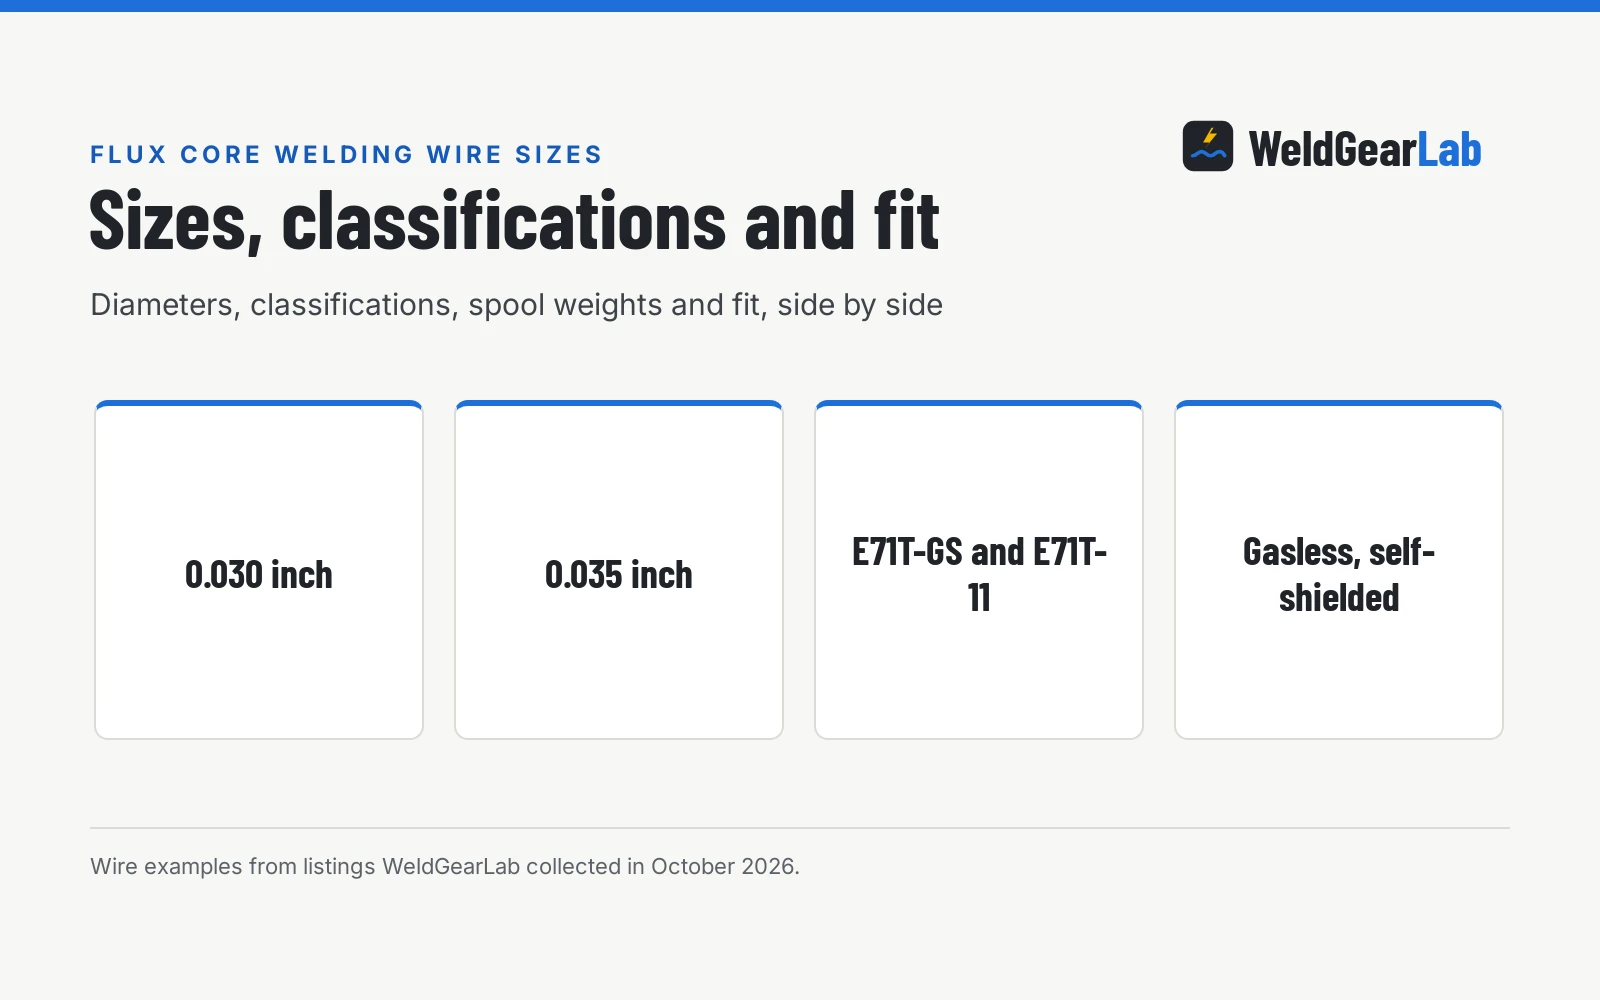
The TOOLIOM and DURATECH listings name 0.030 and 0.035 inch flux core wire. Match the wire to the drive rolls and the contact tip, and check the machine’s door chart for the size it takes. See the flux core welding wire sizes guide for the common sizes and what each suits.
What polarity does flux core use?
Self-shielded flux core wire usually runs DCEN, electrode negative. Set the polarity the wire calls for and always follow the polarity printed on the wire’s label and in the machine’s manual. A machine that runs both flux core and gas MIG has a polarity lead to swap when the wire changes.
Can I weld outside with flux core?
Yes. Self-shielded flux core wire makes its own shielding gas from the flux inside the wire, so a breeze that would blow away gas shielding affects it far less. That is why flux core suits fence posts, gates, trailers and equipment in a field. Weld with good ventilation and keep your head out of the plume.
Why is a flux core weld covered in a crust?
That is slag from the flux, and it is normal. The flux in self-shielded wire burns to make shielding gas and leaves a layer of slag on the bead. Chip it off with a chipping hammer and wire brush before the next pass or painting.
Related: how to choose a MIG welder, best welder for beginners, best 120V MIG welder, MIG welder set up, and the what is flux core wire guide. Also see the flux core welding pros and cons guide.