Stick Welding Set Up: What You Need
Stick welding set up, step by step: leads, polarity, electrode choice, ground clamp and arc strike, with the safety checks that come before the weld.
On this page
Top picks at a glance
As an Amazon Associate I earn from qualifying purchases.
- 1
 6Pcs Wire Brush SetView on Amazon
- 2
 RIVERWELD 7 Piece Fillet Weld Set Gage MG-11 Rl Gauge DepthView on Amazon
- 3
 SHALL 4-Pack Bar Clamps SetView on Amazon
- 4
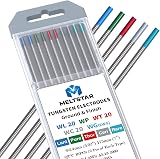 TIG Welding Tungsten Electrodes Mix SetView on Amazon
- 5
 EEEkit 15 PCS Rotary Spot Weld Cutter Set Double SidedView on Amazon
- 6
 4 Inch C-Clamp SetView on Amazon
A cracked hinge on a farm gate, a broken bracket on a trailer, a mower deck split along a weld: the jobs that call for stick welding usually show up as broken steel that needs to go back to work. Stick welding set up is the part that decides whether the repair holds or the rod sticks, sputters and leaves a mess. This guide walks through the setup in order, from leads and polarity to the ground clamp and the arc strike.
Other welders and gear to compare
 6Pcs Wire Brush SetCheck price on Amazon
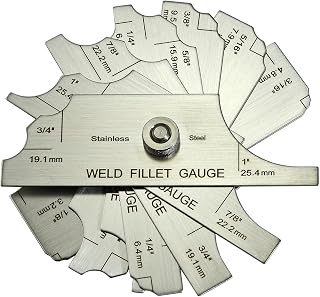 RIVERWELD 7 Piece Fillet Weld Set Gage MG-11 Rl Gauge DepthCheck price on Amazon
 SHALL 4-Pack Bar Clamps SetCheck price on Amazon
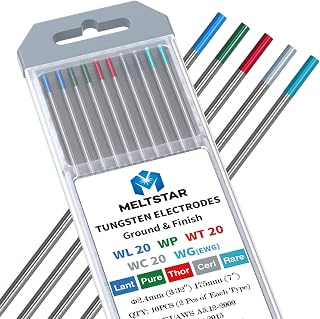 TIG Welding Tungsten Electrodes Mix SetCheck price on Amazon
 EEEkit 15 PCS Rotary Spot Weld Cutter Set Double SidedCheck price on Amazon
 4 Inch C-Clamp SetCheck price on Amazon
This guide links to our product roundups, where WeldGearLab gets a commission on purchases made through links on this page, and your price stays the same. Read our affiliate disclosure.
Stick welding set up, summed up
Stick welding runs an electric arc between a coated electrode and the work, and the coating breaks down into shielding gas and a slag layer that protect the molten metal and the cooling weld. Setup means getting the machine, leads, electrode and ground clamp in place, with the polarity the electrode calls for, and checking the work area before striking an arc. Get it right and the arc lights cleanly, the bead lays down even, and the slag chips off cleanly once the weld cools. Get it wrong and the rod sticks, the arc wanders, or the bead piles up cold.
Side by side
| Setup step | What to do | What to check | If it goes wrong |
|---|---|---|---|
| Machine leads | Connect the electrode holder and ground clamp leads to the terminals the manual shows | Leads seated firmly and insulation intact | A loose lead makes a weak, sputtering arc |
| Electrode | Pick a rod suited to the metal and joint | Rod dry and undamaged, coating intact | A damp rod sticks and leaves a rough bead |
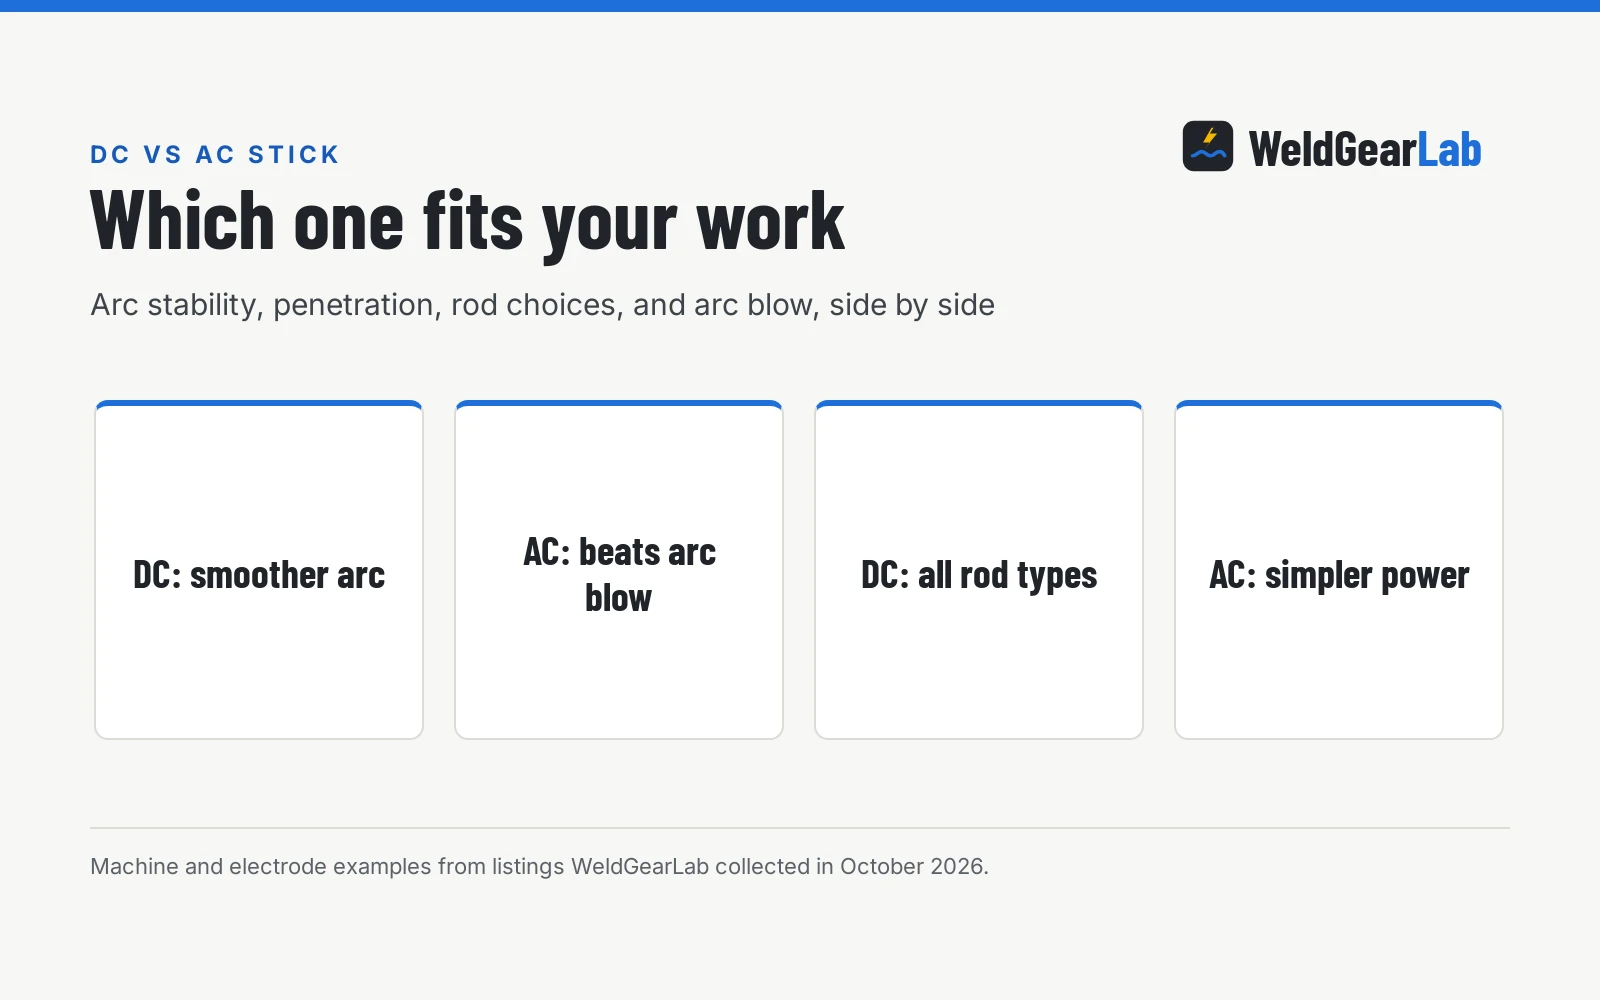
| Polarity | Set the polarity the rod packaging calls for | Polarity matches the rod packaging | The wrong polarity makes the arc hard to hold |
| Ground clamp | Clamp to clean bare metal near the joint | Clamp bites bright metal, not paint or rust | A poor ground makes the arc wander |
| Arc strike | Tap or drag the rod to strike, then hold a short arc | Steady arc and an even bead | A long arc spatters and leaves a wide bead |
| Safety | Helmet, gloves, jacket and ventilation in place before striking | No flammables nearby, screen up | Sparks and fumes reach anything unprotected |
Polarity is a common stumbling block for new stick welders, because the wrong choice makes the arc hard to hold even when everything else is right. The electrode packaging states the polarity the rod is made for, so set the leads to match and trust the packaging over habit. A machine that runs on a household outlet still needs the same checks: leads seated, clamp on clean metal, rod dry.
What you need before you start
Stick welding needs little gear beyond the machine. Gather it before striking an arc, so nothing interrupts the work while welding.
- Stick welder. Any machine that lists stick welding, with an electrode holder and a ground clamp lead. See the best stick welder guide for home and shop machines.
- Electrodes. Rods suited to the metal and joint, kept dry in storage: a low-hydrogen rod for structural steel, a fast-freeze rod for dirty or rusty metal and out-of-position work.
- Electrode holder and ground clamp. The holder grips the rod, the clamp bites clean metal near the joint, and sound leads carry current to the holder and clamp.
- Helmet, gloves and jacket. An auto-darkening helmet, heavy gloves and a flame-resistant jacket keep arc flash, sparks and hot metal off skin and eyes.
- Chipping hammer and wire brush. Slag needs chipping between passes and before paint, and a brush clears the bead for inspection.
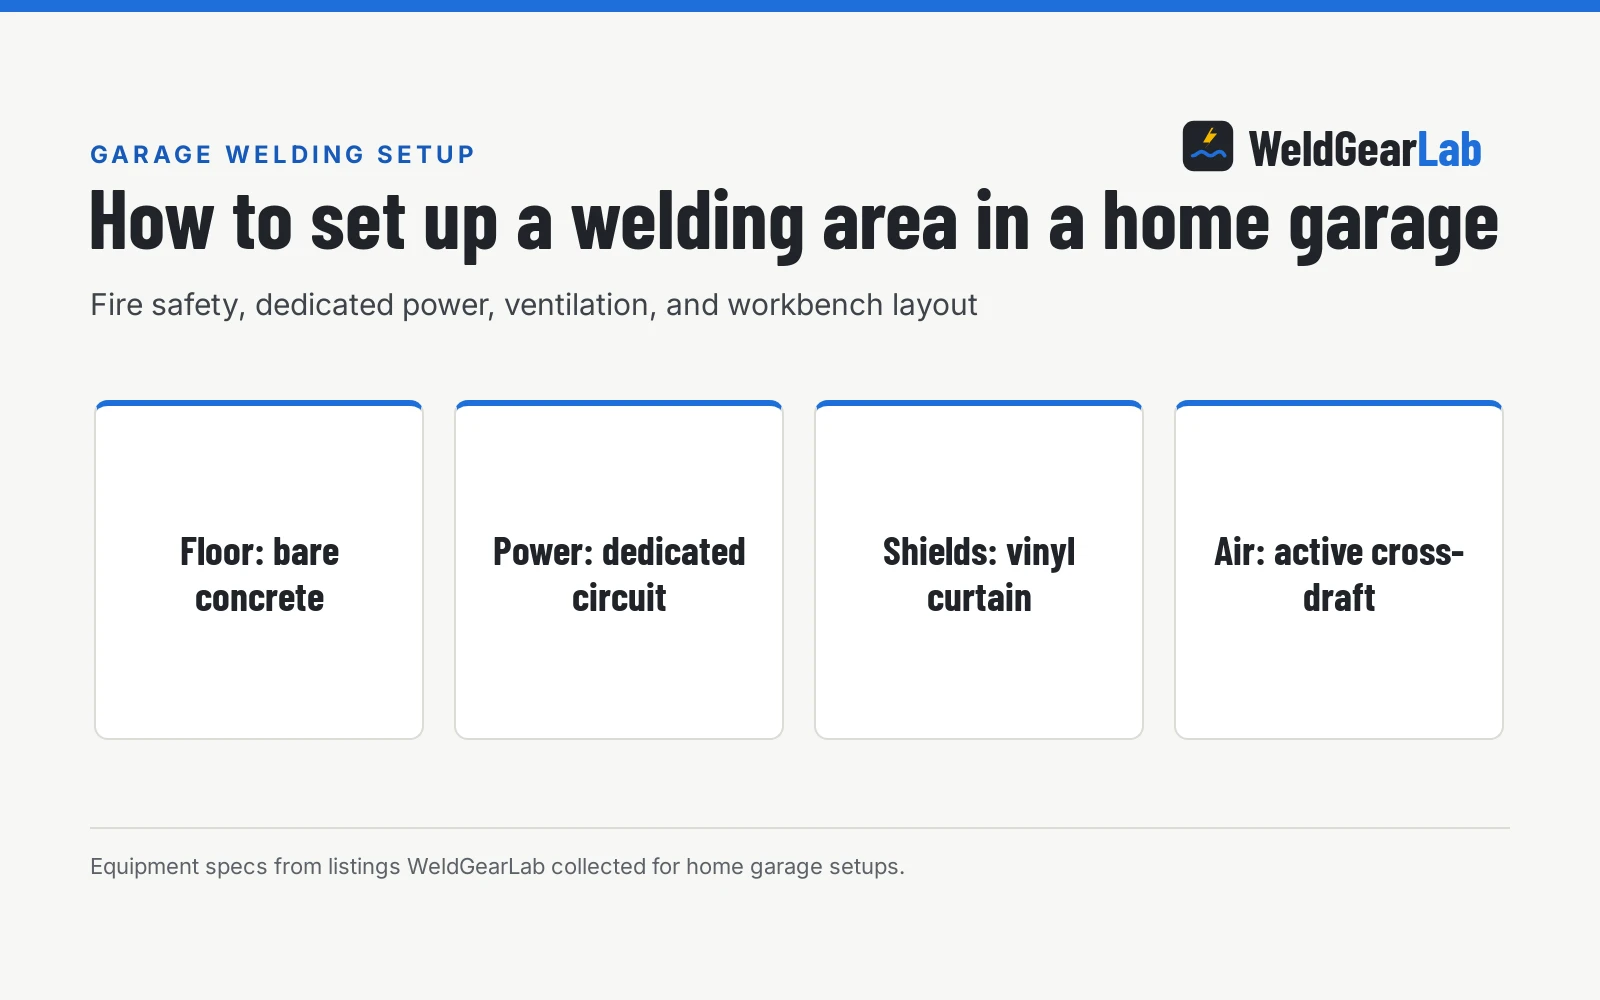
- Ventilation and a clear floor. Fresh air carries fumes away, and a floor cleared of dry grass, rags and fuel keeps sparks from finding anything to light.
Set up step by step
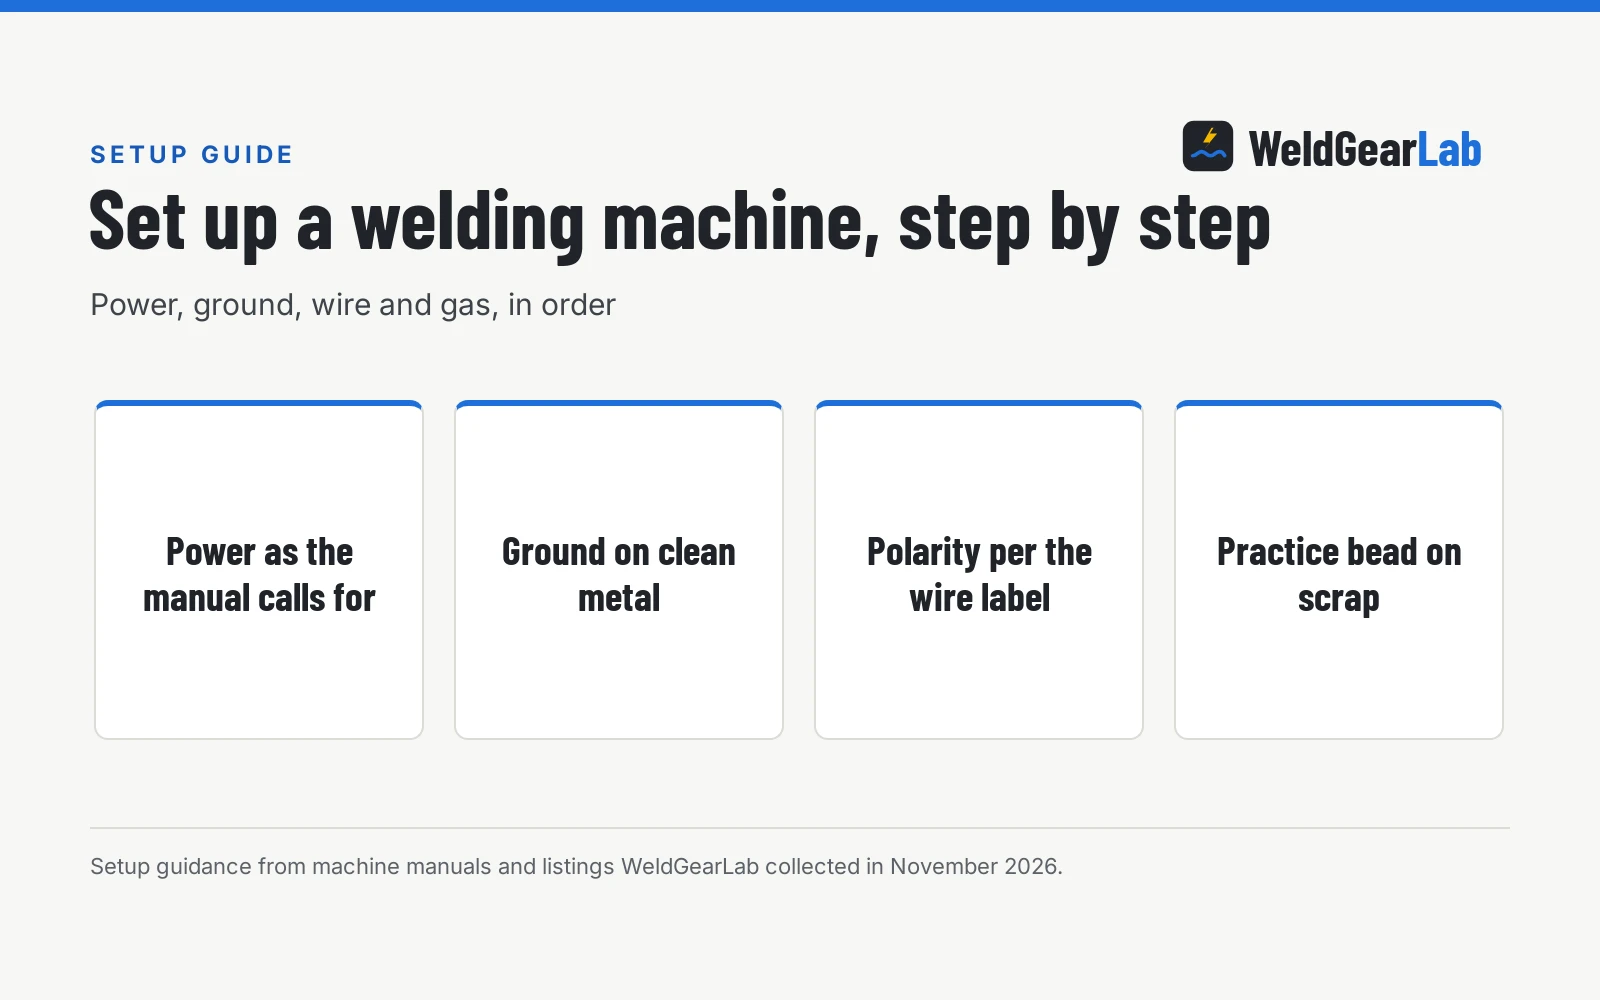
Place the machine. Set the welder on a dry, level spot near the work, vents clear, leads able to reach the joint. Keep it clear of puddles and damp ground.
Connect the leads. Plug the electrode holder lead and the ground clamp lead into the terminals the manual shows, and seat them firmly. A loose connection heats up under load and starves the arc.
Set the polarity. Read the polarity on the electrode packaging and set the leads to match, swapping them at the machine terminals when the rod calls for the opposite polarity.
Pick the electrode. Match the rod to the metal and joint, and check the coating is dry and intact. Set aside any rod that is damp or chipped.
Clamp the ground. Bite the clamp onto clean, bare metal near the joint, on the piece being welded. Paint, rust and mill scale under the clamp make the arc wander.
Set the machine. Dial the output to the range the manual or door chart suggests, then adjust by watching the puddle: a cold, piled bead wants more heat, a bead that burns through wants less.
Strike the arc and run the bead. Tap the rod on the work or drag it like a match, then lift just enough to hold a short arc. Hold a slight drag angle unless the rod calls for a different technique, move at a steady pace, and watch the puddle rather than the arc. Keep the travel steady until the joint is filled, then let the weld cool before chipping the slag. A good bead runs even, with a smooth surface and no visible cracks or holes after the slag comes off.
Common setup mistakes
- Wrong polarity. The arc sputters, the rod sticks, and the bead looks rough. Check the packaging and swap the leads.
- Dirty ground. A clamp on paint or rust gives a wandering arc and a weak bead. Grind a clean spot for the clamp.
- Damp rods. Rods left in a damp shop absorb moisture and weld rough. Store them dry and discard rods with damaged coating.
- Arc held too long. A long arc spatters, undercuts the edges and leaves a wide, flat bead. Shorten the arc until the crackle steadies.
- Skipping the check. Striking an arc before checking leads, clamp and polarity wastes rods and time.
Safety before you strike an arc
Stick welding throws sparks, ultraviolet light and fumes, and the work stays hot after the arc stops. Wear the helmet, gloves and jacket for every bead, even a short bead, and keep a fire extinguisher within reach. Weld with ventilation or outdoors, with your head out of the plume, and clear dry grass, rags and fuel from the area. Never weld on a tank, drum or container that held fuel or chemicals unless it has been cleaned and made safe by someone qualified. Galvanized steel gives off fumes that need strong ventilation and a respirator suited to the job.
For more options, see our welders guides.
FAQ for welders
What does stick welding set up involve?
It involves placing the machine, connecting the leads, setting the polarity the electrode calls for, picking a rod suited to the metal and joint, clamping the ground to clean metal, and setting the output. Skipping any step shows up in the bead.
Which polarity do I use for stick welding?
Use the polarity the electrode packaging states for that rod, swapping the leads at the machine terminals to change it. When the packaging is silent on polarity, follow the machine manual.
Why does my stick welding rod keep sticking?
A rod sticks when it freezes to the work at the strike, the polarity is wrong, the clamp sits on paint or rust, or the rod is damp. Check the clamp and polarity, swap in a dry rod, and strike with a quick tap or drag.
Can I stick weld outside?
Yes, stick welding suits outdoor work because the flux coating shields the weld without a gas cylinder, so wind that ruins gas-shielded welding is far less of a problem. Weld on dry ground, keep the rods dry, and mind where sparks land.
What rod should a beginner use?
Start with a rod made for mild steel that strikes easily and tolerates less than perfect prep, and learn on clean plate before moving to rusty or painted metal. The stick welding rod guide covers low-hydrogen rods, and the MIG welder set up guide shows wire feed setup.
Related: best stick welder, TIG torch set up, how to choose a MIG welder, best welder for beginners, and the best MIG welder for a household outlet.