How to Set Up a Welding Machine at Home
How to set up a welding machine, step by step: power, ground, wire, gas and a practice bead on scrap.

On this page
Top picks at a glance
As an Amazon Associate I earn from qualifying purchases.
- 1
 Dent Puller Welder 3500W 4200A Stud Welder Dent Repair Kit 69.6/10View on Amazon
- 2
 Portable Handheld Welding Machine9.5/10View on Amazon
- 3
 Portable Welding Machine 110V with Auto Darkening Goggles:9.4/10View on Amazon
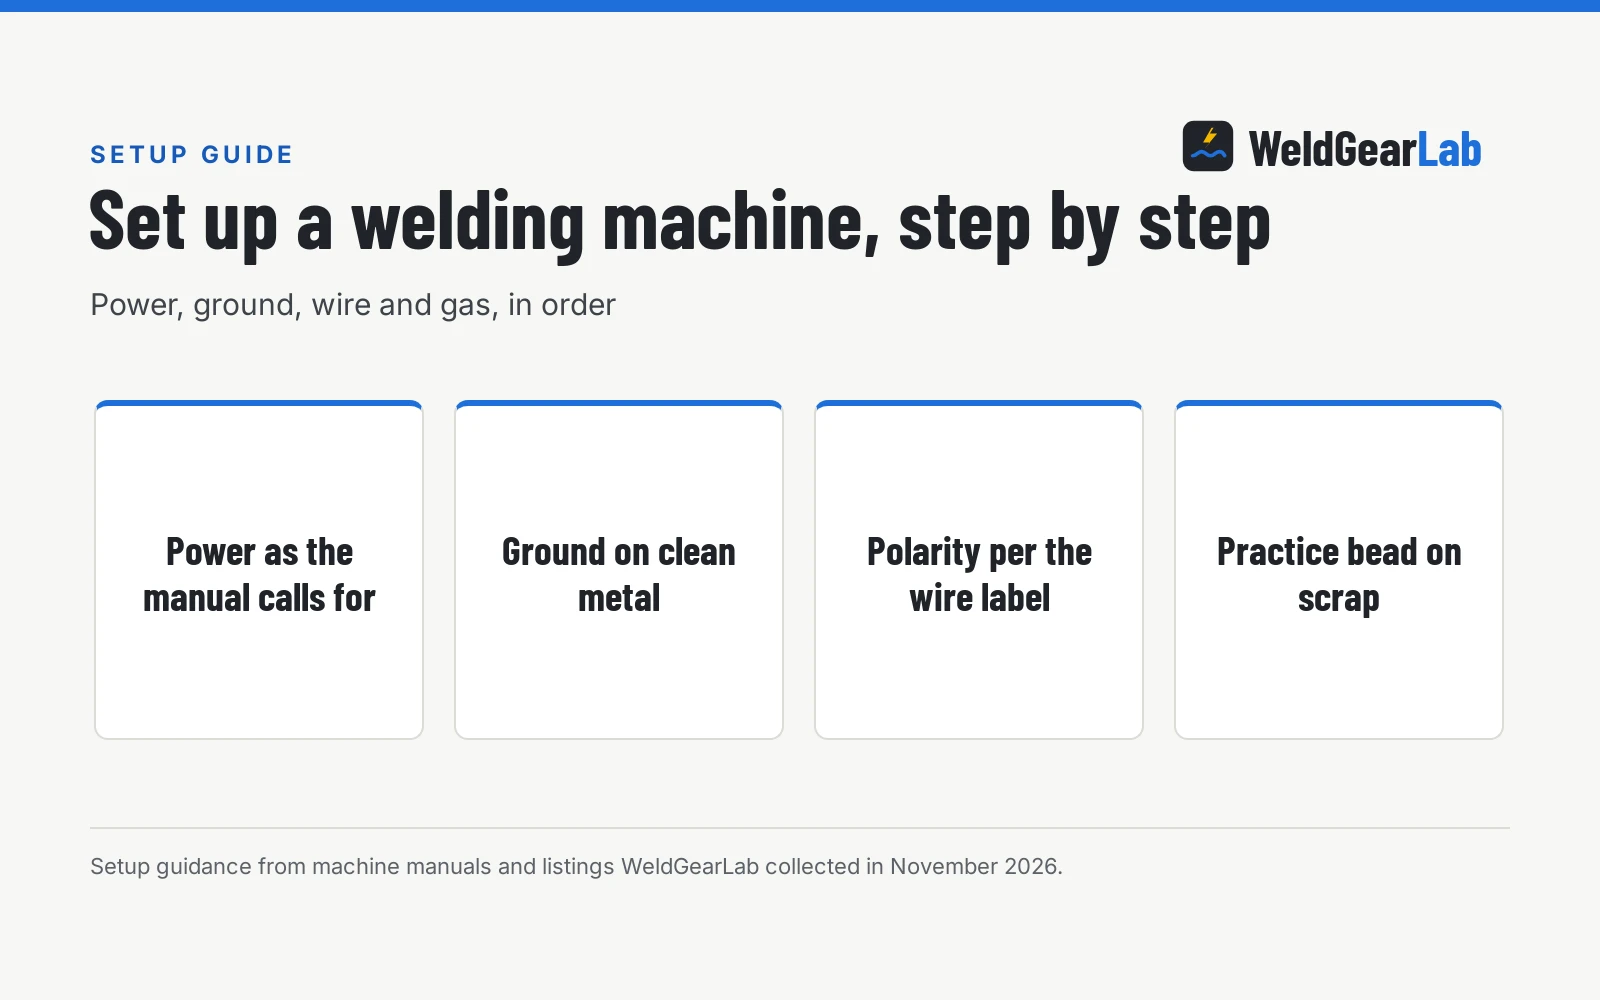
The bench is clear, the joint is fitted, and the new machine sits in its box waiting to earn its keep. How to set up a welding machine comes down to a short order of operations: place the machine where it can breathe, connect power the way the manual calls for, clamp the ground to clean metal, load the wire or rod, set polarity and gas to match, then run a practice bead on scrap. Get that order right and the machine is ready to weld; skip a step and the arc will tell you.
This guide links to our product roundups, where WeldGearLab gets a commission on purchases made through links on this page, and your price stays the same. Read our affiliate disclosure.
How to set up a welding machine: the quick answer
Set the machine on a steady bench or cart with air moving around it, then connect power exactly as the manual calls for. Clamp the ground lead to clean bare metal close to the joint. Load the wire or rod the job calls for, set the polarity the wire label calls for, and connect gas only when the process needs it. Run a practice bead on scrap of the same metal, adjust the dials, and chip slag from a flux core or stick bead before the next pass, then brush the bead clean.
Set the machine down and connect power
Give the machine a steady home before anything else. A bench or cart that does not wobble keeps the machine where you left it, and open air around the case lets the fan do its job. Keep the machine clear of dust, damp and grinding sparks. Plug the lead into the outlet the manual names, and keep the lead clear of the work and the floor where feet and wheels pass. Never cut, change or adapt a plug, and never wire an outlet yourself. When the outlet in the shop does not match the plug on the machine, have a licensed electrician fit an outlet the manual calls for.
Clamp the ground close to the work
The ground clamp completes the circuit, so treat it like part of the weld. Clamp it to clean bare metal, close to the joint, and tug it to make sure it cannot slip. Paint, rust and mill scale under the clamp starve the arc and make the bead wander, so grind a bright spot for the clamp when the metal is coated. A BAYTORY magnetic ground clamp (on Amazon) sticks to smooth, clean bare metal, flat or curved, with a copper tail. Keep the ground lead clear of the weld zone so it does not snag or melt.
Load the wire or rod and set polarity
Open the case and load the wire or rod the job calls for. On a wire feed machine, run the wire through the drive rolls, set the tension the manual calls for, and fit a contact tip that matches the wire size. On a stick machine, seat the rod firmly in the holder. Then set the polarity the wire or rod label calls for: solid wire MIG usually runs DCEP, self shielded flux core usually runs DCEN, while gas-shielded flux core usually runs DCEP, and the label on the wire and the manual always win over habit. A wrong polarity still strikes an arc, so check the leads against the label before you change other settings.
Gas, when the machine runs it
Self-shielded flux core needs no gas, while gas-shielded flux core needs a cylinder like gas MIG, and a machine set up for gas needs the full chain. Stand the cylinder upright, chain it to the bench or cart, and fit the regulator the manual calls for. Open the valve slowly and check each joint for a leak as the manual calls for, then set the flow the manual calls for. Keep the cylinder clear of the arc and the weld zone, and never weld on a tank that held fuel. When the work is galvanized, weld outdoors or with strong ventilation and keep your head out of the plume, because the fumes from coated metal are harsher than plain steel smoke.
Set the dials and run a practice bead
Start with the settings on the machine door chart or in the manual for the metal at hand. Run a practice bead on scrap of the same metal and watch the puddle: a bead that wets into the edges means the settings are close, while spatter and a tall ropey bead mean something is off. Change a dial, run another practice bead, and keep the changes separate so you know what moved the result. Chip slag from a flux core or stick bead and brush the bead clean before the next pass; a 25-piece accessory kit from VASTOOLS packs a 10-1/2-inch chipping hammer and an 11-inch wire brush for that job, with 50 lb welding magnets and angles at 45, 90 and 135 degrees for fit-up.
Setup checklist by process
Every process follows the same order, but the details change with the wire and the gas. Use this table as a check before the opening bead.
| Gas MIG | Flux core | Stick | TIG | |
|---|---|---|---|---|
| Consumable | Solid wire, tip to match | Flux core wire, knurled rolls | Rod seated in the holder | Tungsten, filler rod at hand |
| Polarity | DCEP | DCEN for self-shielded wire | Per the rod label | DCEN for steel |
| Gas | Cylinder, regulator, hose | None for self-shielded wire | None | Cylinder, regulator, hose |
| Practice | Practice bead on scrap | Practice bead on scrap | Practice bead on scrap | Practice bead on scrap |
| Cleanup | Brush the bead | Chip slag, then brush | Chip slag, then brush | Brush the bead |
Arc, fumes and fire. Welding throws arc flash, fumes and hot metal, so set up with protection in place: an auto-darkening helmet, gloves and a jacket, ventilation or outdoor air, and a clear floor with nothing flammable near the work. Secure gas cylinders upright with a chain. See the OSHA welding overview for the full guidance.
FAQ for welders
Do I need gas to set up a welding machine?
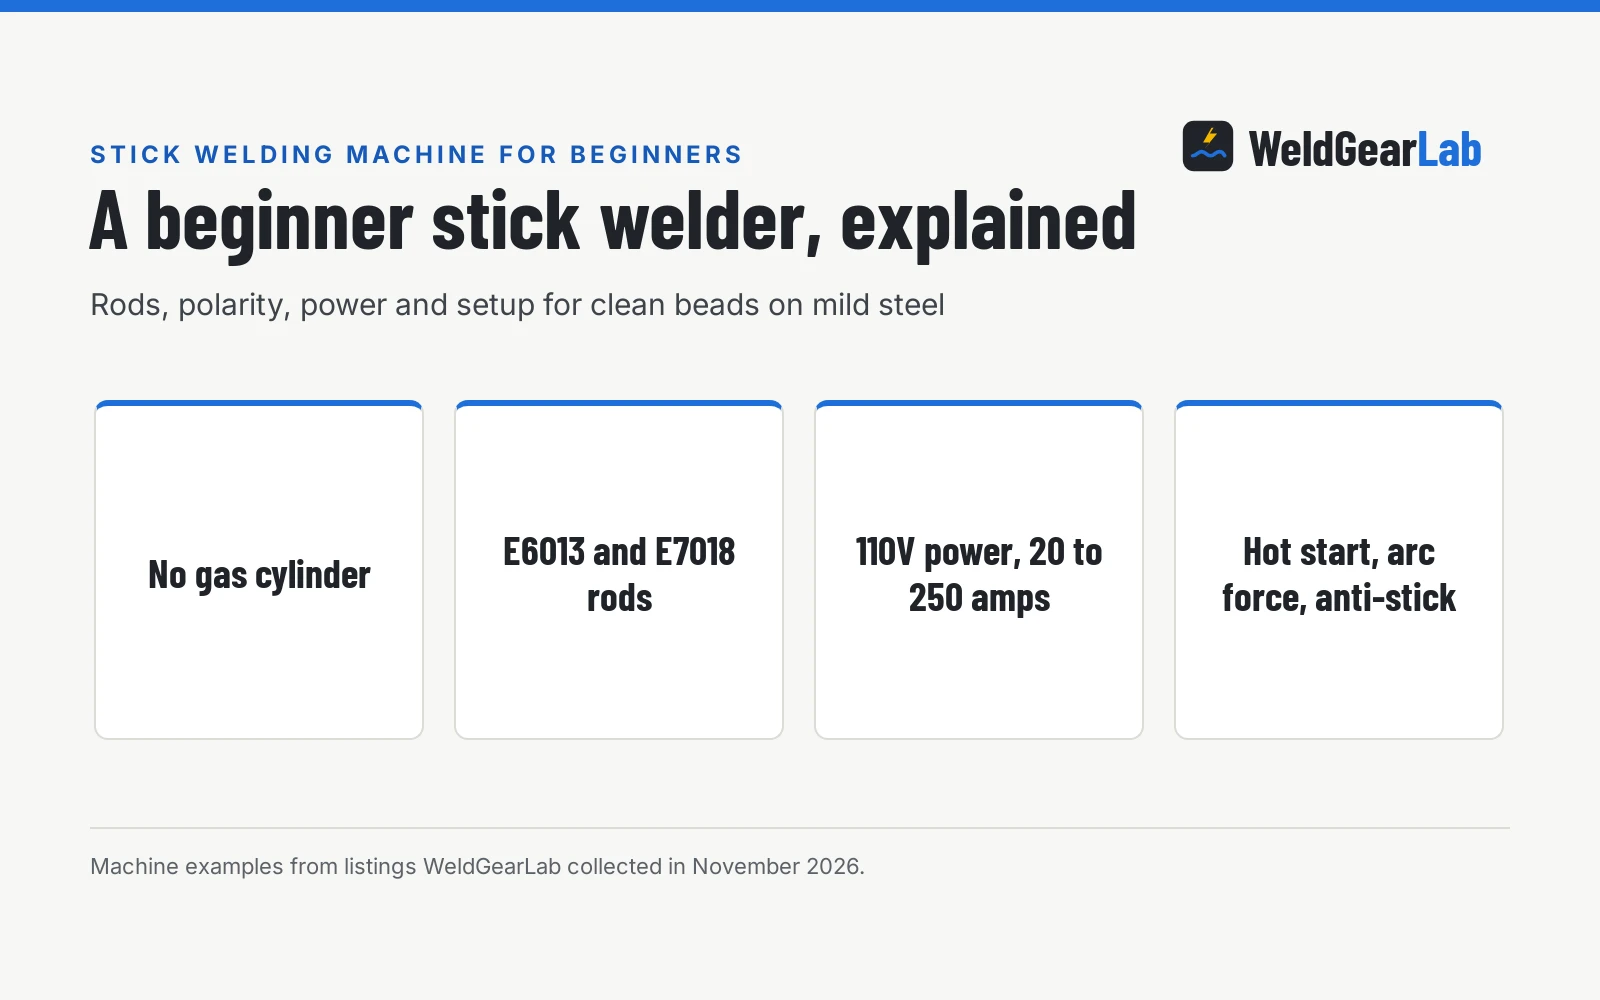
No, not always. Self shielded flux core wire makes its own shield, so the machine runs with no cylinder at all. Gas MIG and TIG need a cylinder, a regulator and a hose, and the gas the wire and the manual call for. When a machine lists gas MIG, check for a gas inlet and a hose in the box before ordering.
Where do I clamp the ground?
On clean bare metal, close to the joint, with the clamp tight enough that it cannot slip. Paint, rust and mill scale under the clamp starve the arc, so grind a bright spot for it. Keep the lead clear of the weld zone and the floor where it can snag.
How do I know the polarity is right?
Read the label on the wire or rod and the manual, and set the leads to match. Solid wire MIG usually runs DCEP and self shielded flux core usually runs DCEN, while gas-shielded flux core usually runs DCEP, but the label always wins over habit. If the bead looks wrong, recheck the leads against the label before changing other settings.
What do I do when the bead looks wrong?
Stop and check the setup before changing the dials: the ground clamp, the polarity, the drive tension and the contact tip. Run a practice bead on scrap of the same metal, change a dial, and run another. A bead that will not wet into the edges can come from the setup, so recheck the ground, the polarity and the dials, and check that the metal is clean, before changing anything else.
Can I run a welder on an extension cord?
Only when the manual allows it, and only with a cord rated for the machine. Keep the run short, uncoiled and clear of the work, and never join cords together to reach farther. When the outlet is too far from the bench, move the machine or have an electrician fit an outlet closer to the work.
What tools help with setup and cleanup?
A few small tools cover most of it. A 25-piece accessory kit from VASTOOLS holds a 10-1/2-inch chipping hammer, an 11-inch wire brush, 50 lb welding magnets, a fillet gage that reads 1/8 inch to 1 inch, and a 16-foot tape measure. For layout marks, a Gersoniel welders pencil (on Amazon) set brings 2 pencils and 48 refills with a 0.08-inch line, and its built-in sharpener keeps the point fine.
Related: best welder for beginners, how to choose a MIG welder, and the welders hub. Also see the best flux core welder and best ground clamp for MIG welder.