TIG Torch Set Up: Step-by-Step Guide
Tig torch set up means fitting the collet body or gas lens, collet and cup in order, connecting the gas, and checking the torch before the arc.

On this page
Top picks at a glance
As an Amazon Associate I earn from qualifying purchases.
- 1
 YOBEL 100Pcs TIG Torch Consumables & Accessories Kit9.7/10View on Amazon
- 2
 ARCCAPTAIN 71 Pcs TIG Welding Torch Accessories Kit for9.3/10View on Amazon
A TIG weld starts before the arc does. The torch in your hand has to hold the tungsten steady, shield the puddle with gas, and let you see what you are doing, and each of those jobs depends on the small parts stacked inside the torch head. Tig torch set up is the order you fit those parts, connect the gas, and confirm the torch is ready before you strike an arc. This guide walks through that order for a WP-17, WP-18 or WP-26 torch, using the consumables the listings state, so you can set the torch up the same way each time you change a cup or a collet.
This guide links to our product roundups, where WeldGearLab gets a commission on purchases made through links on this page, and your price stays the same. Read our affiliate disclosure.
Tig Torch Set Up, Step by Step
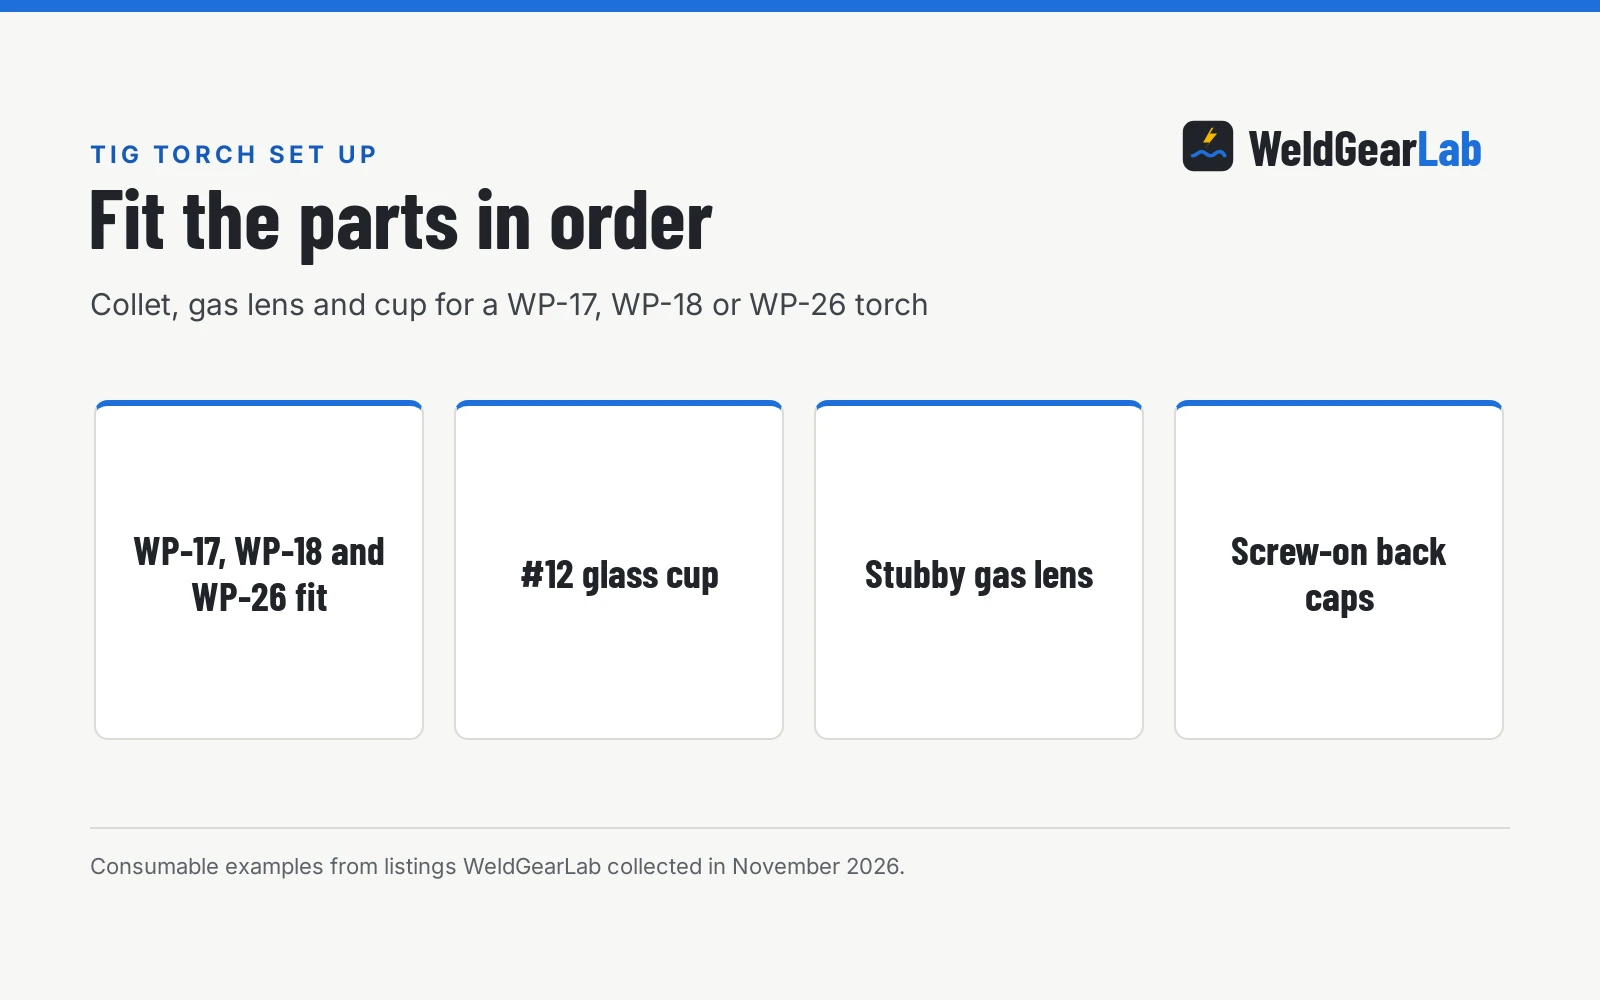
The parts fit in a fixed order, from the inside out: collet body or gas lens, collet, cup, then the back cap. Work on a clean bench with the torch pointing up, and keep the consumables from the kit together so parts made for a different torch do not get mixed in. The kits in this guide fit WP-17, WP-18 and WP-26 torches, and the YOBEL kit (on Amazon) also fits some CK torches, so confirm the torch model stamped on the handle before you start.
Fit the collet body and collet
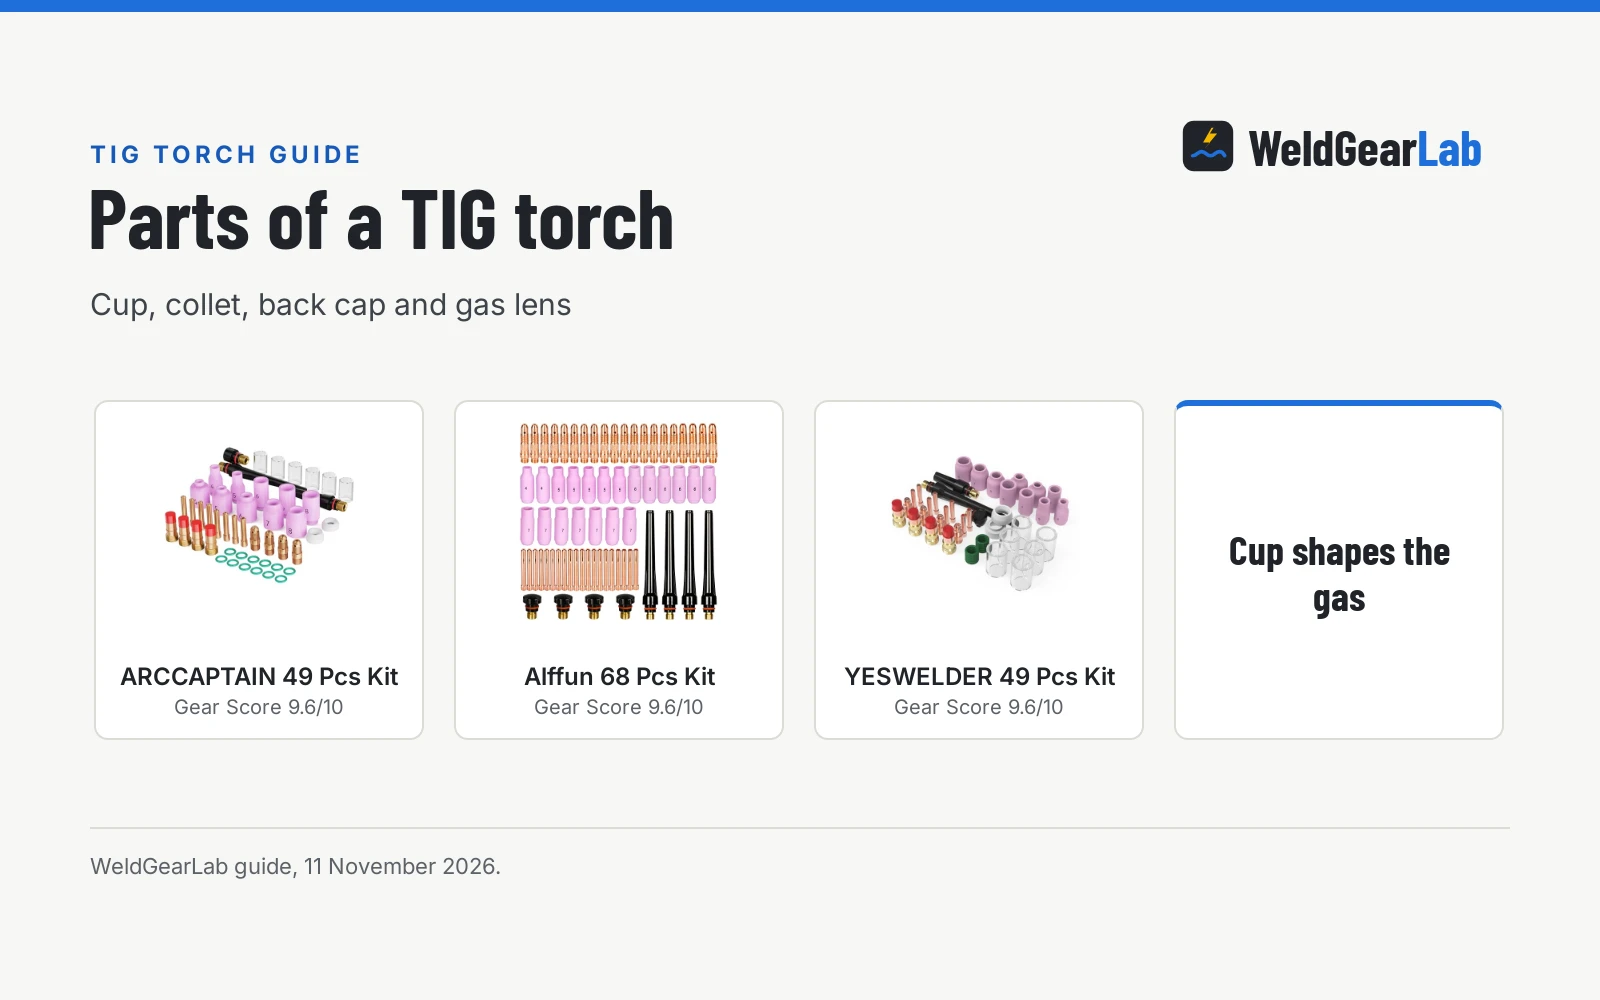
Thread the collet body into the head of the torch by hand, then snug it with a wrench. If you fit a gas lens instead, it threads into the head in place of the collet body. The collet slides inside the collet body or the lens and grips the tungsten when the back cap presses it home. The ARCCAPTAIN kit (on Amazon) lists 4 collet bodies with its torch collet, and the YOBEL kit lists 13N11 copper collets. Match the collet to the tungsten you plan to use, since a loose collet lets the tungsten slip and a collet that does not match will not grip it at all.
Fit the gas lens or nozzle
The gas lens threads into the torch head in place of the collet body, the collet slides inside the lens, and the cup threads onto the lens. The lens steadies the gas around the tungsten. The ARCCAPTAIN kit lists 4 stubby gas lens, and the YOBEL kit lists a stubby gas lens 53N61. The YOBEL listing states the stubby lens keeps gas flow steady so stainless and aluminum welds stay clean. A plain nozzle threads onto the collet body instead: the ARCCAPTAIN kit lists 10 gas nozzles and the YOBEL kit lists alumina nozzles. See the best TIG gas lens kit guide for more on lens choices.
Fit the cup
The cup threads onto the gas lens or the collet body and shapes the gas shield around the puddle. The ARCCAPTAIN kit lists 6 glass cups in size #12, and the YOBEL kit lists a #12 glass cup with alumina nozzles. The YOBEL listing states the #12 cup opens up a wide, visible arc, so you see the puddle, not a blur. Seat the cup by hand and stop when it sits flat against the lens or collet body, since a cup that sits crooked throws the gas shield to a side. For aluminum work, see the best TIG cup for aluminum guide.
Fit the back cap
The back cap screws into the rear of the torch head and presses the collet against the tungsten. The ARCCAPTAIN kit lists 3 back caps, and the YOBEL kit lists screw-on back caps. Turn the cap in by hand until it stops, then give it a firm twist with your fingers. The ARCCAPTAIN listing states its insulator rings can not match a CK torch, so keep those rings with the WP torch they came with.
Connect the gas hose and power lead
Connect the gas hose to the torch and the regulator, and connect the power lead to the machine with the quick connector the torch uses. The ARCCAPTAIN listing states a quick connector 10-25mm/35-50mm/XS12-5P. Open the cylinder valve and confirm gas reaches the cup, with the hose joints tight and the torch clear of the work. See the argon gas regulator for TIG welding guide for the regulator side of the hookup.
Side by side
| ARCCAPTAIN 71-piece kit | YOBEL 100-piece kit | Notes | |
|---|---|---|---|
| Glass cup | 6 glass cups, #12 | Glass cup, #12 | YOBEL states a wide, visible arc |
| Gas lens | 4 stubby gas lens | Stubby gas lens 53N61 | YOBEL states steady gas flow |
| Collets | Torch collet and 4 collet bodies | 13N11 copper collets | YOBEL states the same threads as the torch takes |
| Back caps | 3 back caps | Screw-on back caps | YOBEL states no adapter needed |
| Nozzles | 10 gas nozzles | Alumina nozzles | Both kits list spare nozzles |
| Case | Not stated | Hard case | YOBEL sorts parts in the hard case |
Each kit covers the same WP-17, WP-18 and WP-26 torches, so the choice comes down to the mix of spares. The ARCCAPTAIN kit packs 71 pieces, with the listing stating dimensions of 11.8 inches by 5.9 inches by 1.18 inches, while the YOBEL kit packs 100 pieces into a hard case. A shop that changes cups often will value the 6 glass cups in the ARCCAPTAIN kit, while a shop that wants the parts sorted will value the hard case in the YOBEL kit.
Common set up mistakes
- Wrong collet for the tungsten. A collet that does not match the tungsten will not grip it, and the tungsten slips as you weld. Match the collet to the tungsten before the back cap goes on.
- Cup left crooked. A cup that does not sit flat throws the gas shield to a side and leaves the puddle open to air. Seat the cup by hand and look at it from the side before you weld.
- Back cap left loose. A loose back cap lets the collet relax its grip, and the tungsten slides out of place mid-weld. Give the cap a firm twist with your fingers after it stops.
- Insulator rings on the wrong torch. The ARCCAPTAIN listing states its insulator rings can not match a CK torch. Keep those rings with the WP torch they came with.
- Gas lens left in the case. The YOBEL listing states the stubby lens keeps gas flow steady so stainless and aluminum welds stay clean. A plain nozzle still shields the puddle, so fit the lens when your kit includes one and the work calls for the steadier shield.
FAQ for welders
What torch sizes do these kits fit?
The ARCCAPTAIN and YOBEL kits fit WP-17, WP-18 and WP-26 torches. The YOBEL listing also states its kit fits some CK torches, while the ARCCAPTAIN listing states its insulator rings can not match a CK torch. Confirm the torch model stamped on the handle before you order spares.
What does the #12 glass cup do?
The YOBEL listing states the #12 cup opens up a wide, visible arc, so you see the puddle, not a blur. The ARCCAPTAIN kit lists 6 glass cups in size #12, and the YOBEL kit lists a #12 glass cup with alumina nozzles. Swap a worn cup mid-job and keep a spare in the kit.
Do I need a gas lens for stainless and aluminum?
The YOBEL listing states the stubby lens keeps gas flow steady so stainless and aluminum welds stay clean. The ARCCAPTAIN kit lists 4 stubby gas lens, and the YOBEL kit lists a stubby gas lens 53N61. A plain nozzle still shields the puddle, but the lens gives steadier gas on work where the weld must stay clean.
What comes in the ARCCAPTAIN 71-piece kit?
The listing states 6 glass cups in size #12, 10 gas nozzles, 4 collet bodies, 4 stubby gas lens, 3 back caps, a torch collet and a cup gasket. The listing also states the kit fits WP-17, WP-18 and WP-26 torches and lists pure copper as the material. The listing states a warranty of 3 months.
How do I know the torch is ready to weld?
Work through the order in this guide: collet body or gas lens, collet, cup, then back cap, with the gas hose and power lead connected. Confirm the cup sits flat, the back cap is firm, and gas reaches the cup before you strike an arc. If a part does not seat, take it out and check the threads and the fit before you force it.
Related: best TIG welder, best TIG torch, air-cooled vs water-cooled TIG torch, and the welders hub. Also see the TIG welders hub.