How to Use Bead Roller: Step-by-Step Metal Forming Guide
Learn how to use bead roller dies and fence alignment to stiffen sheet metal panels, form stepped flanges, and roll clean profiles in the shop.

On this page
Top picks at a glance
As an Amazon Associate I earn from qualifying purchases.
- 1
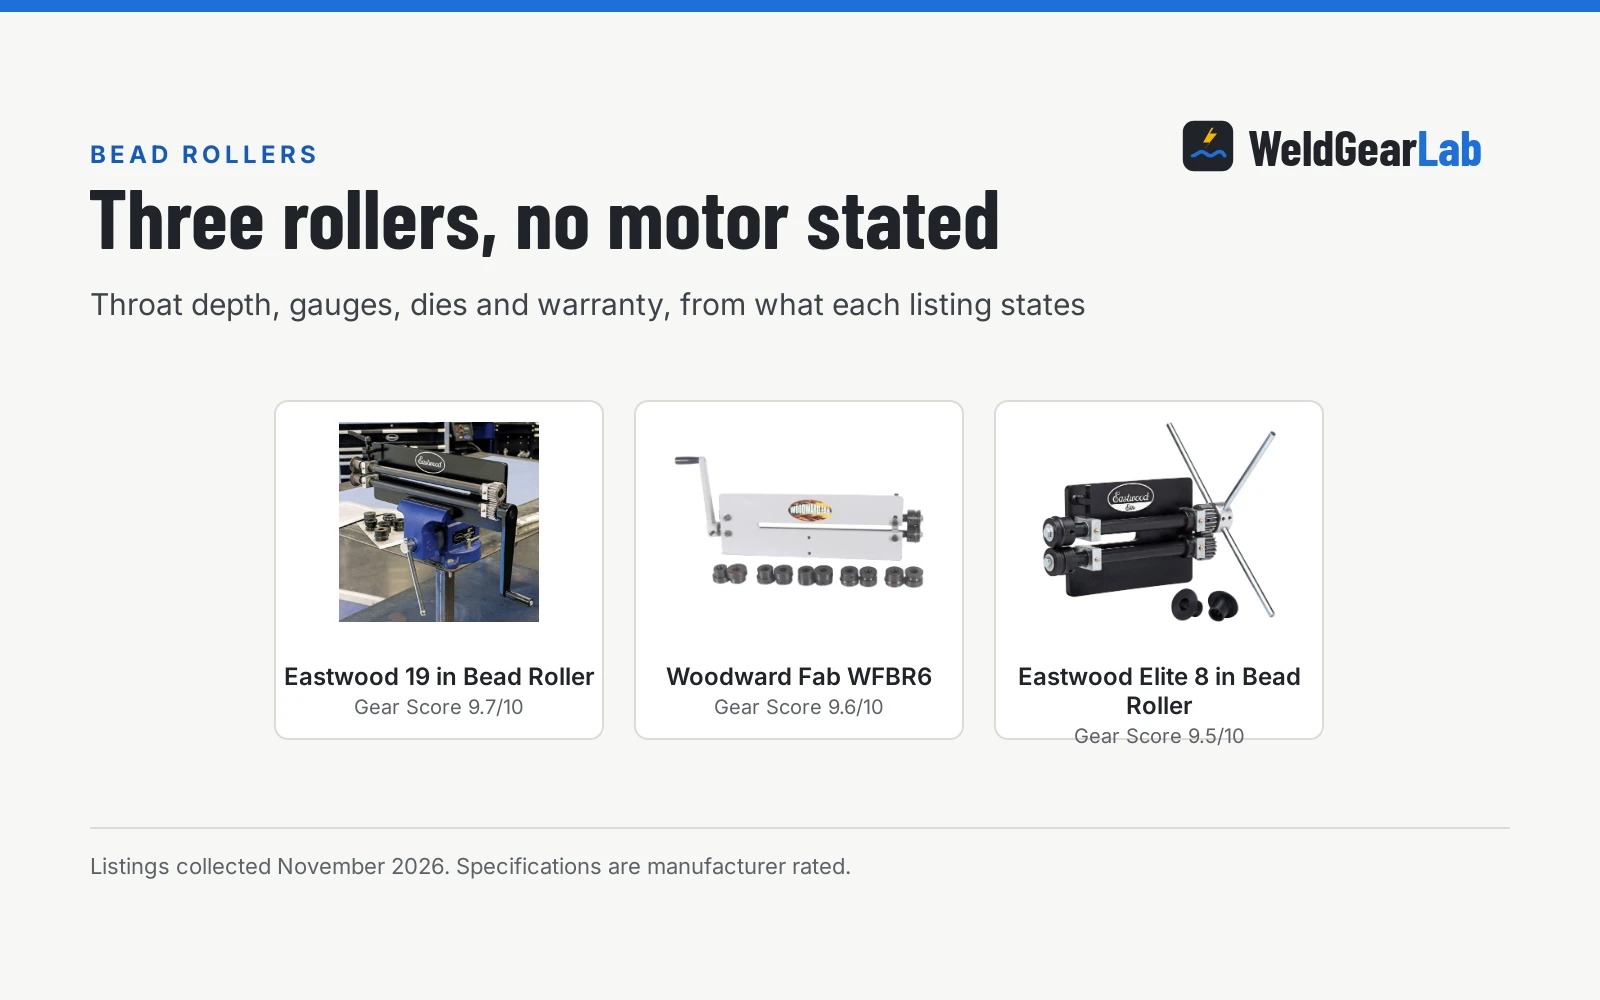
 Eastwood Metal Fabrication Bead Roller with Dies9.7/10View on Amazon
- 2
 WFBR6 18 in. Bead Roller Kit Brand: Woodward Fab9.6/10View on Amazon
- 3
 Eastwood Elite 8In Heavy Duty Bead Roller Durable Design 22Mm9.5/10View on Amazon
When you need to stiffen a floppy floor pan, build a custom firewall, or form a stepped flange on patch metal, knowing how to use bead roller tooling is an essential fabrication skill. To use a bead roller, mount matching male and female dies on the shafts, set light tension on the top roll, align your scribed layout mark with the die profile, and guide the sheet smoothly through the rotating dies using progressive shallow passes rather than forcing full depth immediately. Learning how to use a bead roller with level panel support keeps sheet metal flat and produces crisp structural ribs.
Other welders and gear to compare
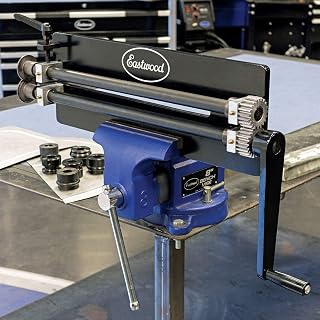 Eastwood Metal Fabrication Bead Roller with DiesCheck price on Amazon
 Eastwood Elite 8In Heavy Duty Bead Roller Durable Design 22MmCheck price on Amazon
This guide links to our product roundups, where WeldGearLab gets a commission on purchases made through links on this page, and your price stays the same. Read our affiliate disclosure.
Bead roller basics on the shop bench
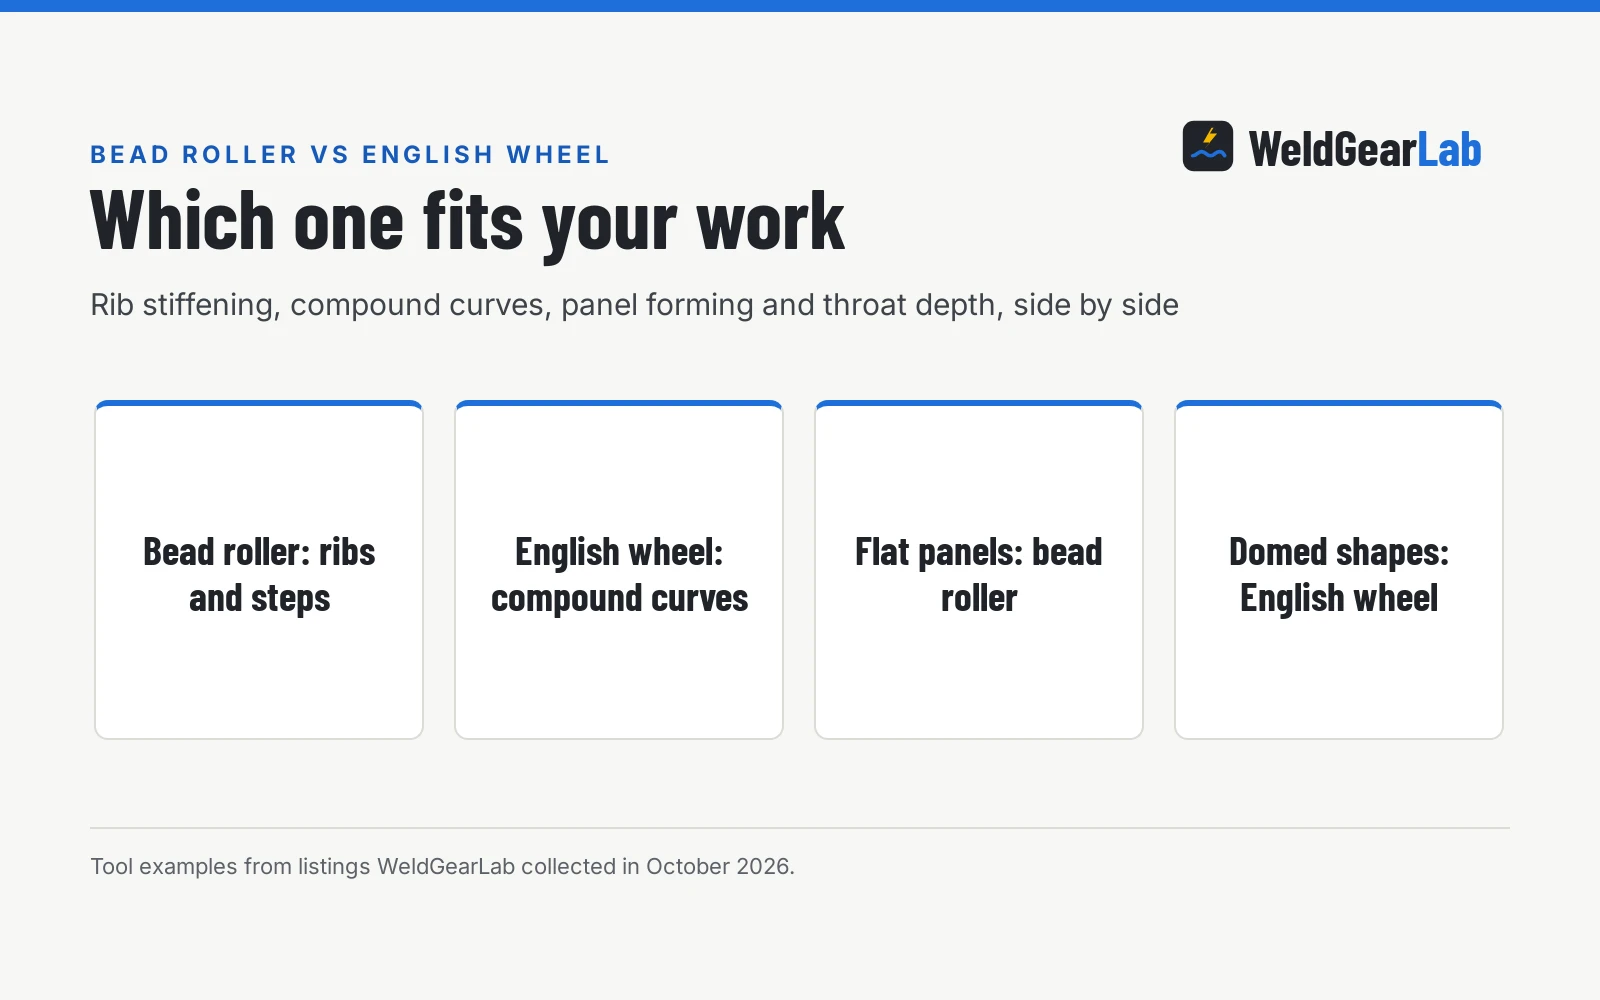
Sheet metal gains rigidity from formed profiles rather than material thickness alone. Flat sheet flexes and vibrates across open spans like floor pans and door skins. A bead roller uses parallel shafts fitted with hardened dies to press contoured shapes directly into sheet metal, forming raised beads, recessed ribs, or stepped flanges that add structural strength without adding weight.
Whether using a manual hand-crank machine or a motorized unit, the forming principle remains identical: guide marked stock between rotating dies using light progressive passes. Pairing clean bead profiles with the best welder for body panels ensures rigid, warp-free sheet metal repairs.
Side by side
| Manual Hand Crank | Drill-Driven Setup | Dedicated Motorized | |
|---|---|---|---|
| Drive mechanism | Hand crank or hand wheel | Cordless drill chucked to drive shaft | Electric gearmotor with foot pedal |
| Operation | Needs a helper or careful hand feeding | Trigger locked or variable throttle | Foot pedal frees hands for sheet support |
| Feed speed control | Controlled by hand turning speed | Drill trigger speed dial | Variable speed foot pedal |
| Portability | Vise mount or light stand | Vise mount with portable drill | Heavier stationary shop stand |
| Panel size handling | Best for small to medium panels | Good for medium panels | Best for expansive floor pans and long sheets |
| Frame flex risk | Deflection occurs under heavy roll pressure on deep throats | Deflection occurs under heavy roll pressure on deep throats | Heavy reinforced frames minimize arm deflection under load |
| Setup complexity | Mount in vise, install dies, adjust tension | Mount in vise, chuck drill, set drill torque | Mount stand, wire motor, attach pedal, adjust dies |
| Learning curve | Immediate tactile feel for roll pressure | Requires practice balancing drill trigger | Requires pedal coordination to avoid over-rolling |
Drive selection depends on workspace and whether you have a helper. Manual crank rollers offer direct tactile feedback, drill adapters provide affordable power, and dedicated motorized units free hands to guide wide panels solo. Clamp manual rollers to a rigid bench or sturdy stand; our guide to the best welding table for a home shop covers sturdy bench options that resist torque during rolling passes.
When manual bead rollers are the better choice
- Compact shop space. Frames clamp into a bench vise and store easily when finished.
- Tight radius work. Turning the crank by hand provides fine control around sharp corners and detail marks.
- No power required. Clamp the frame anywhere without extension cords.
- Direct tactile feedback. Resistance through the crank handle warns you before excessive pinch distorts sheet edges.
For floor patches and small covers, manual rollers deliver reliable forming capability with minimal footprint.
When motorized bead rollers are the better choice
- Solo panel handling. A foot pedal leaves hands free to steer wide sheets without a helper.
- Expansive floor pans. Guiding large stock requires dual-hand support to prevent sheet sag.
- Long production runs. Motorized drive maintains uniform roll speed across full sheet spans.
- Less fatigue. Rolling repetitive ribs across large panels avoids tired arms from manual cranking.
For solo fabricators forming large automotive panels, motorized drive simplifies sheet handling.
How to use bead roller step by step
Forming clean beads without twisting panels requires methodical setup. Follow these shop steps on each workpiece:
Clean and deburr the stock. Cut your sheet blank to size and deburr edges with a file. Burrs can catch on fences and steer sheets off track. Wipe away grease so layout marks stay visible. When trimming margins or smoothing cut edges, clean prep with the best angle grinder keeps edges smooth and true.
Scribe clear layout lines. Mark bead centerlines across the panel using a straightedge and fine scribe. When rolling parallel ribs, index lines from a reference edge and lock your guide fence at the desired offset.
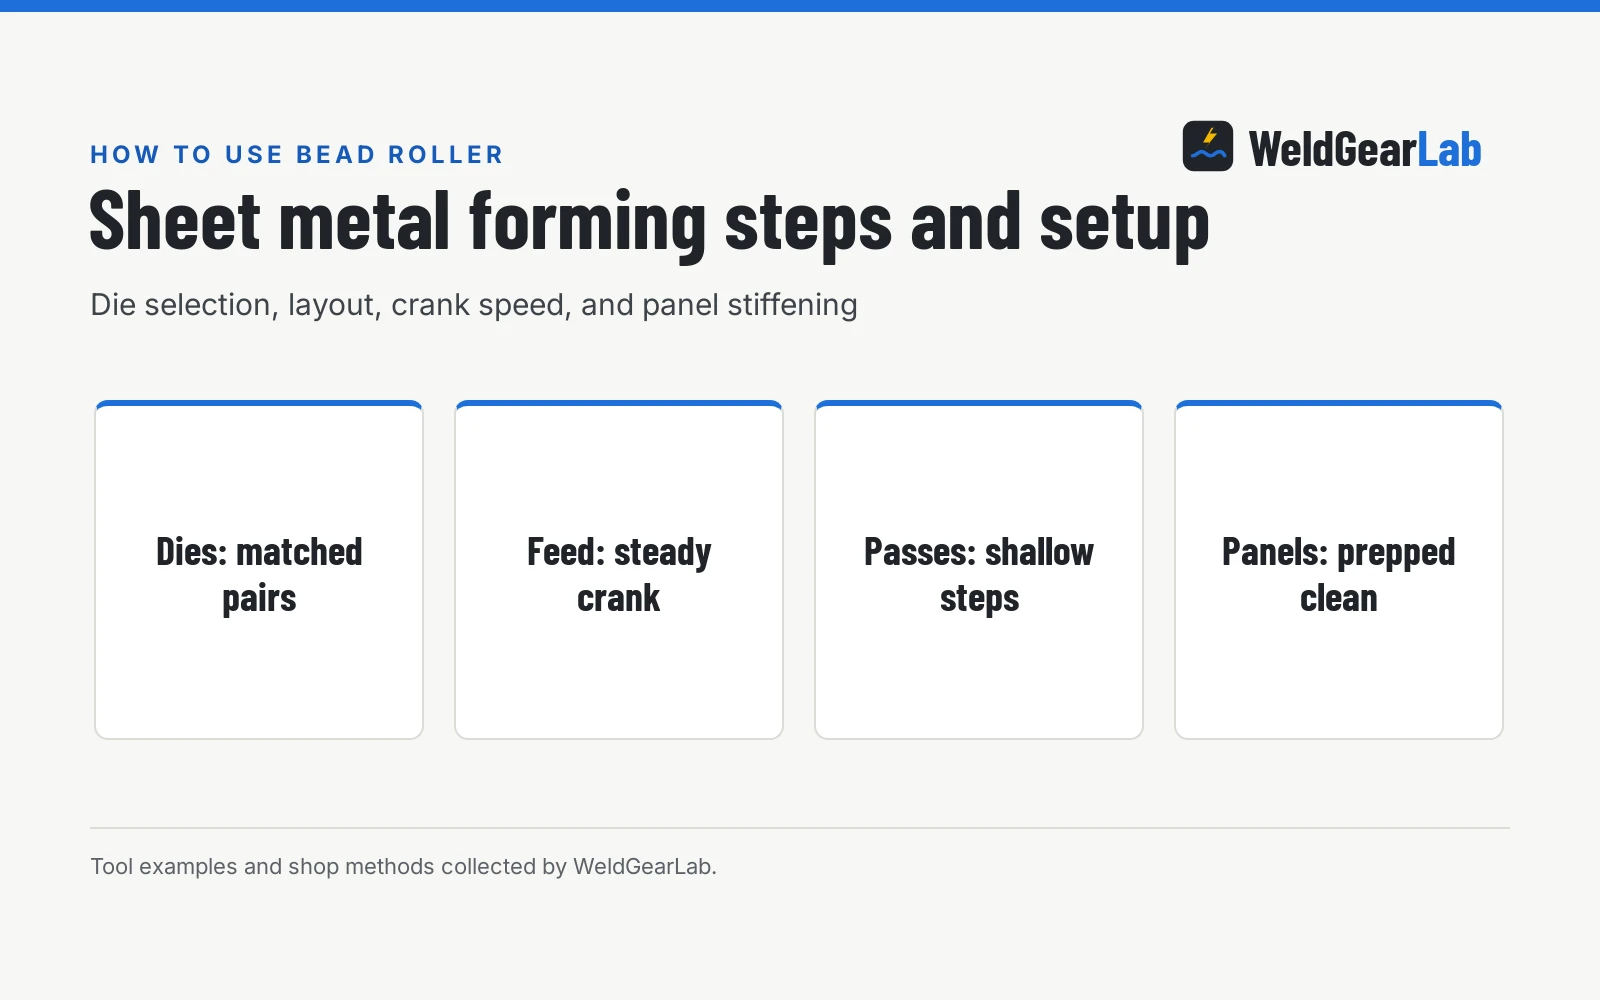
Install matched die sets. Slide matching dies onto the shafts, tightening set screws against shaft flats. Spin shafts by hand to verify male rolls align centered within female grooves without rubbing sidewalls.
Dial in die tension on scrap. Insert scrap metal of identical thickness between dies. Lower the tension screw until rolls contact the sheet, then add slight downward pressure. Roll a sample pass to confirm profile depth before touching finished work.
Guide the panel with steady alignment. Align your layout line with the upper die center. Keep the panel edge lightly indexed against the fence, hold the sheet level with the die parting line, and crank at an even pace, letting rotating dies pull the sheet forward.
Make progressive shallow passes. Inspect depth after the sheet clears the rolls. Lower the tension screw slightly, re-enter from the same starting edge, and roll again in the same direction. Progressive light passes stretch metal gradually, preventing warped edges.
Choosing dies and prepping sheet metal
Bead rollers accept varied die profiles for distinct fabrication tasks:
- Round bead dies. The standard profile for floor pans and firewalls, stretching metal symmetrically for maximum stiffness.
- Step dies. Form stepped flanges along panel margins, creating recessed seats for flush lap joints.
- Edge flanging dies. Turn perpendicular lips along edges for seams or stiffened panel borders.
- Shearing dies. Rotary cutting wheels that slice clean sheet margins inside the throat.
Cold rolled steel forms predictably with minimal springback. Harder aluminum tempers require light passes to avoid cracking, while soft alloys form easily. Clamping panels flat with types of welding clamps while tacking pre-formed sheet to tubing prevents fit-up gaps.
Controlling frame flex and panel distortion
Deep throat frames flex under heavy forming pressure. When arms deflect apart, die depth fades across the panel, creating uneven beads. Bolting or welding reinforcement trusses along the frame spine stiffens the throat and ensures uniform depth across long sheet pulls.
Sheet distortion occurs when localized stretch pulls adjacent flat metal out of plane. Support the workpiece level at die height throughout the roll stroke; letting broad panels sag twists the sheet as it enters the dies. When assembling formed panels, see our guide on how to MIG weld thin sheet metal without burning through to prevent blow-through on thin seams.
FAQ for welders
Why is my sheet metal curling when I roll a bead?
Sheet metal curls when top dies are tightened too aggressively on early passes, stretching formed crests faster than flat metal can yield. Support panels level with the die line and reach full depth through progressive light passes. If slight bowing occurs, rolling a balancing bead in reverse orientation helps restore flatness.
Can a bead roller form curved lines and tight radiuses?
Yes, bead rollers follow curved layout marks when you remove the guide fence and steer sheets manually. Roll slowly, pivot panels around the die contact point, and choose smaller profile dies to prevent binding.
How do I keep long bead lines straight without wandering?
Index the panel edge lightly against a guide fence without forcing sideways pressure. When working curved borders where fences cannot guide the sheet, scribe layout lines and align your sight line over the upper roll center. A helper turning the crank frees both hands to guide the sheet.
How do I stop bead roller frame flex?
Frame flex happens when forming forces push throat plates apart during deep passes. Fabricators eliminate deflection by welding or bolting steel reinforcement trusses across the spine. Stiffening the frame ensures uniform bead depth from edge to edge.
Can I weld patch panels immediately after bead rolling?
Inspect panels for flatness before clamping and welding to eliminate joint springback. Formed beads stiffen sheet centers, but mating edges must sit flush. When tacking formed panels, check our guide on what size MIG wire for sheet metal for solid wire choices that minimize burn-through on thin seams.
Related: metal fab tools, types of welding clamps, and the best welding table for a home shop. Also see our guide on how to MIG weld thin sheet metal without burning through.