How to Use Stick Welder: Setup, Striking, and Technique
Learn how to use stick welder gear safely and effectively, covering workpiece preparation, ground clamping, arc striking technique, travel angle, and slag removal.
 By WeldGearLab Editorial
Updated October 9, 2026
By WeldGearLab Editorial
Updated October 9, 2026
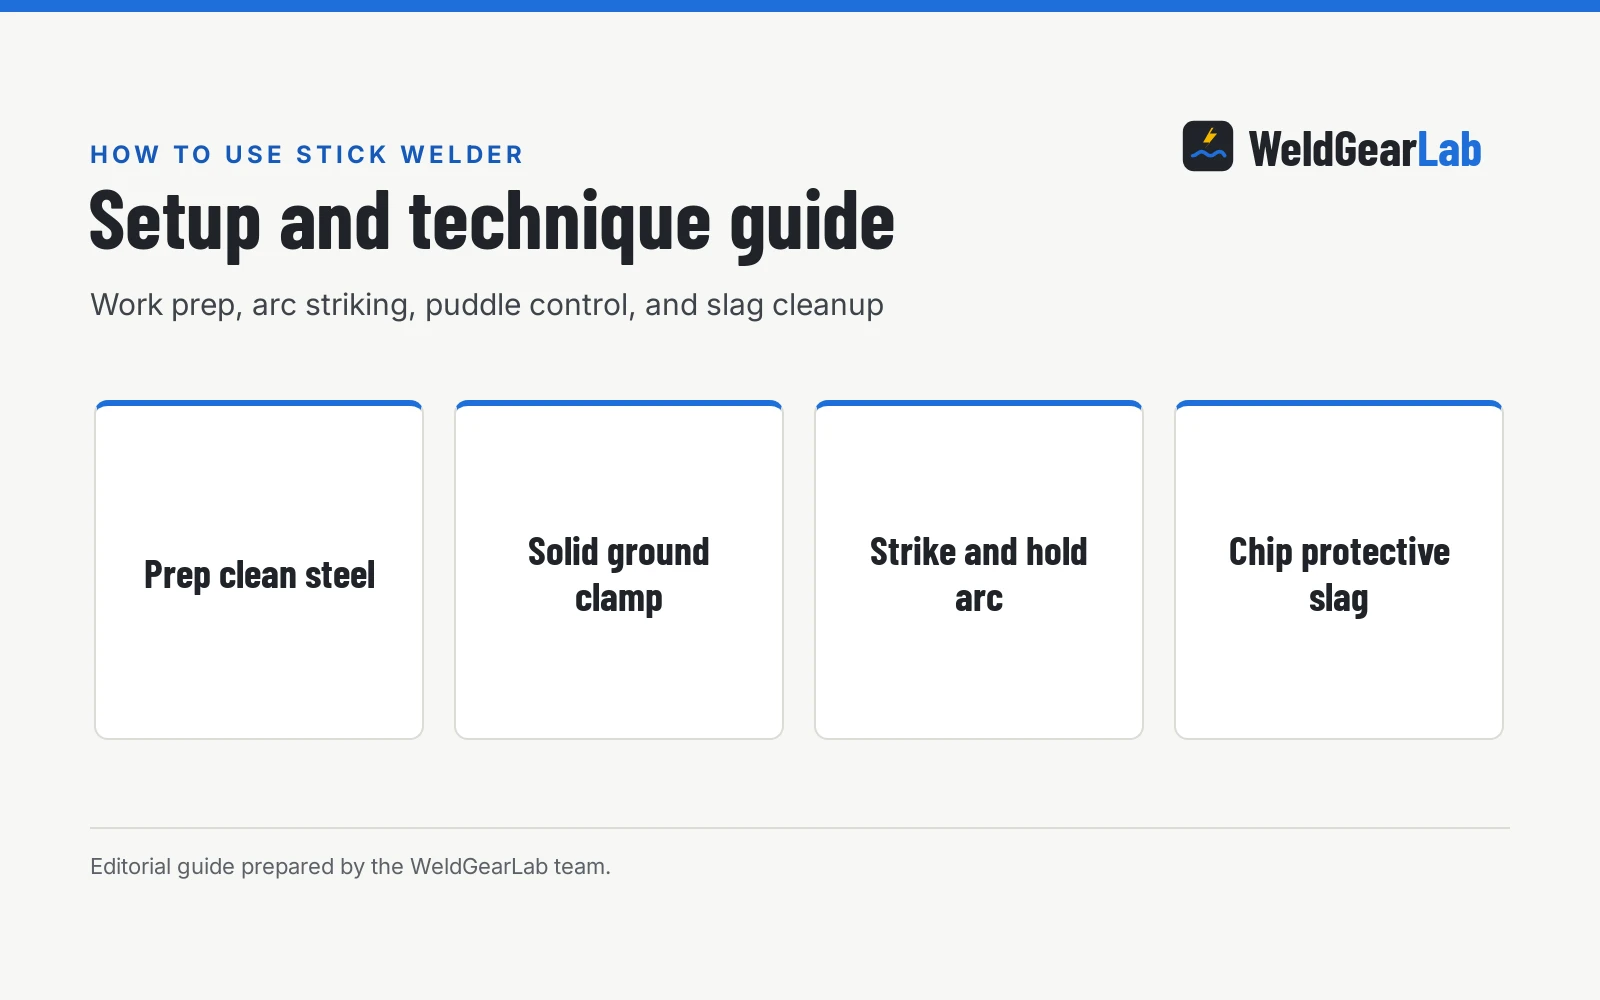
To know how to use stick welder machines, secure the work clamp to clean bare metal, insert a flux-coated electrode into the insulated holder, set the current on the power source, and strike the tip against the joint like a match to establish an electric arc. Shielded metal arc welding creates heat between the consumable rod and the workpiece, melting both while the burning flux creates a protective gas pocket and a slag crust. Once the arc ignites, maintain a tight gap and a steady travel angle along the seam, then chip away the hardened crust when cool. This guide explains how to stick welder equipment properly across setup, striking, puddle control, and post-weld cleaning.
As an Amazon Associate I earn from qualifying purchases. This guide links to our product roundups, where WeldGearLab earns a commission when you buy through links, at no extra cost to you. Read our affiliate disclosure.
The core process in brief
Stick welding relies on an electric circuit running between a power supply, a work lead clamped to your project, and an electrode lead holding a flux-coated metal rod. When the electrode touches the base metal and pulls back slightly, current jumps across the gap, generating high heat that melts the rod core and the joint edges together into a liquid weld pool. The flux coating vaporizes into shielding gases that shield the molten puddle from atmospheric contamination, while liquid flux floats to the surface and solidifies into protective slag. After completing the bead, removing that slag reveals the solid metal underneath.
Side by side
| Process Factor | Stick (SMAW) | Gas MIG (GMAW) | Flux Core (FCAW) |
|---|---|---|---|
| Shielding source | Burning flux coating on consumable rod | External shielding gas from cylinder | Internal flux core within tubular wire |
| Outdoor wind tolerance | Excellent wind resistance without shelter | Poor wind tolerance as draft disperses gas | High wind resistance without cylinder |
| Surface prep tolerance | Burns through surface rust and light scale | Requires pristine bare clean metal | Tolerates moderate rust and mill scale |
| Post weld cleanup | Chipping hammer required to clear slag crust | Minimal cleanup with light spatter brushing | Chipping hammer required to clear slag crust |
| Equipment portability | Compact power source with no gas cylinder | Requires gas cylinder, regulator, and hose | Compact power source with no gas cylinder |
Process selection depends on operating environment, joint condition, and equipment portability. Stick welding remains the reliable choice for outdoor repairs and dirty steel where shielding gas cannot function.
When stick welding is the right choice
- Outdoor jobs and breezy conditions. High wind blows shielding gas away from MIG torches, but stick welding generates its own robust gas shield right at the rod tip.
- Rusted, dirty, or painted steel. While cleaning metal remains good practice, aggressive flux chemistries burn through surface rust and mill scale far better than solid wire processes.
- Heavy repairs on thick steel. Stick machines deliver deep root penetration on farm implements, equipment frames, and structural brackets. Our best stick welder for farm use guide details heavy-duty options built for tough repairs.
- Portable field work. Compact inverter power sources plug into standard circuits or generators without hauling heavy gas cylinders or delicate wire feeders; explore options in our best portable stick welder roundup.
When another process works better
- Thin sheet metal and auto body repair. Stick arcs produce intense concentrated heat that easily burns through thin sheet panels, making wire feed processes more controllable.
- Finished appearance and zero slag. Projects demanding clean aesthetic beads without slag chipping or heavy spatter scraping often benefit from gas-shielded MIG or TIG welding.
- Long continuous production seams. Changing consumable electrodes interrupts workflow, whereas continuous wire spools allow uninterrupted welding along lengthy fabrications.
- Exotic alloys and thin aluminum. While specialty stick rods exist, high-frequency TIG delivers superior puddle control and arc stability on nonferrous metals; see our overview of welding machine types for process tradeoffs.
How to use stick welder controls and setup
Setting up your welding station methodically ensures reliable arc starts, stable puddle control, and operator safety. Follow these sequential steps:
- Prepare the base metal. Use an angle grinder or wire wheel to remove thick rust, oil, grease, and mill scale from the joint area and the ground clamping spot. Clean metal promotes instant arc ignition and prevents weld porosity.
- Attach the ground clamp securely. Fasten the work lead clamp directly to bare metal on your workpiece or to a solid steel welding table. A loose or dirty ground causes arc wander, erratic voltage drops, and frustrating rod sticking; see our scored picks in the best welding ground clamp guide.
- Insert the electrode into the holder. Grip the bare end of the electrode firmly between the copper jaws of the stinger holder. Position the rod at an angle that allows a comfortable hand position along the planned joint.
- Set the machine current. Turn on the welder and adjust the amperage dial. If the machine amperage is set too low, the electrode sticks persistently and leaves tall, ropy beads that fail to penetrate; setting amperage too high produces loud popping, excessive spatter, and burn-through holes. Adjust until the arc sounds like bacon frying steadily.
- Strike the arc and establish the puddle. Lower your helmet, position the rod over the starting point, and scratch or tap the tip against the joint. The instant the spark appears, lift the electrode tip slightly to establish arc length, pause briefly to let the puddle form, and then begin moving.
- Control arc length, travel angle, and speed. Keep the tip close to the puddle without dipping into the molten bath. Tilt the electrode slightly in the direction of travel to push slag behind the molten pool. Move at an even pace so the bead width remains uniform.
- Extinguish the arc and clean the bead. At the joint end, pause slightly to fill the crater, then lift the electrode quickly to break the circuit. Allow the glowing bead to darken, then use a chipping hammer to tap away the brittle slag crust, wearing eye protection beneath your helmet. Brush the joint clean with a wire brush.
Selecting the right electrode and polarity
Electrode choice determines arc characteristics, penetration depth, and mechanical strength. For general fabrication and repair, selecting the proper rod coating and current polarity is critical:
- Cellulose-coated rods. These feature a forceful, digging arc that cuts through rust, paint, and dirt with deep penetration. They operate primarily on direct current electrode positive or alternating current, making them favorites for pipe welding and farm maintenance.
- Rutile-coated rods. Formulated with titanium dioxide, rutile electrodes deliver soft, smooth arcs, minimal spatter, easy arc striking, and easily removable slag. They work smoothly on alternating current or direct current and suit hobby fabrications and ornamental gates.
- Low-hydrogen rods. Designed for structural steel joints requiring high tensile strength and crack resistance, low-hydrogen rods deposit ductile metal with moderate penetration. They perform best on direct current electrode positive and require dry storage. Find suitable options in our roundup of the best welding rods for mild steel.
- Polarity settings. Direct current electrode positive directs heat into the workpiece for deeper penetration, whereas direct current electrode negative concentrates heat in the rod for faster melt rates on thin stock. Alternating current prevents arc blow on magnetized metals; compare power differences in our stick welder AC vs DC analysis.
Essential safety and protective gear
Stick welding generates blinding ultraviolet and infrared radiation, spatter droplets, toxic fumes, and open electrical circuits. Operating safely requires complete personal protection:
- Auto-darkening helmet. Shield your face and eyes from arc flash with a certified hood featuring adequate shade protection. Never strike an arc without proper optical filtering in place.
- Heavy leather welding gloves. Wear gauntlet-style leather gloves to protect hands and wrists from radiant heat, spatter, and sharp metal edges.
- Flame-resistant clothing. Wear heavyweight denim or leather jackets with long sleeves, natural fiber shirts, cuffless work pants, and sturdy leather work boots. Synthetic fabrics melt onto skin when struck by hot sparks.
- Safety glasses and hearing protection. Always wear clear impact-rated safety glasses under your hood, especially when chipping brittle slag, as hot flakes can shoot toward your eyes.
- Fume ventilation. Burning flux coatings produce fumes and smoke. Always position your head outside the rising smoke plume and weld in open areas or under mechanical exhaust.
- Electrical safety. Keep gloves and clothing dry. Never change electrodes with wet hands or while standing in damp areas, and inspect cable insulation regularly for cuts or exposed copper.
Frequently Asked Questions
Why does my stick welding electrode keep sticking to the metal?
An electrode sticks when the tip stays in direct contact with the workpiece too long or when current output is set too low for the rod diameter. Striking with a match-like scratch motion rather than a hard vertical jab helps establish the arc without fusing. Raising the machine amperage slightly also provides enough energy to sustain the arc gap immediately after contact.
What is the difference between scratch start and tapping methods?
Scratch starting involves sweeping the rod tip across the steel surface in an arc, which keeps the electrode moving and reduces the chance of sticking. Tapping involves bouncing the tip vertically against the joint and snapping the wrist upward as soon as the arc flashes. Beginners often find scratching easier, whereas tapping works better in confined seams where lateral swinging room is tight.
How tight should the arc gap be while welding?
Maintain an arc gap roughly equivalent to the thickness of the electrode metallic core wire. Holding too long of an arc increases voltage, generates erratic spatter, causes arc wander, and exposes the molten pool to atmospheric porosity. Keeping the arc too tight risks snuffing out the flame or plunging the rod into the puddle.
When should I choose stick welding instead of wire feed MIG welding?
Stick welding excels outdoors where wind blows away shielding gas cylinders and on thick or corroded steel requiring deep penetration. MIG welding works better inside a shop on clean sheet metal where speed, minimal spatter, and lack of slag cleanup are paramount. You can review detailed comparisons in our guide on stick welder vs wire welder setups.
Why must slag be chipped off between weld passes?
Slag is non-metallic flux residue that floats to the surface to insulate and protect the cooling weld bead from air contamination. If you leave slag on the bead and deposit another weld pass over it, the trapped residue forms severe internal slag inclusions that weaken the joint. Always chip and wire brush the seam thoroughly before laying down an additional weld pass.
Related: best portable stick welder, stick welder vs wire welder, stick welder AC vs DC, and the stick welders hub. Also see our guide to welders.
About the author
WeldGearLab Editorial is the editorial team behind WeldGearLab. We research product listings, specifications, safety listings and warranty terms, score every pick with the published Gear Score method, and correct errors when readers report them. We do not run our own shop trials; see How We Pick for exactly how picks are made.