How to Build a Welding Table
Learn how to build a welding table for your home shop, covering tabletop thickness, frame bracing, fixture hole patterns, and safe grounding.
 By WeldGearLab Editorial
Updated October 10, 2026
By WeldGearLab Editorial
Updated October 10, 2026
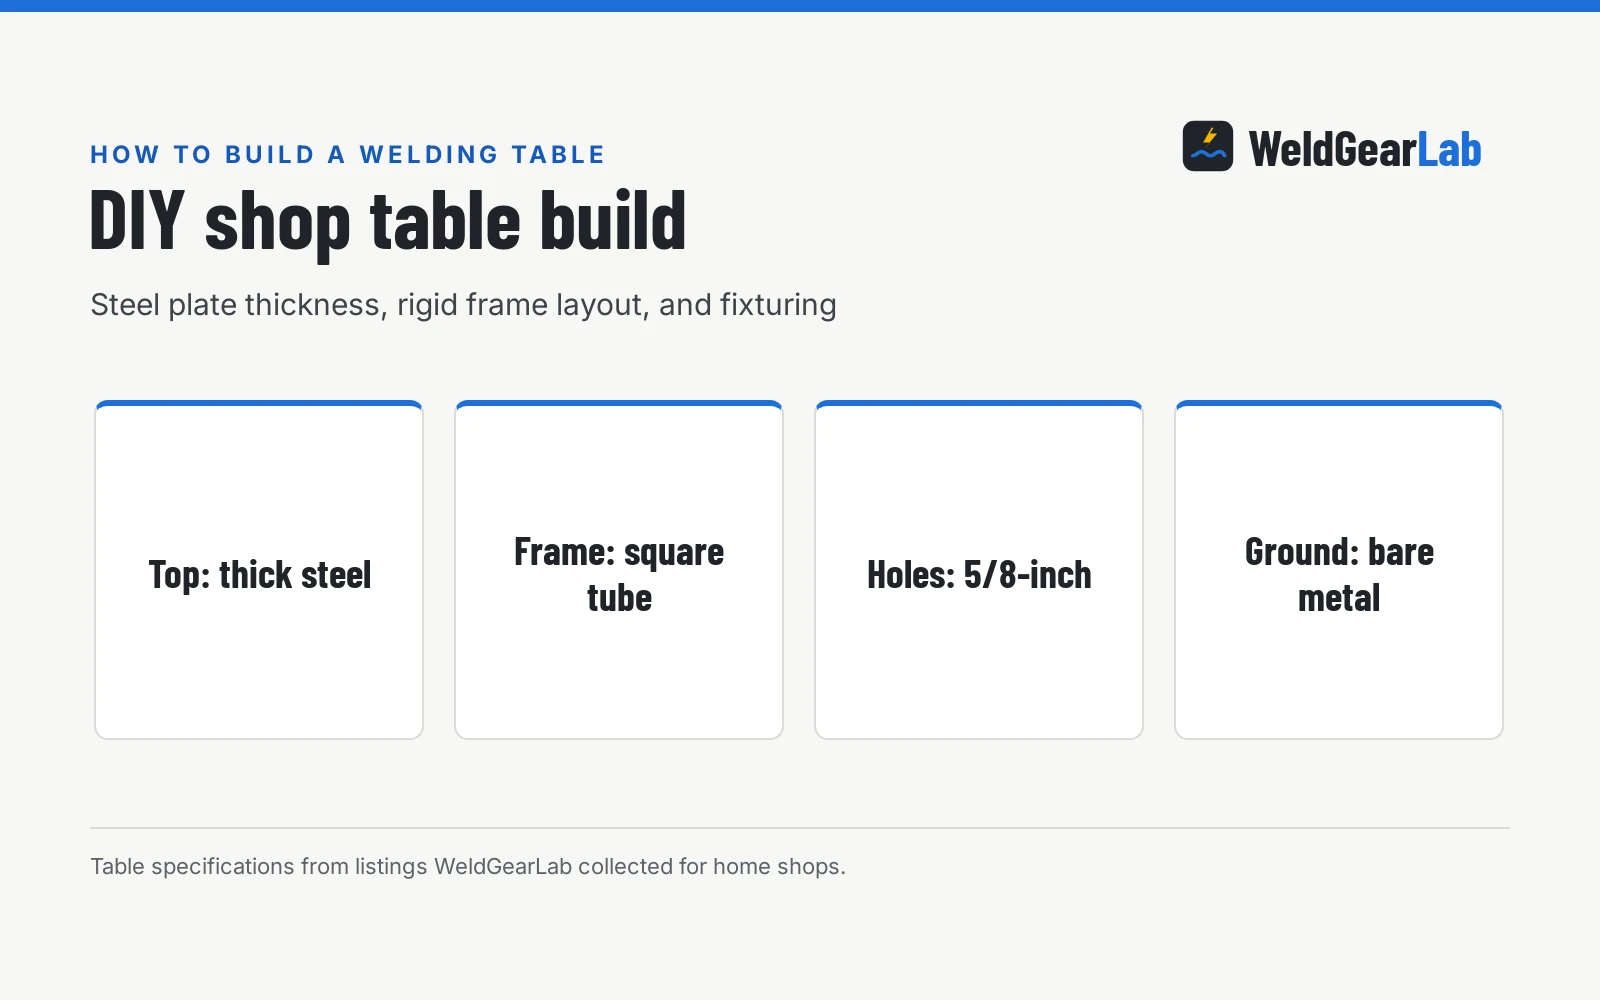
Learning how to build a welding table comes down to cutting a rigid square tubing base, welding a coped perimeter frame with cross braces, and securing a flat steel top plate that stays true under heat. A dedicated welding bench gives you a solid grounding surface, square corners for clamping assemblies, and a safe place to strike an arc without catching workbenches on fire. This guide explains how to plan your layout, choose steel materials, weld the frame true, attach the tabletop without warping, and establish a dependable ground for home shop projects.
As an Amazon Associate I earn from qualifying purchases. This guide links to our product roundups, where WeldGearLab earns a commission when you buy through links, at no extra cost to you. Read our affiliate disclosure.
The build in one paragraph
To build a solid shop table, cut steel tubing legs and weld a rectangular upper perimeter frame reinforced by center stretchers. Add lower cross braces between the legs to keep the assembly square and prevent racking. Place the steel plate on top, clamp it flat with heavy c-clamps, and tack weld it underneath in short staggered beads so heat does not pull the surface out of level. Finally, grind a bare patch of steel on the frame or weld a clean steel lug for your work ground clamp.
Side by side
| DIY Solid Plate Table | DIY Fixture Grid Table | Manufactured Shop Table | |
|---|---|---|---|
| Top surface | Solid carbon steel plate | Plate with drilled fixture holes | Slotted or pre-drilled folding sheet |
| Clamping flexibility | Edge clamping and magnetic clamps | Drop-through clamps and positioning pins | Edge clamps and factory tool slots |
| Spatter cleanup | Easy scraping and flat sanding | Spatter can enter fixture holes | Easy scraping on galvanized or bare steel |
| Frame construction | Welded heavy square tubing | Welded structural tubing with ribs | Tubular folding legs or bolt-together frame |
| Mobility | Stationary base or custom caster mounts | Custom wheeled shop base | Integrated wheels or folding leg sets |
| Work lead grounding | Bare steel lug welded directly to frame | Bare grounding lug welded to frame | Work clamp fastened to edge or tray |
| Fabrication effort | Moderate cutting, squaring, and welding | Extensive drilling and hole deburring | No fabrication required, rapid assembly |
| Best shop use | Heavy structural fabrication and hammering | Precision square framing and repetitive jigs | Occasional welding and compact garage shops |
Commercial tables offer folding mobility and pre-cut fixture slots, while a custom DIY table provides maximum rigidity and whatever plate thickness your shop requires. If you decide to purchase a ready-made option instead of fabricating one from scratch, our roundup of the best welding table for home shop covers folding and rolling models across common shop budgets.
When building your own table is the better choice
- Custom shop dimensions. You can match the table dimensions to your garage alcove or specific project sizes rather than settling for compact retail footprints.
- Heavy steel construction. Fabricating your own frame lets you use structural square tubing and heavy plate that withstands hammer forming and heavy clamping without flexing.
- Dedicated grounding mounts. You can weld bare grounding lugs and copper ground points directly to the frame for clean electrical continuity.
- Built-in tool storage. Add torch hangers, clamp bars, grinder brackets, and receiver tubes anywhere you need them around the perimeter.
Commercial benches demonstrate what factory frames deliver. SGOLAN lists a carbon steel workbench with a 36 by 24 inch surface and a 1200-pound load capacity, using four beams and a 0.12-inch thick top. For builders wanting an even heavier capacity without welding legs from scratch, Seesii lists an adjustable metal workbench frame rated for 2000 pounds with a 20.8-inch depth and height adjustment from 25.6 to 35.4 inches.
When a factory welding table is the better choice
- Limited garage space. Folding benches collapse flat against a wall when your welding project is finished, leaving floor space for parking vehicles.
- Jobsite mobility. Commercial tables with built-in handles and wheels roll across rough concrete or pack into a truck bed easily.
- Immediate setup. A factory table requires only basic bolt assembly, letting you start welding projects without spending days building shop furniture.
- Standardized fixture grids. Machined hole patterns accept commercial table clamps, stops, and squaring pins right out of the box.
Portable listings highlight these space-saving designs. VEVOR lists a foldable carbon steel table measuring 44 by 21 inches that supports up to 500 pounds, featuring 0.63-inch fixture holes spaced 2 inches apart, 6 tool slots, and height adjustment from 29.5 to 36.5 inches. Goplus lists a folding model with a 42 by 21 inch tabletop supporting 1000 pounds, offering height adjustment from 27.7 to 36.7 inches, 0.7-inch holes, 2 bar clamps, and 8 tool slots. For mobile shop layouts, Ultrawall lists a 32 by 20 inch rolling cart table supporting 600 pounds at a 34-inch height with 108 tool holes and 4 tool slots.
How to build a welding table step by step
Building a durable shop welding table requires careful squaring and controlled heat input during assembly. Follow these core fabrication stages:
- Cut and deburr frame tubing. Cut square steel tubing for the perimeter frame, legs, and lower stretchers. Grind clean bevels along joint edges with an angle grinder so your root passes penetrate fully. Clean all mill scale and surface oil away from weld zones.
- Square the tabletop support frame. Lay the upper perimeter tubes on a flat concrete floor or level sawhorses. Clamp corners with squaring clamps and check diagonals with a tape measure until both corner-to-corner measurements match perfectly. Tack weld each corner securely.
- Weld the base legs and stretchers. Position the legs perpendicular to the upper frame. Clamp corner gussets to hold the legs at right angles, tack the joints, and weld lower stretchers between the legs to prevent spread. Check diagonal measurements across the leg base before running finish beads.
- Position and secure the top plate. Place your steel plate over the welded frame. If you want perimeter overhang for clamping workpieces, center the plate with equal overhang along all sides. Clamp the plate down firmly against the frame rails.
- Stagger your attachment welds. Never run continuous beads along the tabletop underside, as continuous heat pulls steel plate upward into a permanent bow. Instead, place short stitch tacks underneath the plate, alternating sides and allowing joints to cool between passes to keep the work surface flat.
Choosing steel plate and tabletop thickness
The thickness of your tabletop determines how well the table resists warping when you clamp heavy assemblies or run high-amperage welds. Thin sheet metal absorbs heat rapidly and distorts, creating high spots that ruin precision fabrication. Heavy solid steel plate stays flat under repeated heating and provides solid support for hammer forming and heavy clamping. For a detailed breakdown of plate selection across hobby and commercial fabrication, read our guide on how thick should a welding table top be.
Factory tables illustrate how plate thickness influences weight and fixturing. SGOLAN lists a 0.12-inch thick carbon steel surface on its 36 by 24 inch bench with 5/8-inch fixture holes. Tyfnry lists a carbon steel workbench featuring 216 5/8-inch fixture holes across a 36 by 18 inch table, providing an 800-pound static capacity and 600-pound dynamic capacity at an overall weight of 30 pounds. If you plan to drill fixture holes into a DIY plate, match standard 5/8-inch accessories so shop clamps drop into place easily.
Ground clamp setup and electrical safety
A welding table acts as the electrical return path for your welding circuit. If your ground clamp connects poorly to the table, electrical resistance causes voltage drops, arc instability, and unwanted arcing between table joints.
Table grounding practices. Grind all paint, rust, and mill scale off the section of frame where your work lead connects. Weld a clean, unpainted steel lug or dedicated copper ground bolt to the underside of the frame so your clamp bites into bare metal. Avoid clamping ground leads to threaded leveling feet or caster stems, because electrical current arcing through ball bearings will weld them solid. Upgrade worn ground clamps using our guide to the best welding ground clamp.
Workshop safety precautions. Welding tables generate hot sparks, spatter, and infrared radiation. Keep flammable shop materials, solvents, cardboard, and aerosol cans away from your fabrication area. When welding galvanized steel or painted scrap on your bench, grind the coating completely off the weld zone to prevent dangerous zinc fumes, and maintain positive workshop ventilation. Always wear approved eye protection, heat-resistant leather gloves, and protective shop clothing. Keep a working fire extinguisher within arm reach of your table station.
Frequently Asked Questions
What size steel tubing is best for a DIY welding table frame?
Square steel tubing provides balanced strength and flat mounting faces for perimeter framing. Tubing with thicker walls supports heavy hammering and clamping pressure without crushing or flexing. Select tubing that matches your shop equipment, keeping the structure rigid while remaining manageable to position during assembly.
How do you keep a welding tabletop from warping during assembly?
Avoid running continuous weld beads along the underside of the top plate, because shrinking weld metal pulls plate edges inward. Clamp the plate securely against your trued base frame and place short stitch welds in staggered positions. Allow each weld to cool completely before welding opposite corners to balance thermal stresses.
Should a welding table have wheels or fixed leveling feet?
Heavy stationary tables benefit from threaded leveling pads that compensate for uneven garage concrete floors. Rolling tables with locking swivel wheels suit compact shops where equipment must move between welding and vehicle parking. Many fabricators install heavy retractable casters so the table rolls when moved but rests on solid steel feet during heavy work.
Can you use stainless steel or aluminum for a welding table top?
Carbon steel remains the standard choice for home shops because it offers great durability, accepts magnetic clamping tools, and costs less than alloy alternatives. Stainless steel plate prevents carbon contamination when fabricating food-grade or marine assemblies, but it expands more under heat. Aluminum tables dissipate heat rapidly but cannot hold magnetic grounds or fixtures.
How do you clean and maintain a bare steel welding table?
Coat the bare steel plate with anti-spatter spray before starting high-spatter flux core or stick welding jobs. Scrape away stray spatter beads with a wide putty knife or coarse sanding pad rather than gouging the surface with a grinding wheel. Wipe the tabletop with light machine oil or paste wax periodically to prevent surface rust in unheated garages.
Related: how to set up a welding area in a home garage, best angle grinder for welding prep, and the welding tables and carts hub.
About the author
WeldGearLab Editorial is the editorial team behind WeldGearLab. We research product listings, specifications, safety listings and warranty terms, score every pick with the published Gear Score method, and correct errors when readers report them. We do not run our own shop trials; see How We Pick for exactly how picks are made.