Best Welding Table Height for Standing Work
Finding the best welding table height for standing work starts at your elbow height and adjusts for tall fixtures, heavy assemblies, and torch control.
 By WeldGearLab Editorial
Updated October 10, 2026
By WeldGearLab Editorial
Updated October 10, 2026
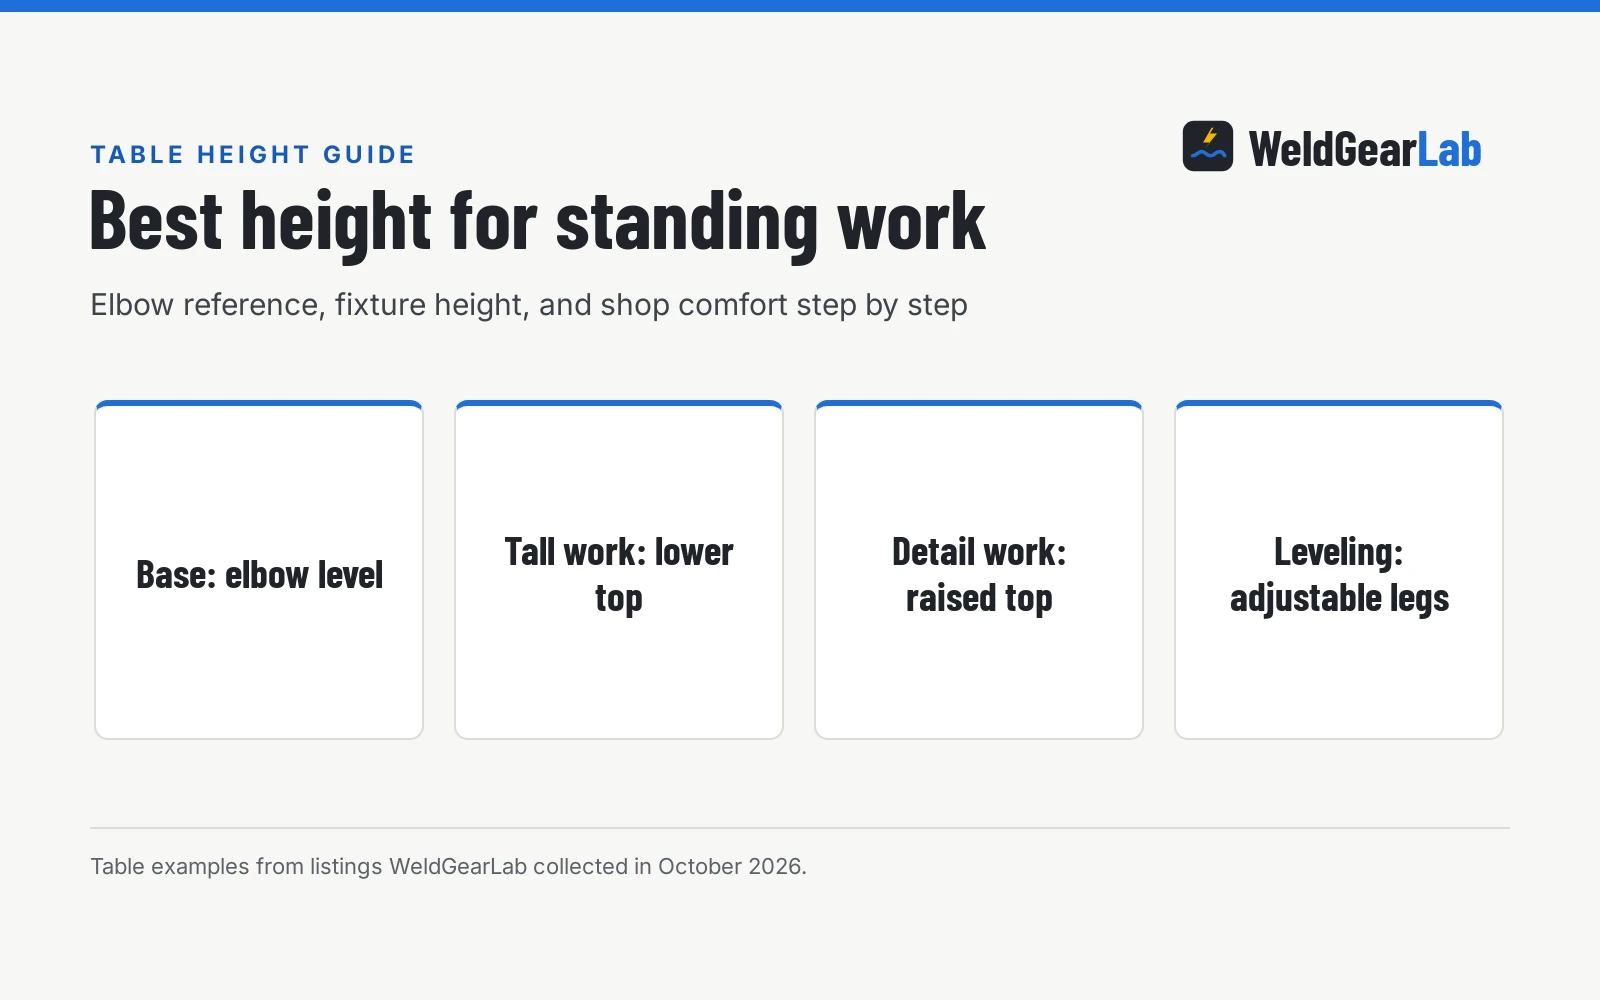
The best welding table height for standing work typically sits slightly below your relaxed elbow height for general fabrication, dropping lower for tall fixtures and raising higher for precision TIG welding. Positioning the tabletop so the active seam aligns with your natural forearm level keeps your torch hand steady and protects your spine from fatigue during long beads. Because workpiece sizes and welder heights vary, adjustable tables offer multiple height positions to match each assembly. This guide explains how to measure your body, set your table for different joints, and evaluate height options for your shop.
As an Amazon Associate I earn from qualifying purchases. This guide links to our product roundups, where WeldGearLab earns a commission when you buy through links, at no extra cost to you. Read our affiliate disclosure.
The best welding table height for standing work in summary
Standing at a welding table puts continuous load on your lower back, neck, and shoulders. For general fabrication, setting the table slightly below relaxed elbow height allows your upper arms to hang naturally while your forearms guide the torch without hunching. If a table is set too low, you must stoop over the metal, which strains your lower back and places your helmet directly in the rising fume plume. If you try to stand straight over a table that sits too low, the joint remains too far below your line of sight for fine puddle control. Conversely, for detailed work, raising the surface brings small joints up toward your helmet viewing area, reducing neck bend.
Side by side
| Standard flat fabrication | Tall fixtures and assemblies | Precision and TIG welding | |
|---|---|---|---|
| Tabletop position | Slightly below relaxed elbow level | Lowered well below elbow level | Raised toward elbow level |
| Posture benefit | Keeps shoulders relaxed with wrists resting on metal | Prevents reaching upward over tall clamps | Brings joints closer to helmet without hunching spine |
| Joint visibility | Natural line of sight across flat seams | Clear downward view into box corners and joints | Direct close view of puddle edges and arc length |
| Fixture and clamp clearance | Sufficient for flat clamps and low-profile magnets | Accommodates riser blocks, angle plates, and tall jigs | Minimal fixture height, relies on palm and finger rests |
| Torch and arm support | Forearms rest comfortably along table edge | Body centers over work with lower center of gravity | Full wrist and forearm support on elevated tabletop |
| Typical shop tasks | Plate layout, frame tacking, and general MIG welding | Chassis boxes, pipe manifolds, and deep weldments | Delicate sheet joints, small brackets, and DC or AC TIG |
| Adjustment position | Mid-range settings on adjustable legs | Lowest adjustment pin settings or low fixed tables | Highest adjustment pin settings or tabletop risers |
Choosing between different table elevations depends on the variety of fabrications you assemble. While a standard forearm elevation provides solid support for flat welding, adjusting the working elevation allows you to match the exact requirements of every weldment.
When a lower table height is needed
- Tall box frames and chassis assemblies. Deep weldments add vertical height above the tabletop. Dropping the table downward keeps the top seams below shoulder level so you maintain full visibility and control without reaching upward.
- Heavy fixtures and clamping jigs. Riser blocks, angle plates, and fixturing squares lift your stock off the table surface. A lower tabletop compensates for that fixture height, keeping the active weld zone right at forearm level.
- Downhand gun positioning. Long straight runs on thick steel require steady body movement. Lowering the table allows you to drop your center of gravity and guide the torch nozzle smoothly along the joint.
- Large plate layout and cutting. When squaring large plates or using a handheld torch, a lower table makes it easy to lean over the center of the plate without straining your upper arms.
Our best welding table for a home shop guide covers multiple solid platforms, comparing rolling frames and compact folding tops.
When a higher table height is needed
- Precision TIG welding. TIG work demands fine torch angle control and steady filler rod dabbing. A higher surface brings small joints closer to your helmet viewing area without forcing you to bend your spine.
- Small bracket fabrication. Welding small components requires resting your wrists or palms firmly on the steel tabletop. Raising the table supports your arms and stabilizes your hands.
- Detailed layout and marking. Scribing layout lines, center punching, and setting angle gauges are far easier on your eyes when the steel top sits higher.
- Thin sheet metal joints. Maintaining a tight arc length on delicate sheet seams is simpler when your wrists and forearms are fully supported on an elevated tabletop near elbow level.
How to measure your ideal standing height
Finding your personal standing working height requires a simple shop measurement. Put on your standard work boots, as thick soles and work boot heels change your standing height. Stand upright with your shoulders relaxed, drop your upper arms naturally at your sides, and bend your elbows forward until your forearms are parallel to the floor. Have a partner measure the distance from the shop floor to the underside of your forearms.
That measurement represents your baseline standing work height. To set your table for a specific project, apply these practical adjustments:
- Flat plate and small brackets. Position the tabletop slightly below your forearm measurement for general layout and flat welding. This allows your forearms to slope naturally downward, letting your wrists rest comfortably on the metal while guiding the torch along the seam.
- Box tubing and tall assemblies. Measure the overall height of your workpiece plus any clamping fixtures. Subtract that height from your forearm baseline to determine the tabletop setting that keeps the weld seam at comfortable forearm height.
- Precision TIG and detail work. Raise the tabletop closer to elbow level or slightly above if you need direct wrist support and a closer view of delicate joints without stooping.
Height ranges on adjustable welding tables
Commercial adjustable welding tables reflect these ergonomic requirements across their published adjustment ranges. Reviewing published specifications reveals how different brands design their height mechanisms:
- VEVOR. VEVOR lists a 4-level adjustable height from 29.5 to 36.5 inches on its 44 by 21 inch carbon steel folding table. The listing states a 500 lbs load capacity, 0.63-inch fixture holes spaced 2 inches apart, 6 tool slots, and a table weight of 45.2 pounds.
- Goplus. Goplus lists a 7-level adjustable height from 27.7 to 36.7 inches on its 42 by 21 inch galvanized tabletop. The maker publishes a 1000 lbs load capacity, 2 bar clamps, 8 tool slots, 0.7-inch holes, and a weight of 42 pounds.
- YESWELDER. YESWELDER lists four adjustable height positions from 30 to 37 inches on its 20 by 30 inch steel table, with a 400 lbs load capacity and a folded thickness of 7.5 inches.
- Ultrawall. Ultrawall lists 6 height settings from 28 to 39 inches on its 42 by 20 inch wheeled workbench with an alloy steel frame, noting an item weight of 41.8 pounds. Because this workbench features a rubberwood top rather than steel, hot welding requires adding a metal plate. On its separate 32 by 20 inch steel welding cart, Ultrawall lists a fixed height of 34.2 inches with 4 wheels and a 600 lbs capacity.
- Betterhood. Betterhood lists a 9-level adjustable height from 25.5 to 37.5 inches on its 70 by 21 inch metal frame workbench, supporting over 2000 lbs with an item weight of 65.5 pounds. While its frame provides substantial elevation adjustment, its solid rubber wood top requires a protective metal plate before doing any hot welding.
- Bigorenda. Bigorenda lists a 5-level height adjustment ranging from 23 to 35 inches in its bullets and 24 to 36 inches in its title on a 14 by 47 inch steel platform. Note that the listing exhibits a contradiction, stating an 1100 lbs capacity in the bullets while its spec table lists 1000 Pounds.
- Migoda. Migoda lists an adjustable table on wheels with a 30 by 20 inch carbon steel desktop, 400 lbs load capacity, 32 pounds weight, and tabletop angle adjustments at 0°, 30°, and 90°.
Can a fixed table handle all standing work?
A single fixed-height table can handle diverse welding tasks, but it requires shop modifications. If your fixed bench sits at forearm level for flat work, tall assemblies will force you to reach upward unless you build a sturdy wooden standing riser to elevate your footing. Conversely, if your fixed table is built low for tall chassis jobs, small precision welding will require an elevated arm rest or a portable tabletop riser to prevent stooping.
If your budget favors a dedicated metal bench that stays in place, our review of the best welding table under 500 examines rigid steel tops with solid load ratings.
Table stability and shop safety. Adjustable tables rely on locking pins and tight leg clamps to remain rigid. Always check that all locking pins are fully engaged and leg hardware is tightened before striking an arc. Clear grinding dust and flammable debris away from table legs, keep fire extinguishers accessible in your welding area, and never exceed the manufacturer load rating. Always wear protective welding gloves, safety glasses, and a shade-rated helmet during all welding operations.
Frequently Asked Questions
How do I find my ideal welding table height for standing work?
Wear your standard shop boots and stand naturally with your shoulders relaxed. Bend your elbows so your forearms rest parallel to the shop floor, then have a helper measure from the floor to the underside of your forearms. Setting your tabletop slightly below this forearm measurement provides a comfortable resting ledge for your wrists while keeping your back upright during flat welding projects.
Should a welding table be higher or lower for TIG welding?
Detailed TIG welding benefits from a higher table position than heavy MIG or stick fabrication. Raising the work surface brings small joints closer to your helmet lens and gives your wrists a firm resting ledge along the metal top. If your table cannot raise high enough, using an adjustable shop stool allows you to bring your forearms to the same comfortable working level.
What happens if your welding table is too low?
A table that sits too low forces you to stoop your neck and round your lower back during every pass. That posture causes rapid spine fatigue and places your helmet directly above the rising welding smoke and sparks. If you try to stay upright over a low table, the seam sits too far below your line of sight, making it difficult to monitor arc length and puddle edges.
How much clearance do tall fixtures and clamps need?
Large weldments, riser blocks, and heavy angle clamps add significant vertical height above the tabletop surface. When assembling box frames or pipe assemblies, the table needs to lower so the top joint remains at forearm height. If your table has fixed legs, you may need a sturdy wooden standing platform to raise your standing position over tall fixtures.
Is an adjustable height welding table stable enough for hammering?
Adjustable welding tables use steel locking pins and clamping hardware that support substantial vertical weight and clamping force. However, heavy lateral impact from a sledgehammer or aggressive mechanical bending can bend leg pins and loosen folding joints over time. For heavy hammering and aggressive metal forming, perform those strikes on a dedicated anvil or a heavy fixed-leg fabrication bench.
Related: how to build a welding table, how thick a welding table top should be, best welding cart with drawers, and the welding tables and carts hub.
About the author
WeldGearLab Editorial is the editorial team behind WeldGearLab. We research product listings, specifications, safety listings and warranty terms, score every pick with the published Gear Score method, and correct errors when readers report them. We do not run our own shop trials; see How We Pick for exactly how picks are made.