Welding Projects for Beginners: 8 Builds That Teach the Basics
Eight first projects in mild steel, ordered from simple beads to a rolling cart, with the joints each one teaches, the stock to buy and the mistakes to avoid.
 By WeldGearLab Editorial
Updated October 6, 2026
By WeldGearLab Editorial
Updated October 6, 2026
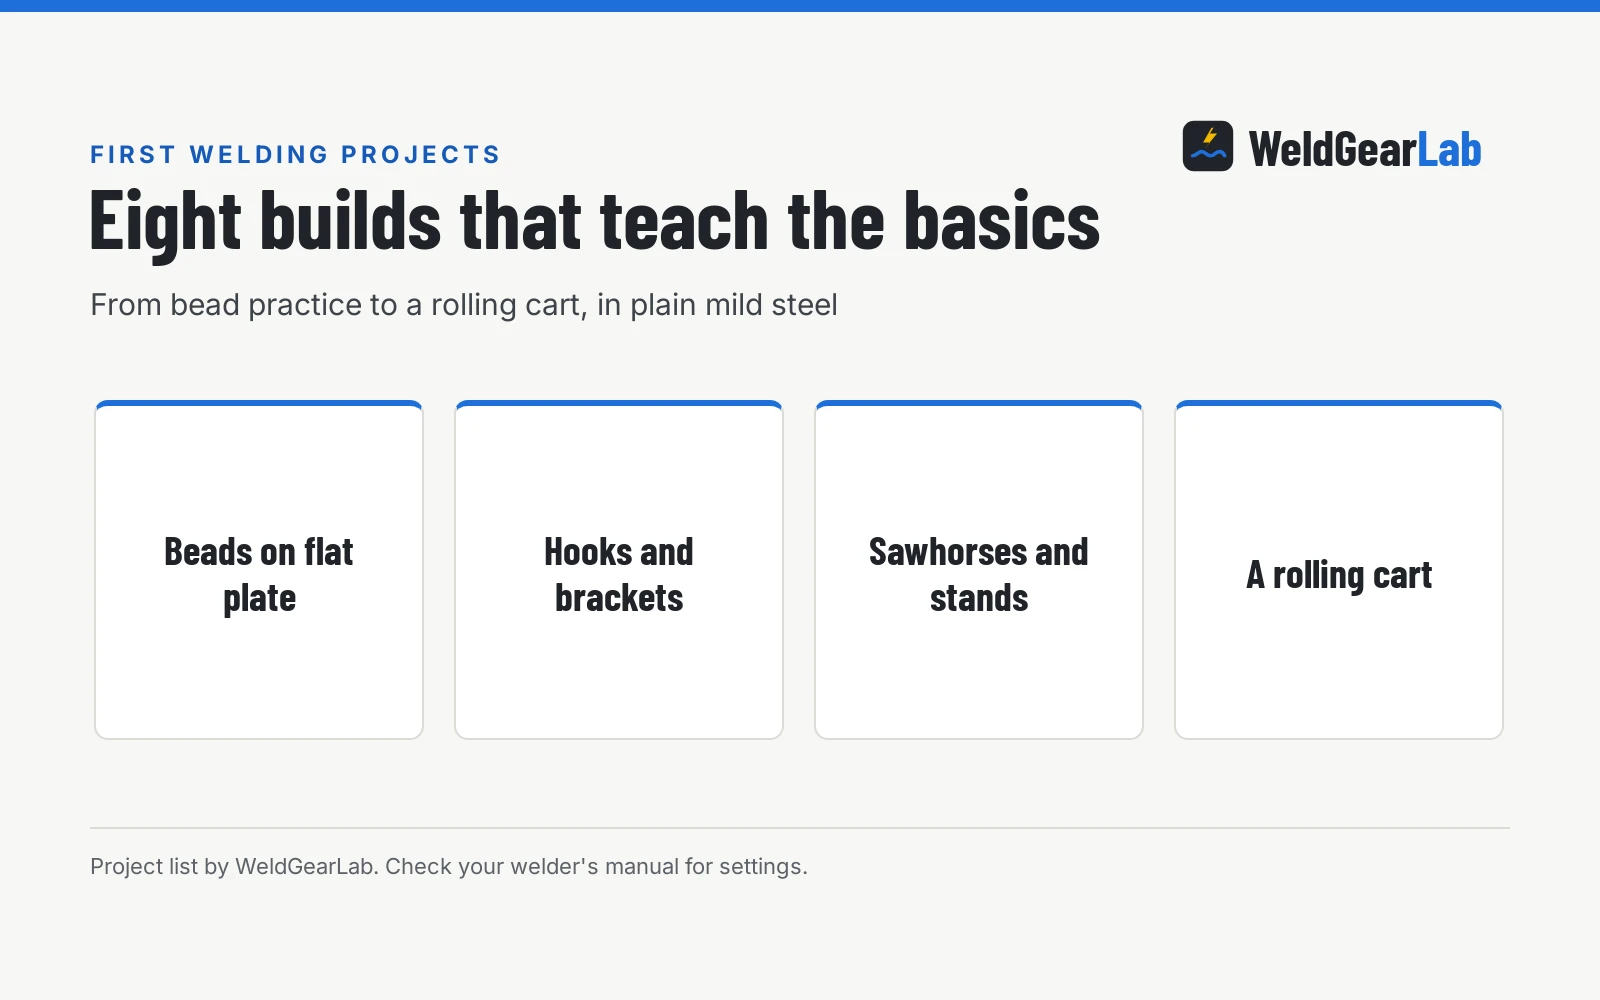
The best welding projects for beginners are small mild steel builds that repeat one joint many times: practice beads, wall hooks, shelf brackets, sawhorses, and finally a rolling welding cart. Each one teaches a skill the next one needs, and none of them needs more than a 120V welder, a grinder, clamps and a square. This guide lists eight welding projects for beginners in the order we suggest building them, with the joints each one teaches and the mistakes to watch for.
As an Amazon Associate I earn from qualifying purchases. This guide links to our product roundups, where WeldGearLab earns a commission when you buy through links, at no extra cost to you. Read our affiliate disclosure.
Before you start: steel, tools and setup
Use clean, uncoated mild steel. Buy hot rolled flat bar, angle and square tube from a steel supplier, or use clean offcuts. Avoid galvanized, painted or plated steel for practice: coatings make poor welds and produce fumes you should not breathe. If you must weld coated steel later, grind the coating off well back from the joint and use fume extraction.
Stay inside your machine’s rating. Every welder has a rated thickness range in its manual and listing. Hobart, for example, rates its Handler 140EZ for 24 gauge to 3/16 inch on 120V (pass count not stated). For first projects, pick stock comfortably inside your machine’s range so you are learning technique, not fighting a lack of output. If you have not bought a welder yet, our best welder for beginners guide compares machines that suit these projects.
Settings come from the machine. Start from the settings chart inside the wire drive door or in the manual for your wire size and metal thickness, then adjust in small steps. Machines differ, so a number that works on one welder is only a starting point on another.
Tools that make every project easier:
- An angle grinder with grinding and flap discs, for cleaning steel before you weld and dressing welds after.
- Locking C clamps and a couple of magnetic squares to hold parts at 90 degrees.
- A tape measure, a combination square and soapstone or a metal marker.
- A flat, non flammable surface to weld on. Our best welding table for a home shop covers options if you have none.
Welding projects for beginners at a glance
| Project | Joints it teaches | Typical stock | Extra skill |
|---|---|---|---|
| 1. Bead practice plate | Straight beads, restarts | Flat scrap plate | Travel speed and angle |
| 2. Practice joints | Butt, lap, T and corner | Flat bar offcuts | Fit up and tacking |
| 3. Wall hooks and hangers | T joints, short fillets | Flat bar, round bar | Bending and grinding |
| 4. Shelf brackets | Fillets on angle | Angle iron | Squaring a joint |
| 5. Boot scraper | T joints, stitch welds | Flat bar, angle | Ground clamp placement |
| 6. Sawhorses or welding stands | Fillets on tube | Square tube | Keeping legs even |
| 7. Fire pit grate or log rack | Repeated fillets | Round or flat bar | Distortion control |
| 8. Rolling welding cart | All of the above | Angle, tube, sheet | Planning a build |
Work through them in order if you can. Each project reuses the joints from the one before, so mistakes show up early on cheap scrap rather than late on a cart.
1. Bead practice on flat plate
Run straight beads across a piece of scrap plate, one next to the other, until the plate is covered. Then flip it and do it again. This is the most useful hour you will spend as a beginner. You are learning to hold a steady gun angle, a steady distance from the work and a steady travel speed, and to restart a bead without a lump.
What to watch: a tall, ropey bead that sits on top of the plate usually points to too little heat, and a wide, flat bead with undercut at the edges or burn through usually points to too much. Travel speed changes the bead shape too, so change one thing at a time and compare the results.
2. Practice joints: butt, lap, T and corner
Cut short pieces of flat bar and weld each of the four basic joints several times. Tack each joint at both ends before running the full weld, and look at how the parts move as they cool. When you have a few of each, clamp one in a vise and bend it over with a hammer. A joint that cracks along the weld edge shows where fusion was poor.
These joints are the whole alphabet for the rest of the list. If you are using flux core wire, our flux core vs MIG guide explains why cleaning slag between passes matters.
3. Wall hooks and hangers
Weld short lengths of round bar or bent flat bar onto a flat bar backplate to hang hoses, extension cords or tools. It is your first project with a use, and it repeats small T joints and short fillets over and over. Drill or punch the mounting holes before welding so the backplate stays flat.
Common mistake: welding all the hooks on one side first. Alternate from end to end so heat does not bow the backplate.
4. Shelf brackets
A pair of L brackets from angle iron, with a short diagonal brace, teaches squaring. Clamp both legs to a magnetic square, tack, check the angle with your combination square, and only then weld. Build the second bracket on top of the first as a pattern so they match.
5. Boot scraper
A boot scraper is a flat bar blade welded upright between two short legs on a base. It is a simple shop gift and a good lesson in stitch welding: short welds spaced along a joint, which hold well and put less heat into the part. It also gives you practice welding close to the work surface with the ground clamp placed to one side.
6. Sawhorses or welding stands
Square tube sawhorses or a pair of low stands are your first project with legs, and legs are where small angle errors add up. Cut all the legs together so they match, tack the frame upside down on a flat surface, and check it on the floor before final welding. Tube walls are often thinner than the flat bar you have been welding, so watch for burn through and lower the heat if the edges start to melt away.
7. Fire pit grate or log rack
A grate or a firewood rack has dozens of identical joints, which is exactly what you need by now. It also teaches distortion control: long frames pull out of square as welds cool. Tack the whole frame first, weld in a balanced pattern from side to side, and let it cool between sections.
Keep cooking grates and anything that touches food off galvanized or coated steel, and paint only the parts away from the fire with a high temperature paint rated for it.
8. A rolling welding cart
The welding cart is the classic graduation project because it uses everything above: square frames, legs, brackets, a shelf and a bottle rack if you weld with gas. Measure your welder and gas cylinder first, sketch the cart with dimensions, and buy casters rated well above the combined weight. Build the bottom frame, then the top, then join them with the legs, checking diagonals at each step.
A gas cylinder on a cart must be chained or strapped upright so it cannot fall. Our welding table guide covers bought tables and carts if you would rather spend your time on other builds.
Gear for your first projects
You do not need much, but you do need the protective gear before the first arc.
- Helmet: an auto-darkening helmet with a shade range that covers your process and amperage. See our best auto-darkening welding helmet and best welding helmet under $200.
- Gloves and clothing: leather welding gloves, a flame resistant jacket or long cotton sleeves, and leather boots. See our best welding gloves for MIG.
- Welder: a 120V MIG or flux core machine covers every project on this list. Compare options in our best 120V MIG welder and best MIG welder under $500 guides.
Safety for every project. Wear a helmet with the right shade, safety glasses underneath, gloves and flame resistant clothing. Weld with good ventilation or fume extraction and never weld galvanized or painted steel without removing the coating first. Clear anything flammable from the area, watch for sparks rolling under benches, and keep a fire extinguisher close. Plug the welder into a circuit that matches the input requirements in its manual. See the OSHA welding overview and our Safety Disclaimer.
Common beginner mistakes
- Skipping the cleaning. Mill scale, rust and oil cause porosity and poor fusion. Grind to bright metal at the joint and where the ground clamp attaches.
- Welding before tacking. Tack everything, check it, then weld. Fixing a tack is easy; fixing a finished weld is not.
- Changing several settings at once. Change voltage or wire speed, not both, so you learn what each one does.
- Judging a weld by how it looks alone. A smooth bead can still sit on top of the metal. Bend or cut practice pieces to see inside.
- Building too big too soon. A cart with poor joints is a cart you rebuild. Earn it with the smaller projects first.
For more background, browse all our welding guides or read how to choose a MIG welder.
Frequently Asked Questions
What is the easiest welding project for a beginner?
Running beads on a flat scrap plate is the easiest and the most useful. After that, simple wall hooks or hangers made from flat bar are the easiest project you will actually use. Both repeat short joints many times, which is how skill builds.
What metal should beginners practice welding on?
Clean, uncoated mild steel, such as hot rolled flat bar, angle and square tube. It is forgiving and easy to buy in small lengths. Avoid galvanized, painted or plated steel while learning, both for weld quality and to avoid coating fumes.
Can I do these projects with a 120V welder?
Yes. Every project here uses light stock that sits inside the rated range of typical 120V MIG and flux core machines. Check your welder’s rated thickness and keep your material inside it.
Is a welding cart a good first project?
It is a good first big project, not a good first project. A cart combines frames, legs, brackets and shelves, so it goes much better after you have built a few smaller pieces and learned to tack and square parts.
How long does it take to learn to weld well enough for these projects?
It depends on how often you practice and on the machine, so there is no fixed answer. Covering a few scrap plates with beads before each new project is a good habit, and the joints get easier with every build. Short, frequent sessions are easier to learn from than one long weekend.
Do I need gas to start welding projects?
No. Flux core wire works without a gas cylinder and is common on beginner machines, though it leaves slag to chip off and more spatter. Gas MIG gives cleaner welds on thin steel indoors but adds a cylinder and regulator to the cost.
Related: how to spot a good welder deal on Black Friday, welding duty cycle explained, welding gifts under $50, and the welders hub. Also see our welding projects to sell. Also see our how to learn welding at home.
About the author
WeldGearLab Editorial is the editorial team behind WeldGearLab. We research product listings, specifications, safety listings and warranty terms, score every pick with the published Gear Score method, and correct errors when readers report them. We do not run our own shop trials; see How We Pick for exactly how picks are made.