How to Adjust Welding Helmet Headgear
Adjusting welding helmet headgear involves setting the top crown strap for height, the rear ratchet for tension, side sliders for eye relief, and pivot knobs for drop resistance.
 By WeldGearLab Editorial
Updated October 9, 2026
By WeldGearLab Editorial
Updated October 9, 2026
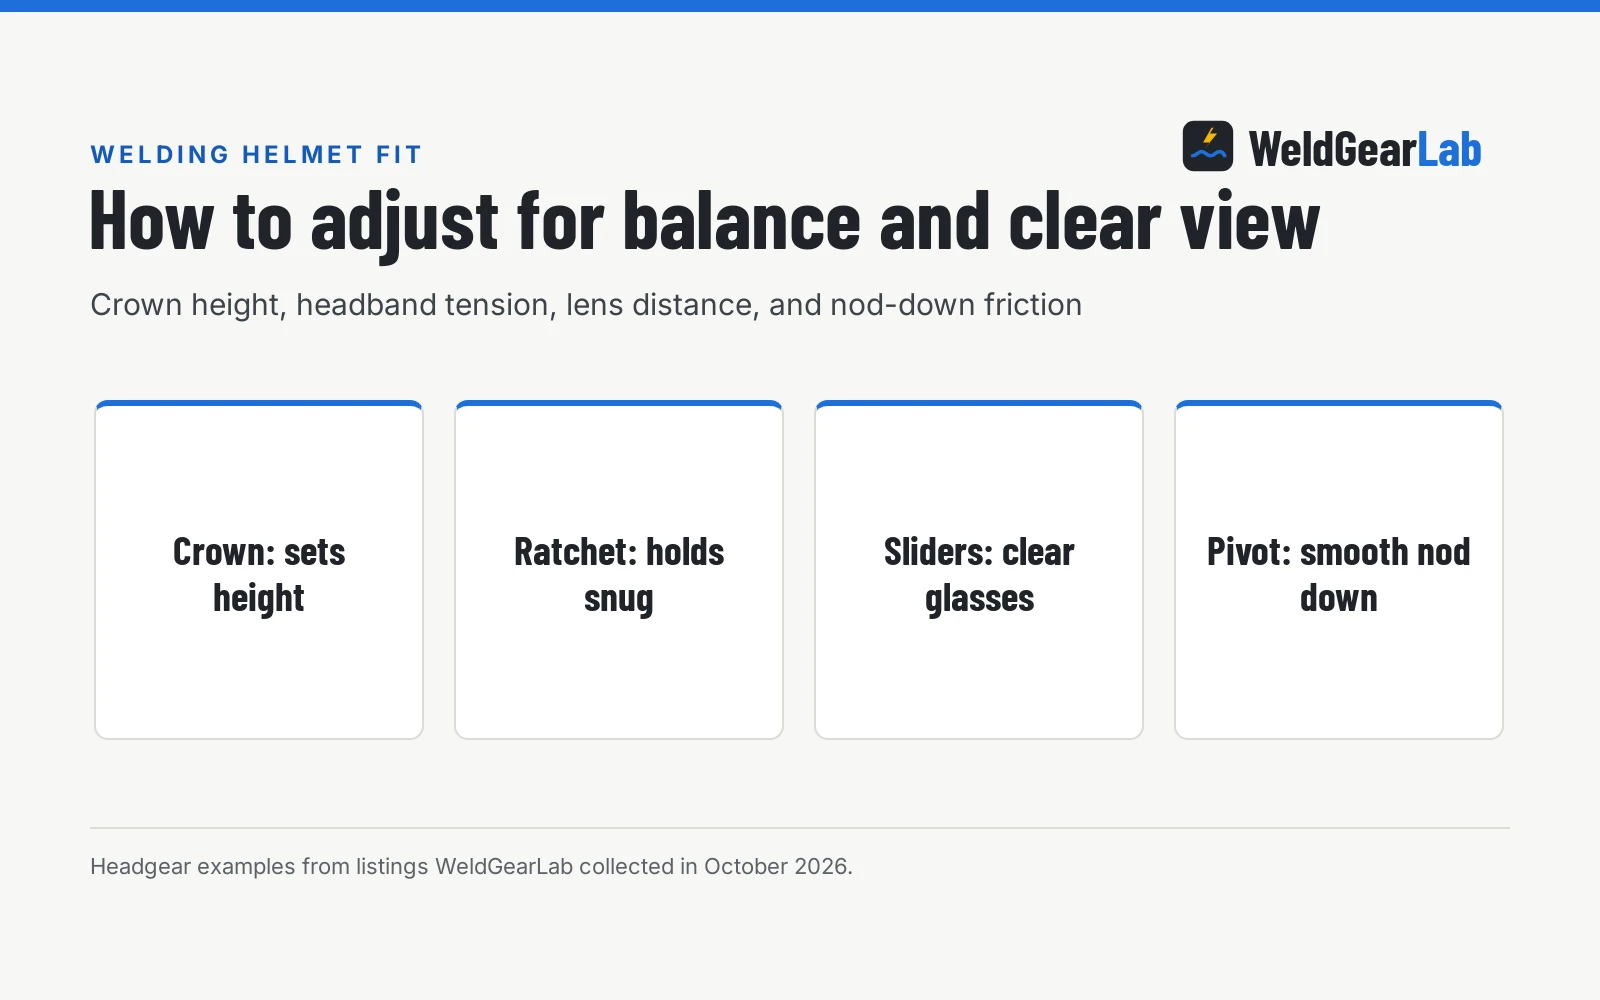
Learning how to adjust welding helmet headgear properly ensures your hood stays balanced, shields your face from arc radiation, and eliminates neck strain during long fabrication sessions. You adjust the headgear by setting the top crown strap to position the view port directly at eye level, tightening the rear ratchet knob until the headband is snug without pinching, sliding the side rails so the filter clears your safety glasses, and tensioning the pivot friction knobs so a light nod lowers the shell smoothly. Taking time to dial in these contact points keeps the hood stable through overhead, vertical, and out-of-position welds.
As an Amazon Associate I earn from qualifying purchases. This guide links to our product roundups, where WeldGearLab earns a commission when you buy through links, at no extra cost to you. Read our affiliate disclosure.
The right fit in one paragraph
A correctly adjusted welding helmet distributes its mass evenly across the top of your skull rather than pinching your forehead or dragging on the back of your neck. The crown strap bears the vertical load so the headband only needs enough tension to prevent the hood from wobbling when you move. The filter cartridge sits close enough to your eyes to maximize your field of view without touching your nose or eye protection, while the pivot tension allows the shell to stay raised during setup and drop cleanly with a deliberate head motion. When balanced properly, you can work for hours without tension headaches, hot spots, or neck fatigue.
Side by side
| Adjustment point | Adjustment mechanism | Primary function | Common fit issue |
|---|---|---|---|
| Crown strap | Top peg-and-hole strap | Sets vertical helmet depth and eye alignment | Helmet slides down over nose or exposes throat |
| Rear ratchet | Turn-knob band adjustment | Controls circumference grip around the skull | Band slips during nodding or causes pressure headaches |
| Forward sliders | Side rail slot pins | Adjusts distance from filter lens to eyes | Safety glasses hit lens or peripheral light enters |
| Pivot friction knobs | Threaded side pivot knobs | Controls resistance when raising or dropping shell | Shell falls down unprompted or requires harsh neck jerks |
| Tilt angle stop | Multi-position forward indexing pin | Sets downward angle when shell is fully lowered | Chin strikes chest or filter angle distorts puddle view |
The comparison table above outlines the primary adjustment points found on modern welding helmet suspensions, how each functions, and the fit symptoms that indicate an adjustment is needed.
How to adjust welding helmet headgear
Adjusting your welding helmet suspension is a methodical sequence where each setting builds on the previous one. Many welders make the mistake of cranking the rear ratchet as tight as possible when the helmet slides down over their eyes. However, vertical helmet drop is controlled by the top crown strap, while the rear ratchet controls circumference tension around your skull. Over-tightening the headband to compensate for a sagging crown strap leads to headaches without stopping the vertical slide. By adjusting the crown strap off your head first to set baseline height, placing the hood on your head with the ratchet loose, and tuning each mechanism in sequence, you achieve a balanced fit that remains secure throughout your workday. If you are upgrading your hood, our guide to the best auto darkening welding helmet options compares shells and optical assemblies across premium models.
Setting crown strap depth for helmet height
The top crown strap arches directly over your skull and dictates the vertical depth of the entire suspension. Most headgears use a peg-and-hole strap system similar to a baseball cap, though some premium designs incorporate dual top bands for broader weight distribution. To adjust crown depth, unfasten the plastic pins and slip the helmet onto your head with the rear headband completely loosened. Adjust the strap notch by notch until the sweatband rests comfortably across your forehead and your eyes align directly with the center of the auto-darkening viewing cartridge. When the crown strap is set correctly, the lower edge of the helmet shell extends beneath your chin to protect your throat without striking your chest when you look down. If the crown strap is too loose, the helmet drops too low, resting its weight on your nose bridge and restricting your upward view. If the band is too short, the helmet sits perched on top of your head, exposing your neck and throat to direct arc flash and spatter.
Adjusting the rear ratchet and headband tension
Once the crown strap holds the helmet at the proper vertical level, the rear ratchet mechanism secures the suspension around the circumference of your head. Modern headgear uses a turn knob at the back of the band that drives an internal ratcheting gear to expand or contract the circumference. Place the helmet on your head and turn the ratchet knob clockwise until the band feels snug against the base of your skull. The goal is lateral stability: you should be able to shake your head gently from side to side without the helmet shifting on your brow. Never overtighten the ratchet knob to compensate for a slipping helmet. Excessive circumferential pressure constricts blood flow around your temples and causes severe tension headaches within a few minutes of working. If you find the headband slips despite feeling snug, check whether the sweatband is worn smooth or saturated with oil and sweat. Installing a fresh fleece or foam sweatband restores traction against your forehead without requiring extra clamping pressure.
Setting eye-to-lens distance and nod-down tilt
Eye-to-lens distance and downward tilt angle dictate your visual clarity and posture at the welding bench. Most headgears attach to the helmet shell through slotted horizontal rails or multi-hole pivot brackets. Loosening the pivot retainers allows you to slide the entire shell closer to or farther from your face. Positioning the lens closer to your eyes broadens your usable field of view through the viewing area of the filter cartridge. However, you must leave sufficient clearance for your eyelashes, safety glasses, and any respiratory protection. Welders using respiratory protection should consult our guide on the best welding respirator for under a helmet to evaluate compact filters that fit comfortably behind lowered shells. If you install a magnifying plate, see our guide on choosing a cheater lens for welding hood use so you maintain sufficient distance between the frame and your eyes. After setting horizontal spacing, adjust the tilt indexing stop located beside the pivot pin. This stop governs the forward angle of the shell when lowered, allowing you to align the viewing window with your normal line of sight without tilting your neck back.
Friction knobs and drop resistance
The pivot knobs located on the exterior sides of the helmet shell control friction on the hinge mechanism. These threaded knobs squeeze friction washers against the suspension arms to regulate how easily the helmet pivots between the raised and lowered positions. Tighten both knobs clockwise until the helmet remains parked securely in the raised position while your head is level, yet drops smoothly over your face when you give a crisp, deliberate nod downward. If the knobs are too loose, the helmet will fall unexpectedly while you are aligning your torch or inspecting a fit-up, presenting a striking hazard. If the knobs are overtightened, you will be forced to jerk your neck violently to drop the hood, which leads to chronic cervical spine fatigue. Always adjust both knobs with equal tension; uneven friction twists the headgear frame and causes the shell to lower at an angle, misaligning the filter with your eyes.
Headgear weight and replacement options
A comfortable headgear setup must balance the weight of the suspension against the helmet shell. Listed weights vary significantly depending on shell design and bundled gear; for example, YESWELDER lists an item weight of 2.4 pounds for its LYG-M910D package with included accessories. The headgear assembly itself accounts for part of that load. Among dedicated replacements, Hobart lists its 770843 replacement headgear at 3.2 ounces, Forney lists the 55674 at 3.2 ounces with two control knobs on the outside of the helmet, LIMXYZ lists the HG001 at 115 g, and Weldcote Metals lists the HEADGEARADJ at 5.92 ounces. Suspension architecture also influences how that weight is carried; TRQWH lists three primary points of contact (Front, Top & Back) on its TRQ-HG headgear to distribute weight evenly across the skull. For branded replacement parts, Miller lists its Gen 3.5 headgear under part number 284218 with dedicated tilt and depth adjustments. If forehead sweat compromises headband grip, Dairrr Fuuu packages its replacement sweatband accessory pack with 3 Pcs to maintain traction and padding.
Frequently Asked Questions
Why does my welding helmet keep falling down?
A welding helmet usually falls down because the pivot friction knobs on the sides of the shell are too loose. Tightening these threaded knobs clockwise increases resistance so the shell remains parked in the raised position until you deliberately nod your head. If the knobs loosen repeatedly during work, inspect the plastic friction washers inside the pivot assembly for cracks or worn teeth.
How tight should the rear ratchet headband be?
The rear ratchet headband should be snug enough to prevent the helmet from shifting when you shake your head, but not so tight that it presses uncomfortably into your skull. Overtightening the band restricts blood circulation and causes severe forehead headaches within minutes of striking an arc. You want the top crown strap to carry most of the vertical weight so the ratchet band only needs to provide lateral stability.
How do I adjust a welding helmet if I wear safety glasses or a respirator?
Loosen the side slider pins or rail tabs to move the helmet shell forward away from your face. This forward position creates clearance for your safety glasses frames or a low-profile half-mask respirator without pushing the filter lens against your nose. Once the shell clears your protective gear, verify that your eyes remain centered within the viewing area to maintain a clear line of sight to the weld puddle.
Can I replace headgear from one brand into a helmet from another?
Headgear interchangeability depends on mounting hole shape, pivot spacing, and the angle stop mechanism on the shell. While some aftermarket suspensions claim compatibility across round or square mounting holes, brand-specific indexing pins or shell widths often prevent a proper fit. Always verify the manufacturer part number and listed shell compatibility before attempting a headgear swap.
Why is my welding helmet crooked when lowered?
A crooked helmet usually indicates that the top crown strap is adjusted unevenly or the side sliders are set to different slot positions. Ensure both side slider pins sit in the exact matching notch on the left and right rails. Recheck the pivot friction knobs to confirm both sides clamp with equal tension against the helmet shell.
Related: best welding helmet for MIG welding, best welding helmet for TIG welding, how to use auto darkening welding helmet, and the welding helmets hub. Also see our guide on how to clean a welding helmet lens.
About the author
WeldGearLab Editorial is the editorial team behind WeldGearLab. We research product listings, specifications, safety listings and warranty terms, score every pick with the published Gear Score method, and correct errors when readers report them. We do not run our own shop trials; see How We Pick for exactly how picks are made.