MIG Welding Vertical Up vs Vertical Down: Which Direction Fits Your Work
MIG welding vertical up provides deep penetration on thick steel, while vertical down offers fast travel speed and lower heat on thin sheet metal.
 By WeldGearLab Editorial
Updated October 9, 2026
By WeldGearLab Editorial
Updated October 9, 2026
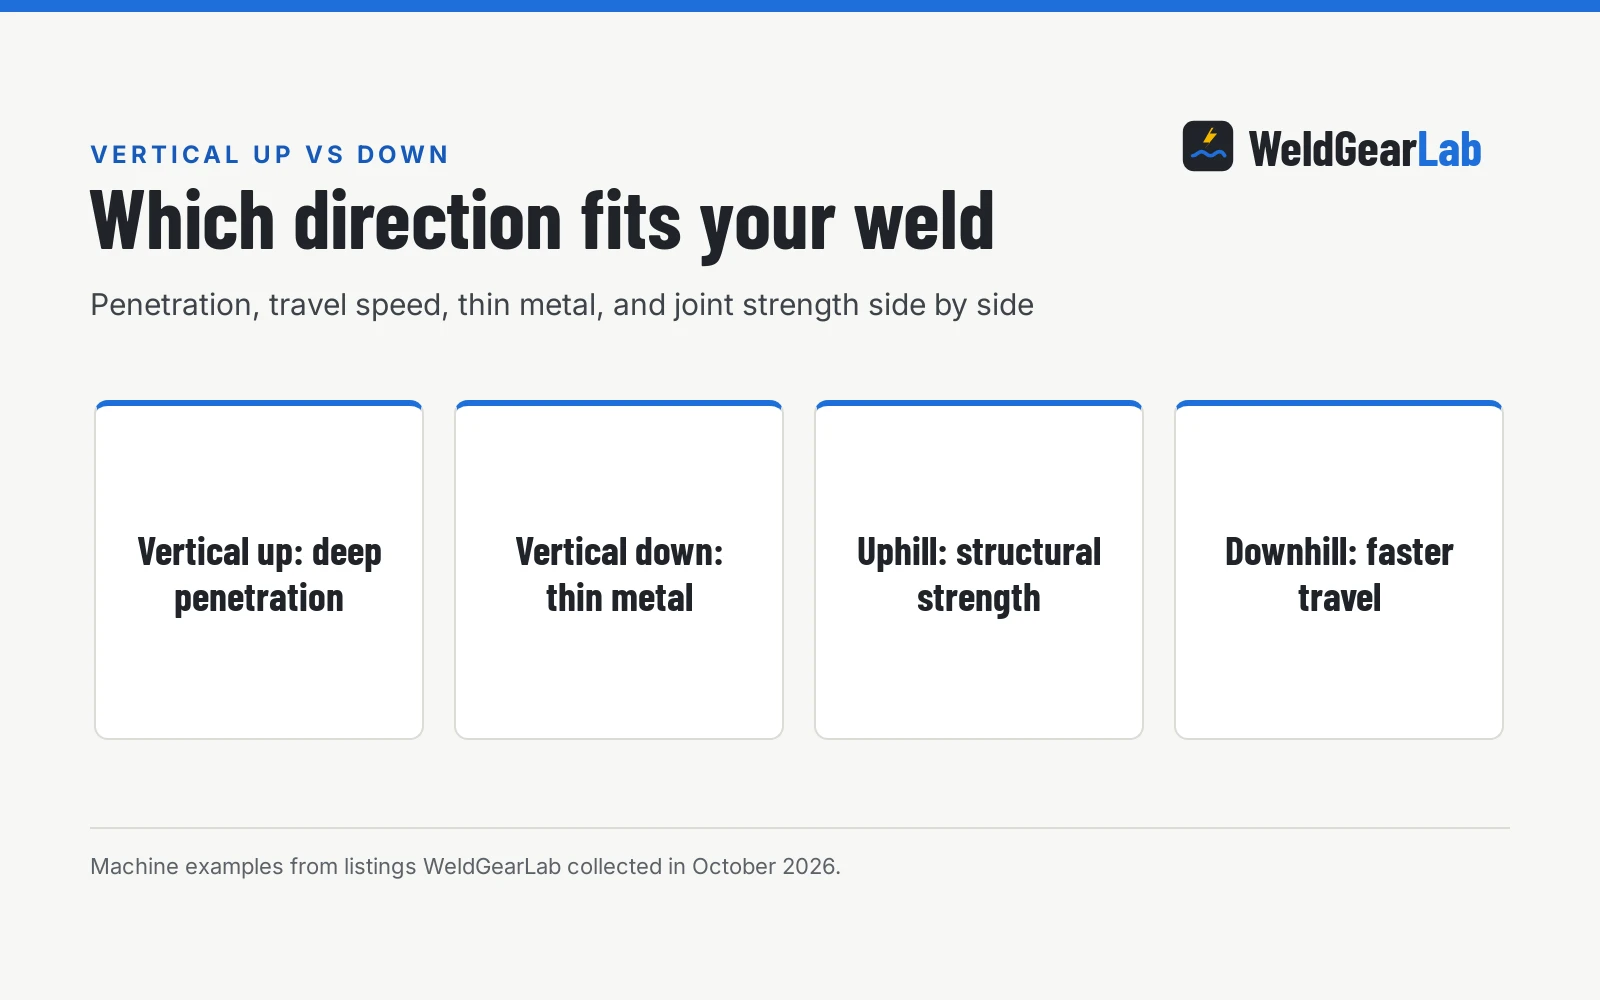
Choosing between MIG welding vertical up vs vertical down depends on steel thickness and structural strength requirements. Vertical up welding provides deep penetration, sound root fusion, and high strength for thick steel and structural joints, making it the required direction for load-bearing fabrication. Vertical down welding produces shallow penetration with low heat input and fast travel speed, making it suitable for thin sheet metal where preventing burn-through is the primary goal. This guide explains how uphill vs downhill MIG techniques differ, how gravity affects the weld puddle, and how to select the right direction for your project.
As an Amazon Associate I earn from qualifying purchases. This guide links to our product roundups, where WeldGearLab earns a commission when you buy through links, at no extra cost to you. Read our affiliate disclosure.
The difference in one paragraph
In vertical welding, gravity constantly pulls molten filler metal downward toward the floor. When welding vertical up, you build a solid shelf of frozen metal at the bottom of the joint and stack subsequent molten puddle steps on top of that shelf, allowing the arc to dig deeply into the base metal root. When welding vertical down, you move the arc rapidly downward ahead of the liquid puddle, depositing a thin bead with minimal heat input into the base steel. Moving downhill carries a severe risk of cold lap if molten metal runs ahead of the electric arc, whereas moving uphill demands precise puddle support to avoid an excessively crowned or sagging bead.
Side by side
| Feature | Vertical Up (Uphill) | Vertical Down (Downhill) | Shop Recommendation |
|---|---|---|---|
| Penetration | Deep penetration into the root | Shallow penetration, high risk of cold lap | Use uphill for full fusion |
| Travel speed | Slow travel speed to build a shelf | Fast travel speed staying ahead of the puddle | Downhill is faster |
| Heat input | High heat input into base metal | Low heat input into base metal | Downhill prevents burn-through |
| Best material thickness | Thicker steel, structural joints, and plate | Thin sheet metal and auto body panels | Match direction to thickness |
| Burn-through risk | High risk on thin gauge sheet | Low risk due to fast travel speed | Downhill protects thin sheet |
| Structural suitability | Standard choice for load-bearing joints | Typically restricted on structural joints | Uphill ensures required root fusion |
| Torch angle and motion | Slight push angle pointing upward with weave motion | Neutral to slight push angle with straight stringer | Support uphill puddle, stay ahead downhill |
| Puddle management | Molten puddle rests on the solid shelf below | Must outrun the puddle to avoid rolling over cold steel | Prevent downhill puddle rollover |
| Bead profile | Heavy reinforcement, convex bead profile | Flat to concave bead profile, light buildup | Uphill builds heavier reinforcement |
Joint thickness, joint type, and code requirements govern direction choice in production and home shops. Always confirm whether a joint carries structural loads before striking an arc, and refer to machine charts and wire specifications for recommended settings.
When vertical up is the better choice
- Structural and load-bearing joints. Frame repairs, heavy brackets, trailer tongue assemblies, and structural tubing demand full penetration and fusion into the joint root. Uphill progression ensures the arc penetrates into the root instead of riding on molten filler.
- Thicker steel sections. Whenever material thickness requires substantial heat to fuse the joint, vertical up provides the necessary heat saturation and puddle control.
- Open root joints and bevels. Butt joints with bevel preparations require vertical up progression so the welder can bridge the gap and tie both plates together with a solid supporting shelf.
- Structural welding standards. Fabrication codes generally specify vertical up progression on structural joints to ensure thorough root penetration and avoid lack-of-fusion defects that could weaken load-bearing assemblies.
Our guide to budget MIG welders covers machines capable of solid wire and flux core work for home and farm fabrication.
When vertical down is the better choice
- Thin sheet metal and auto body panels. Fast downward travel speed minimizes heat buildup, preventing panel warping, distortion, and burn-through on delicate gauge sheet.
- Non-structural cosmetic welds. Enclosures, dust shields, sheet metal covers, and decorative brackets where mechanical loads are minimal benefit from clean, flat bead profiles.
- Speed on light gauge material. Downhill travel speeds are significantly faster than uphill speeds, allowing quick completion of sheet joints without excessive metal buildup.
- Sealing sheet seams. Where a joint simply needs to be weather-tight or hold light sheet components together without structural loading, downhill progression offers smooth bead appearance with minimal post-weld grinding.
For detailed techniques on managing heat input on delicate panels, see our guide on how to MIG weld thin sheet metal without burning through.
MIG welding vertical up vs vertical down
Mastering MIG welding vertical up vs vertical down requires adapting gun angle, travel speed, and machine parameters to counteract gravity. The key differences in technique include:
- Uphill shelf technique. Begin at the bottom of the vertical joint. Hold the gun with a slight push angle pointing upward into the joint. Establish a small puddle to create a solid metal ledge. Once that shelf freezes, weave side to side across the joint, pausing momentarily at each side toe to allow the puddle to wash in flat against the base metal. Move quickly across the center to avoid building a heavy, convex ridge.
- Downhill stringer technique. Begin at the top of the vertical seam. Keep the arc directly on the leading edge of the puddle. Travel downward rapidly with a straight stringer bead or a very narrow weave, keeping the wire feeding directly into unfused base metal. Never let the liquid puddle roll ahead of the electric arc, or cold lap will occur.
- Torch travel angle. Vertical up uses a slight push angle pointing upward in the direction of travel, which helps arc force support the molten puddle against gravity. Vertical down uses a neutral to slight push angle pointing in the direction of travel, keeping the arc directly on the front leading edge of the puddle. For more on gun orientation, see our guide on push vs pull MIG welding.
Machine setup and material ratings
Specific machine and accessory listings publish exact ratings for material thickness, output, and wire compatibility. PONEY lists its 135A machine for mild steel up to 1/8 in (3mm), with lap and fillet joints up to 3/16 in (4.8 mm) on a 110V supply. BESTMIG rates its 145A multi-process machine for mild steel and stainless steel up to 3mm (2/5 in) thick on 110V or 220V power. In accessory listings, YESWELDER states replacement guns rated for 100A and 150A that handle .023, .030, and .035 inch wire, and Bokor lists torch consumables and feed rollers for .030, .035, and .040 inch wire on dual-voltage 110V and 220V equipment.
When setting up for vertical up on thicker steel, reducing voltage and wire feed speed slightly from flat-position settings helps keep the molten pool manageable without spilling downward. Slower uphill travel speed still provides deep penetration and thorough joint fusion. For vertical down on thin sheet metal, maintaining steady arc voltage while traveling rapidly downward limits heat buildup and prevents melting through the seam. Always wear a welding helmet with the correct shade, flame-resistant leather gloves, and protective clothing to guard against spatter and radiation. Hot sparks and spatter fall directly downward during vertical welding, so keep boots covered and clear flammable materials from the work area. Follow machine manual instructions and shop safety guidelines.
Common mistakes: cold lap and puddle sag
The most dangerous pitfall in vertical down welding is cold lap, also called lack of fusion. Because molten metal is fluid and gravity pulls it downward, the puddle easily rolls ahead of the arc. When liquid metal coats cold steel that has not been melted by the arc, it forms a seam that looks smooth on top but lacks penetration or metallurgical bond underneath. This defect cannot be detected by visual inspection alone and can lead to sudden joint separation under stress.
In vertical up welding, the primary mistake is moving too slowly across the center or failing to pause at the joint toes. This results in undercut along the plate edges and an excessively crowned, bulging bead down the middle. Pausing at the toes lets the weld puddle wet out smoothly into the side walls, while a swift traverse across the center keeps the bead profile balanced and flat.
Frequently Asked Questions
Why is vertical down MIG restricted on structural joints?
Structural welding standards generally restrict downhill MIG on structural joints because gravity can pull molten filler metal ahead of the arc. When liquid metal washes over unheated steel without melting it, cold lap defects form with inadequate root penetration. These lack-of-fusion flaws can compromise joint strength under heavy mechanical loads.
What causes cold lap during downhill MIG welding?
Cold lap occurs when travel speed is inconsistent or the arc is directed into the molten puddle rather than unfused base metal. The molten pool rolls downward across the cold plate, creating a bead that never fused to the parent steel. Keeping the arc strictly on the leading edge of the puddle prevents this defect.
What gun motion works best for vertical up MIG?
An inverted-V motion, triangle pattern, or side-to-side weave works best for vertical up welds. The welder pauses briefly at each edge to fill the toes and eliminate undercut, then moves briskly across the center. Stacking each new step on the frozen shelf below maintains a uniform, flat bead.
Can I use vertical down for auto body sheet metal?
Yes, downhill MIG is widely used on auto body panels and thin sheet metal. The rapid travel speed reduces heat input into the panel, significantly lowering the risk of burn-through and heat warping. Because vehicle body skins are non-structural enclosures, deep penetration is not required.
Should I use a push or drag angle when welding uphill?
A slight push angle pointing upward into the joint works best when welding vertical up. The upward arc force helps support the molten puddle against gravity as the weld progresses. Avoiding extreme tilt angles keeps shielding gas coverage stable over the molten pool.
Related: push vs pull MIG welding, how to MIG weld thin sheet metal, best 120V MIG welder, and the MIG welders hub. Also see our why a MIG welder spatters.
About the author
WeldGearLab Editorial is the editorial team behind WeldGearLab. We research product listings, specifications, safety listings and warranty terms, score every pick with the published Gear Score method, and correct errors when readers report them. We do not run our own shop trials; see How We Pick for exactly how picks are made.