MIG Welding Amperage Chart by Wire and Thickness
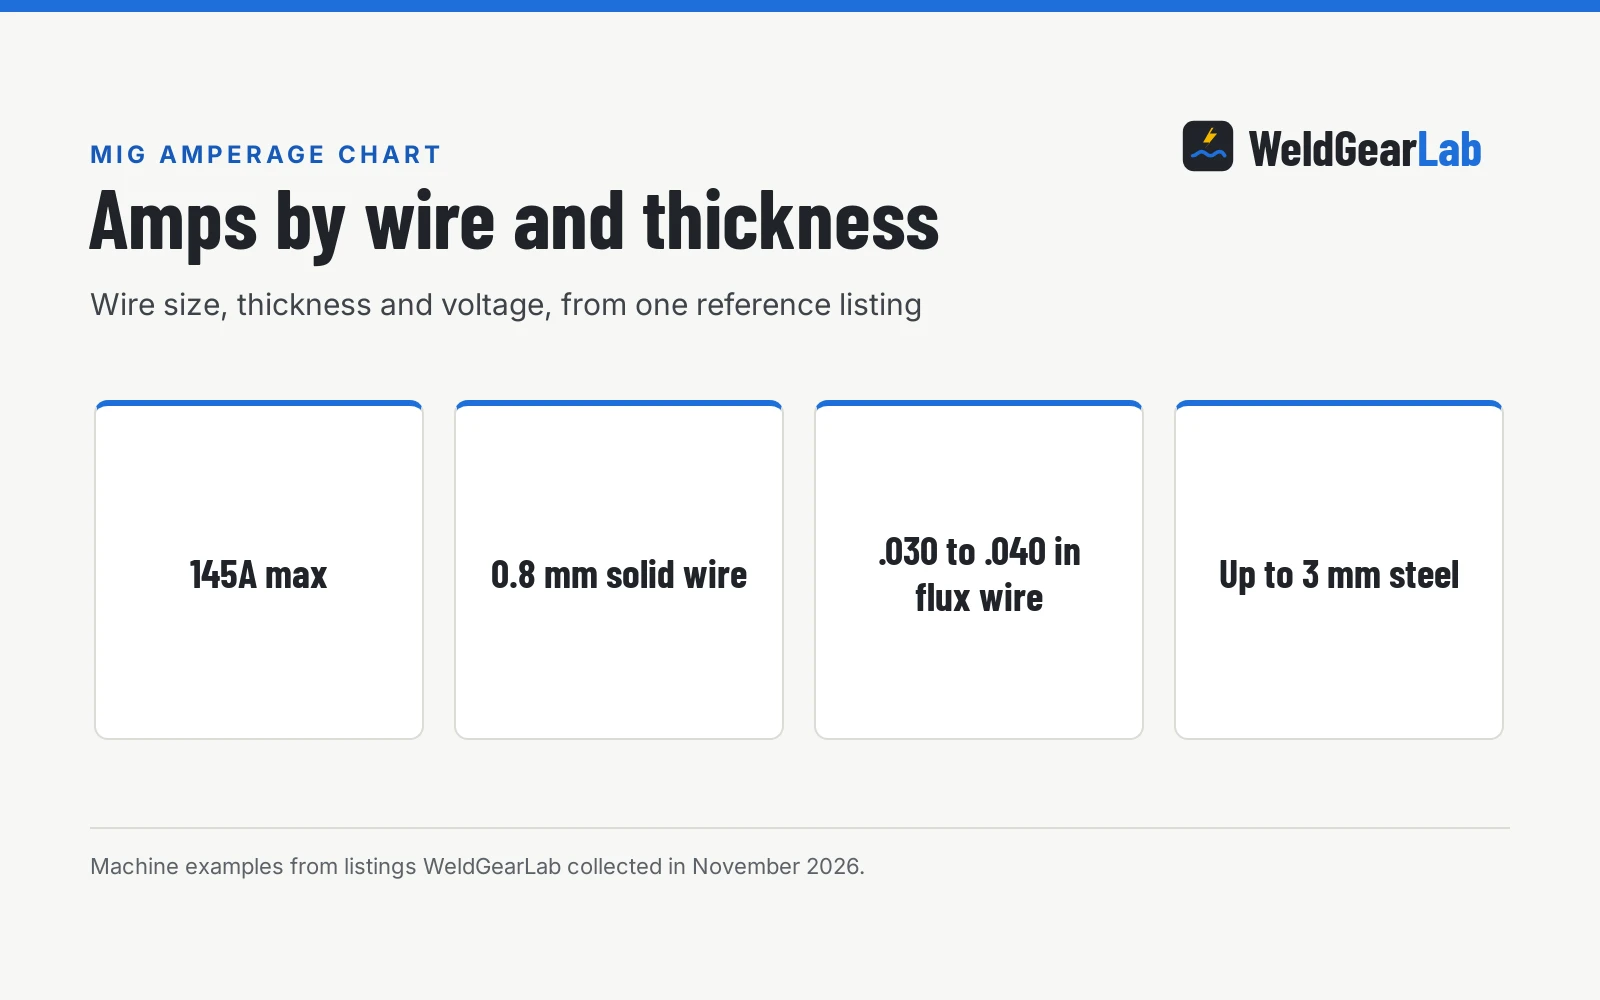
A MIG welding amperage chart matches amps to wire size and steel thickness, with figures from a 145A dual voltage reference machine.

On this page
Top picks at a glance
As an Amazon Associate I earn from qualifying purchases.
- 1
 ARCCAPTAIN Leather Welding Jacket9.7/10View on Amazon
- 2
 YESWELDER Black Leather Welding Jacket9.6/10View on Amazon
- 3
 Quality Supply Leather Welding Work Jacket9.6/10View on Amazon
A mig welding amperage chart matches amps to wire size and steel thickness, so you can set the machine before the first bead. Amps rise with thicker steel and larger wire, and fall for thin sheet, and the machine’s own chart is the final word for its settings. This guide shows how to read such a chart, and how the figures from one reference machine fit together.
This guide links to our product roundups, where WeldGearLab gets a commission on purchases made through links on this page, and your price stays the same. Read our affiliate disclosure.
How to read the chart: mig welding amperage chart
Start with your wire size, then find your steel thickness. The chart gives amps for that pair. Thicker steel needs more amps to melt through, and larger wire carries more metal into the joint at a given feed speed, so both push the number up. Thin sheet needs the opposite: low amps and a light touch, or the arc burns through. When a chart lists a range instead of one number, start at the low end on scrap and work up until the bead wets in.
Wire feed speed moves with amps. A synergic machine changes voltage and wire feed speed together when you change the wire diameter or the current, so voltage and wire feed speed stay in step. On a manual machine you set them yourself, and many machines carry a door chart inside the cover with the pairing the maker recommends for each wire and thickness.
The chart
| Solid wire | Flux wire .030 in | Flux wire .040 in | |
|---|---|---|---|
| Wire size | 0.8 mm | .030 in | .040 in |
| Machine max amps | 145A | 145A | 145A |
| Max steel thickness | 3 mm | 3 mm | 3 mm |
| Voltage | 110V/220V | 110V/220V | 110V/220V |
The figures above come from one reference listing, the BESTMIG 145A, which states a single ceiling for the machine: 145A and steel up to 3mm. The listing does not break the ceiling down by wire, so read the 3mm figure as the machine limit, not a promise for each wire. For the exact amps on your machine, check its door chart or manual.
Wire size
Wire size sets the range the machine can work in. The reference listing states solid steel wire and stainless steel wire, with flux-cored wire from .030 inch to .040 inch, and solid wire at 0.8mm. Smaller wire suits thin sheet and low amps, while larger wire suits thicker steel and higher amps. The listing also states that the machine alters voltage and wire feed speed automatically when the wire diameter changes, so a wire swap rebalances the setup without touching another knob.
Keep the wire the listing states. The reference machine is a 4-in-1 unit that combines gas and gasless MIG, stick and lift TIG in one unit, and it ships with 0.8mm flux-cored wire and 0.8mm solid wire in the box, plus a contact tip, so the 0.8mm sizes in the chart match what ships with the machine, while the .040 inch flux size is supported by the listing but not in the box.
Steel thickness
Thickness is the other half of the chart. The reference listing states the machine handles stainless steel, carbon steel and mild steel up to 3mm. Thicker steel needs more amps and more passes, while thin sheet needs fewer amps and a steady hand. When the steel is thicker than the machine’s stated ceiling, the joint needs more than one pass, or a bigger machine.
Measure the steel before you set the amps. A chart reading is only as good as the thickness figure you feed it, so take the measurement first and then look up the row. The listing gives its ceiling as 3mm, so anything past that sits outside what the maker states.
Voltage
The reference machine runs on dual voltage, 110V and 220V, with a power adapter cable covering 120V to 240V. The listing states one ceiling, 145A, for the machine, and it does not break that ceiling down by supply, so check the manual for what each supply delivers. See the welders section for machines grouped by process.
Synergic mode and manual mode
Synergic mode sets the voltage and wire feed speed for you. The reference listing states that when you change the wire diameter or adjust the current, the machine automatically alters the voltage and wire feed speed for the best results, and that manual adjustments are also supported. That lets a beginner start with the machine’s own pairing and fine-tune from there.
Manual mode is for when the synergic pairing does not suit the joint. The listing states that manual adjustments let welders fine-tune parameters based on personal preference. Change one thing at a time, weld a bead on scrap, and read the bead before changing anything else.
MIG smoke and fumes. MIG welding makes smoke and fumes, and the arc is bright enough to burn eyes and skin. Weld with good ventilation or outdoors with your head out of the plume, wear the auto-darkening helmet and gloves, and clear anything flammable from the area. The reference listing states over-current, overload, over-voltage and overheat protection, plus a metal housing, but protection circuits do not replace ventilation and PPE.
FAQ for welders
What amps do I need for MIG welding?
It depends on wire size and steel thickness, which is what the chart matches. The reference machine tops out at 145A and handles steel up to 3mm. Check your machine’s door chart or manual for the exact amps on your wire and thickness.
What wire size should I use?
Use the sizes the machine lists. The reference listing states solid wire at 0.8mm and flux-cored wire from .030 inch to .040 inch, and it ships with 0.8mm flux-cored wire and 0.8mm solid wire in the box. Larger wire suits thicker steel, smaller wire suits thin sheet.
Does voltage change the amps?
The reference machine runs on dual voltage, 110V and 220V, and the listing states one ceiling of 145A. The amps for a given wire and thickness come from the door chart or manual, which also says what changes between supplies on your machine.
What is synergic mode?
Synergic mode adjusts the voltage and wire feed speed for you. The reference listing states that when you change the wire diameter or adjust the current, the machine automatically alters the voltage and wire feed speed. Manual adjustments are also supported for fine-tuning.
Can this machine weld stainless steel?
Yes, per the listing. The reference machine is compatible with solid steel wire and stainless steel wire, and it handles stainless steel, carbon steel and mild steel up to 3mm. Check the wire label and the manual for the gas and settings the stainless wire needs.
Related: how to choose a MIG welder, best flux core welder, best welder for beginners, and the MIG welders hub.