MIG Welder Problems: Common Causes and Shop Fixes
Most MIG welder problems stem from wire feed slipping, shielding gas loss, incorrect drive roll tension, poor ground contact, or wrong voltage balance on the bench.

On this page
You clamp clean steel to the fab table, squeeze the gun trigger, and the wire stutters, spatters, or burns back into the tip. Most mig welder problems trace back to wire feeding faults, shielding gas loss, incorrect voltage balance, or an unstable ground connection. When you encounter mig welder problems on the bench, troubleshooting systematically from the wire spool out through the torch gun pinpoints the breakdown before you ruin a joint.
As an Amazon Associate I earn from qualifying purchases. This guide links to our product roundups, where WeldGearLab gets a commission on purchases made through links on this page, and your price stays the same. Read our affiliate disclosure.
Diagnosing MIG welder problems on the bench
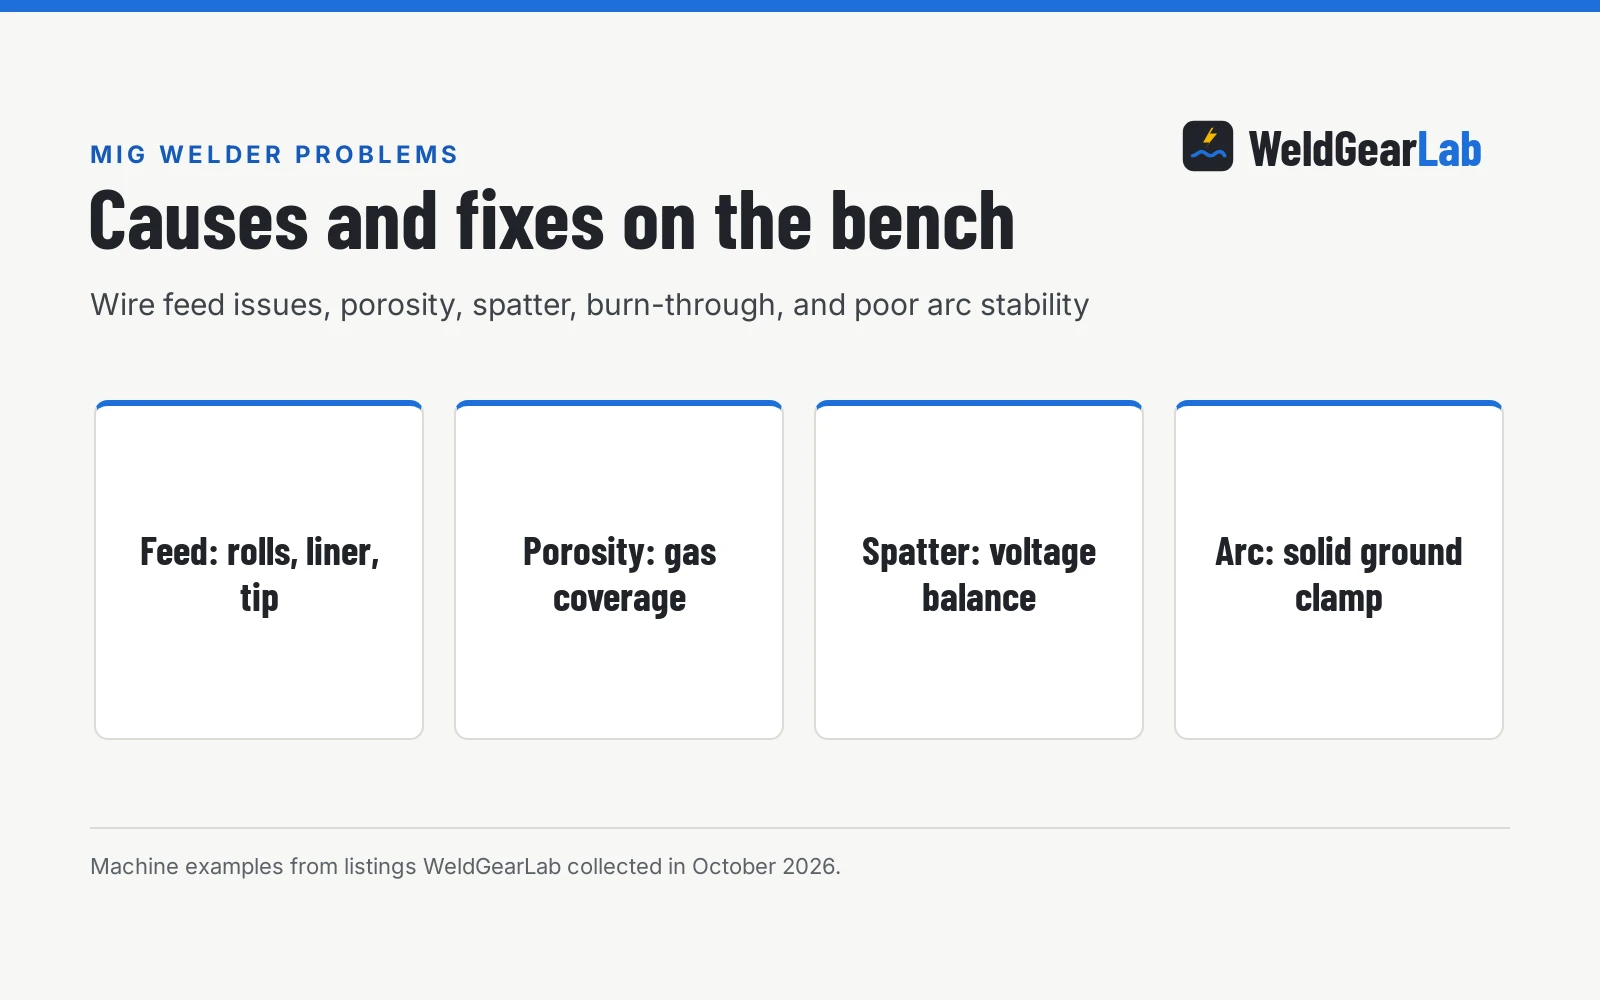
MIG welding depends on a balanced electrical circuit, steady wire feed, and shielding gas over the molten puddle. An erratic arc, excessive spatter, or porosity indicates one specific component needs cleaning or adjustment. Check wire drive mechanics, gas delivery, electrical ground, and machine settings in order.
Side by side
| Problem | Likely Cause | What to Check | Shop Fix |
|---|---|---|---|
| Wire feeding slips or stutters | Drive roll tension or worn tip | Drive roll groove and liner | Match groove to wire size, replace worn tip |
| Porosity (pinholes in bead) | Shielding gas lost or dirty steel | Cylinder valve, regulator, joint surface | Open gas cylinder valve, grind steel clean |
| Heavy spatter | Voltage and wire speed mismatched | Voltage trim, wire speed, ground clamp | Balance voltage to wire speed, clamp clean metal |
| Wire burnback to tip | Wire feed hesitation or tight spool | Spool brake tension and contact tip | Maintain stickout, replace tip, loosen spool brake |
| Birdnesting at drive rolls | Kinked liner or excessive tension | Tension knob and cable routing | Loosen roll tension, replace kinked liner |
| Burn-through on thin metal | Travel speed too slow or excess voltage | Voltage setting and travel pace | Increase travel speed, lower voltage |
| Lack of penetration | Travel speed too fast or low voltage | Joint beveling and voltage level | Increase output voltage, slow travel, bevel joint |
| Welder shuts down or trips breaker | Duty cycle exceeded or circuit overload | Breaker rating and duty cycle | Allow fan cooling, use dedicated circuit |
Symptom patterns point directly to the underlying issue; verify ground contact, wire spool tension, and torch consumables before altering internal machine parameters.
Wire feed slipping, birdnesting, and burnback
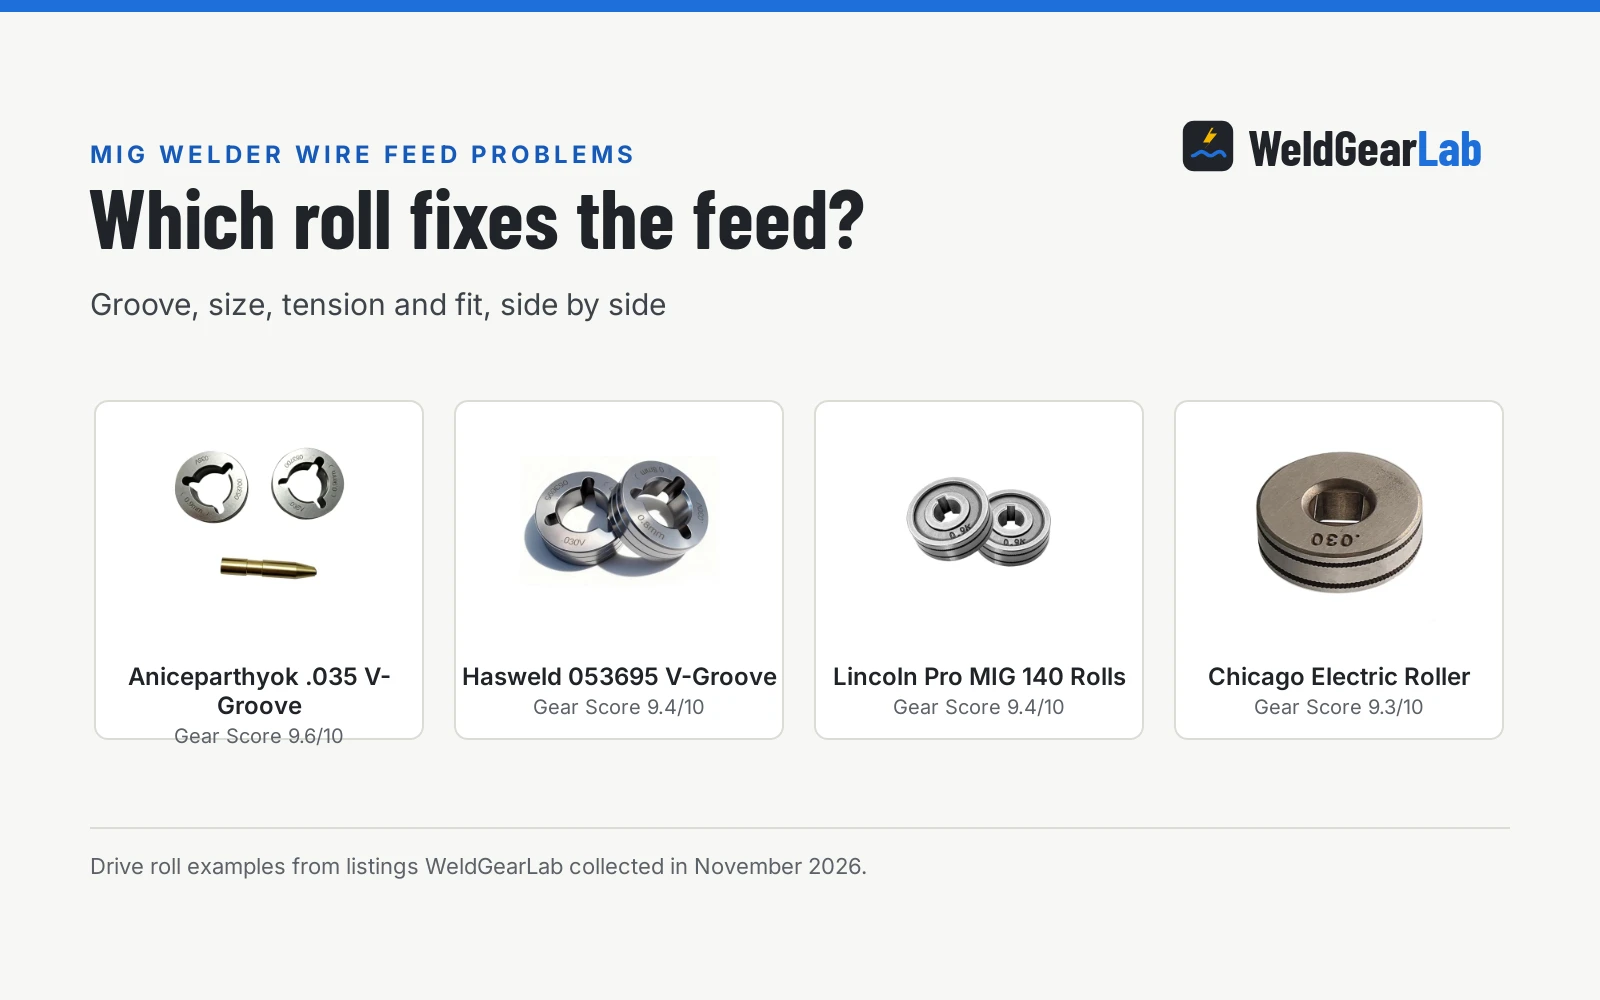
Wire feeding issues represent the most common mechanical breakdown in wire welding. Birdnesting occurs when drive rolls push wire after a jam develops in the liner or tip, tangling wire into a knotted ball around the drive axle. Set drive roll tension just tight enough to feed smoothly, but loose enough that rolls slip if wire meets resistance at the tip. Over-tightening forces the wire to buckle on any downstream resistance.
Mismatched rolls or contact tips cause immediate feeding trouble. Knurled rolls grip flux-core wire, while smooth V-grooves feed solid steel wire. The ACEWELDER listing specifies solid wire sizes of .023, .030, and .035 inches, alongside aluminum wire sizes of .035, .040, and .045 inches. Running .030 wire through a .035 contact tip causes loose electrical contact and arc stutter. An undersized tip binds the wire mechanically so it cannot feed. Burnback occurs when wire feeding hesitates while the arc remains active, melting wire back into the tip.
Keep your torch cable straight while working. Sharp loops inside the liner increase friction. Blow out the liner with compressed air during spool changes to remove metal shavings.
Shielding gas loss and porosity defects
Porosity appears as tiny pinholes across the bead, severely weakening the weld. Molten steel reacts with air, so losing gas shielding ruins the joint. If your welds look foamy, see our guide on what causes porosity in MIG welds.
Verify the cylinder valve is opened and the regulator indicates active flow. Inspect the gas hose and fittings for leaks. A loose torch back-end fitting allows shielding gas to vent inside the machine cabinet rather than reaching the nozzle.
Clean spatter from the nozzle with pliers so gas flows uniformly around the puddle. Drafts from open doors blow gas away from the weld zone; erect screens or switch to gasless wire as detailed in our best flux core welder guide. Always grind base metal clean of rust, oil, mill scale, and paint before welding.
Arc stutter, stubbing, and excessive spatter
A stable MIG arc produces a continuous, crisp buzzing sound. If the welder pops loudly, stubs into the plate, or throws heavy spatter, settings are out of balance. Our guide explains why a MIG welder spatters in detail.
Arc stubbing happens when wire feed speed is too fast for the voltage setting, blasting wire into the puddle before it melts. In that condition, trimming voltage upward or reducing wire speed stabilizes the arc. Conversely, if voltage is set too high for the wire speed, the arc flares high up the wire column, causing heavy molten spatter. In that case, trimming voltage downward or increasing wire speed restores balance. The YESWELDER listing provides an adjustable wire feed speed of 80 to 600 in/min and allows manual voltage adjustment from -3V to +3V to fine-tune this balance.
Excessive stickout also causes arc stutter. Holding the nozzle too far away increases electrical resistance along the wire extension, reducing current at the puddle. Maintain a consistent stickout length from the contact tip to the joint.
Burn-through, lack of penetration, and bead profile
Bead defects stem from incorrect travel speed, wrong heat input, or exceeding output limits. Burning through thin sheet occurs when voltage is too high, travel speed is too slow, or wire diameter is oversized. For thin automotive sheet, smaller wire and short stitch welds prevent excessive heat buildup.
Cold lap and lack of penetration happen when the bead sits on the surface without fusing into the root, caused by moving too fast or exceeding plate thickness limits. The PONEY listing rates its 135A output for mild steel up to 1/8 in, with joints up to 3/16 in, while the DURATECH listing rates its 125A output up to a 3/16 inch plate on 120V input. The LOTOS OPTIMA listing similarly rates its output for steel up to 3/16″ thick. When welding joints near these plate thickness figures, bevel the joint edges so the arc penetrates completely.
Machine shutdown, duty cycle, and power supply
When a welder stops feeding wire and extinguishes the arc while the fan runs, thermal overload protection has tripped. Exceeding the machine’s duty cycle forces a mandatory cooling period to protect internal circuitry.
Duty cycle indicates how long a machine can weld before needing cooling. The LOTOS OPTIMA listing notes a 25% duty cycle at 150 amp on 120V input, whereas the TASKZOOM listing claims a 60% rated duty cycle. If thermal shutdown occurs, leave the unit powered on so the fan circulates air until the warning light clears.
Plugging into a long, thin extension cord causes severe voltage drop that makes the arc flutter. The ESAB Rogue EM 210 PRO (on Amazon) listing states its power factor correction maintains a stable arc on extension cables up to 100 m (328 ft). Welders without this feature require a dedicated, heavy-gauge circuit. For machine options, see our roundups of the best welder for beginners, the best 120V MIG welder, and the best MIG welder for farm repairs.
A poor ground clamp connection restricts current return, causing the arc to sputter. Attach the ground clamp directly to clean metal near the joint.
Shop safety when troubleshooting. Disconnect power before inspecting internal drive rolls or wiring cabinets to avoid electrical shock. Wear an auto-darkening welding helmet, leather gloves, and flame-resistant clothing to protect against arc flash and spatter. Ensure shop ventilation when welding on oily steel, and keep gas cylinders chained upright. Always follow machine manual guidelines before welding.
FAQ for welders
Why does my MIG wire keep birdnesting at the drive rolls?
Birdnesting occurs when drive rolls push wire faster than it can pass through the torch cable. Loosen drive roll tension so the rolls slip during a restriction, clear kinked liners, and ensure the contact tip is clear.
What causes porous, swiss-cheese holes in a MIG weld bead?
Porosity happens when lost shielding gas or dirty metal contaminates the molten weld pool. Check the gas cylinder valve, eliminate shop drafts, and grind the joint clean of rust and paint before welding.
Why is my MIG welder spattering so much?
Heavy spatter indicates mismatched voltage and wire feed speed, or a weak electrical ground. Balance your voltage and wire speed settings to eliminate stubbing or flaring, and attach the ground clamp to bare metal.
Why does my MIG welder trip the circuit breaker?
A welder trips circuit breakers when power draw exceeds the branch circuit rating or when duty cycle limits are exceeded. Plug the welder into a dedicated outlet with the proper breaker rating and avoid thin extension cords.
Why does the wire burn back and fuse to the contact tip?
Burnback happens when wire feed slows down while the arc remains active, melting wire into the copper tip. Maintain consistent stickout distance, adjust spool brake tension so it rotates freely, and replace worn contact tips.
Related: why a MIG welder spatters, how to fix MIG wire birdnesting, why MIG wire burns back to the tip, what causes porosity in MIG welds, how to choose a MIG welder, and the MIG welders hub. Also see our guides on the welders category and the best welder for beginners.