How to TIG Weld without a Foot Pedal
How to TIG weld without a foot pedal using torch switches, lift TIG start, and machine heat settings for clean welds in the shop or field.
 By WeldGearLab Editorial
Updated October 10, 2026
By WeldGearLab Editorial
Updated October 10, 2026
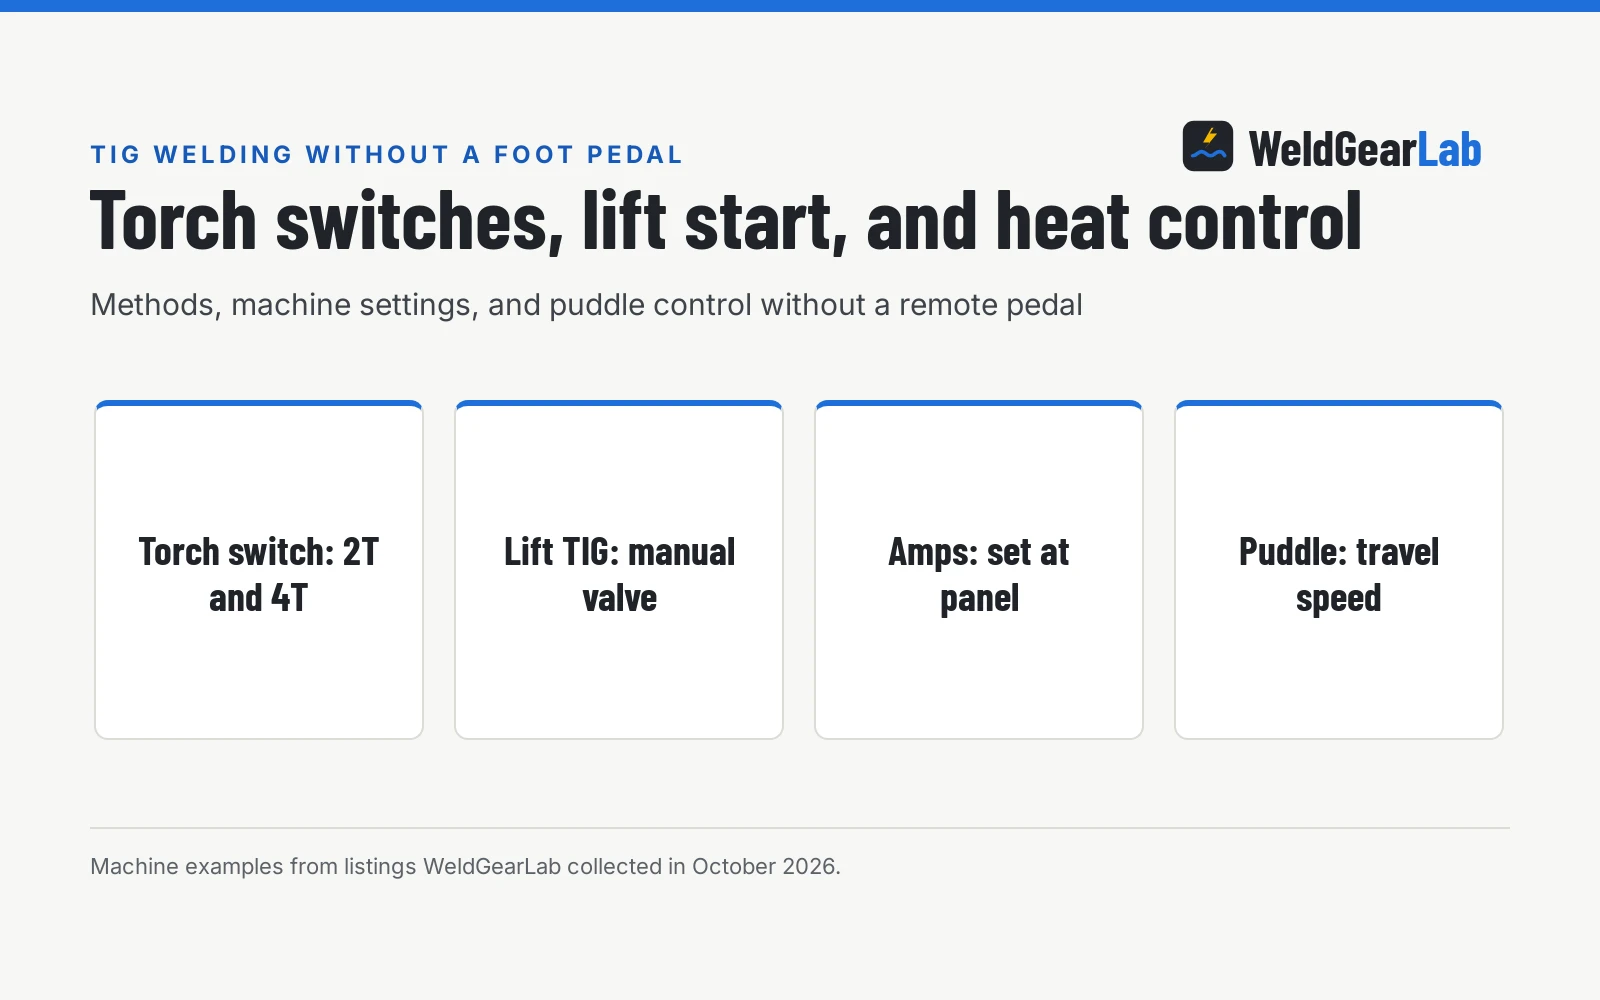
Learning how to tig weld without a foot pedal comes down to distinct approaches: using a torch-mounted switch with 2T or 4T sequencer logic, or using a lift TIG torch equipped with an integrated manual gas valve. Instead of modulating current with your foot while working at a bench, you dial in your base amperage on the machine panel and control the arc directly from the torch handle. You then manage puddle temperature along the joint through travel speed adjustments, torch angle, and filler wire additions. This guide explains how both systems work, how to set up your machine, and how to maintain clean puddle control during fabrication.
As an Amazon Associate I earn from qualifying purchases. This guide links to our product roundups, where WeldGearLab earns a commission when you buy through links, at no extra cost to you. Read our affiliate disclosure.
The core methods in brief
In standard bench welding, a foot pedal performs separate functions: it triggers the contactor to start and stop shielding gas and current, and it continuously varies amperage to control the heat of the molten puddle. When working out of position, on vehicle chassis, on ladders, or in the field, a foot pedal is impractical or impossible to balance on. Welding without a foot pedal separates those functions. The welder sets a constant operating current on the machine panel. Arc initiation and shutoff occur either through an electrical switch on the torch body or through physical contact and lift-off using a valved torch. Heat control shifts entirely from foot motion to torch manipulation, travel speed changes, and filler rod dipping.
Side by side
| Torch switch (2T) | Torch switch (4T) | Lift TIG (manual valve) | |
|---|---|---|---|
| Arc initiation | Press trigger to start arc via HF or lift | Press and release trigger to start arc | Touch tungsten and lift from workpiece |
| Trigger operation | Hold trigger pressed throughout weld | Release trigger while welding; click to end | No switch; arc breaks by lifting torch away |
| Shielding gas control | Automated machine gas solenoid valve | Automated machine gas solenoid valve | Manual twist valve on the torch body |
| Current regulation | Preset panel amperage | Preset panel amperage | Preset panel amperage |
| Downslope and crater fill | Direct arc cutoff upon trigger release | Timed downslope to fill crater before shutoff | Manual snap away without automated downslope |
| Torch hardware | Torch with momentary trigger switch | Torch with momentary trigger switch | Valved torch like WP-17V with direct gas line |
| Common workplace | Tacks, short seams, and shop benches | Roll cages, long tubing, and out of position | Field repairs, farm gates, and mobile jobs |
| Machine compatibility | TIG machines with remote control port | TIG machines with remote control port | Almost any constant-current DC welding machine |
Amperage settings and sequencer functions depend on your welder’s internal circuitry; always consult the parameter chart on your machine door and the manufacturer manual for recommended starting figures. Power sources that support torch triggers typically provide a panel rocker switch to select between 2T momentary control and 4T latching operation.
When a torch switch is the better choice
- Out-of-position fabrication. Roll cages, automotive undercarriages, overhead framework, and vertical pipe joints where standing flat on a pedal is impossible.
- Automated gas shielding and downslope. The machine internal solenoid manages pre-flow and post-flow shielding gas, while 4T sequencer settings provide adjustable downslope to gradually reduce current before extinguishing, preventing crater pinholes and cracks.
- Reduced operator fatigue. In 4T mode, you press and release the switch to begin welding, allowing your hand to hold the torch naturally without clamping a trigger during long passes.
- Clean non-contact arc starts. Pairing a torch switch with high-frequency arc ignition allows the arc to jump the gap without touching the tungsten electrode to the base metal, eliminating tungsten inclusions.
If you plan to weld aluminum sheet out of position, our best TIG welder for aluminum roundup compares AC machines equipped with high-frequency arc start and sequencer controls.
When lift TIG with a manual valve is the better choice
- Field repairs and mobile work. Farm gates, trailer frames, and outdoor repairs where dragging delicate control cables through mud or metal shavings causes equipment failure.
- Multi-process and portable stick welders. Simple constant-current DC power units that lack remote pedal ports or internal gas solenoids can run lift TIG easily with an inexpensive valved torch.
- Minimal equipment footprint. Eliminating remote foot pedals and control wires leaves only the welding lead, ground cable, and direct gas hose to transport.
- Straightforward power connections. The valved torch connects straight to the negative terminal on the front panel, with shielding gas flowing directly from the cylinder regulator through the torch hose.
How to TIG weld without a foot pedal
Executing clean welds without remote foot control requires consistent technique, correct machine configuration, and disciplined torch movement. Follow this operational sequence:
- Set your machine amperage. Because you cannot back off the current with a pedal while welding, set your front panel to the exact amperage required for the joint and metal thickness. A setting that runs too hot will overheat the workpiece before you reach the end of the seam.
- Position the torch and establish shielding gas. If using a valved torch, open the gas knob on the torch barrel to start argon flow over the weld area. With a switch-operated machine, position the tungsten cup over the start of the joint and prepare your grip.
- Initiate the welding arc. On machines with a torch trigger, press the button to ignite the arc via high-frequency spark or lift contact. With a manual valved torch, rest the ceramic cup on the metal, gently rock the tungsten tip down to touch the workpiece, and pivot the torch up smoothly to draw out the arc.
- Form the puddle and establish travel speed. Hold the tungsten close to the metal without dipping into the molten pool. Once the base metal melts into a bright puddle, begin your forward travel, increasing your speed smoothly as heat builds in the workpiece to maintain a uniform bead width.
- Control heat through rod additions. Because amperage remains fixed, dip your cold filler wire smoothly into the leading edge of the puddle. Each dip of filler wire absorbs thermal energy, chilling the molten pool and preventing excessive heat buildup.
- Terminate the weld cleanly. On a 2T switch setup, release the button to shut off the arc. In 4T mode, engage the switch to initiate the programmed downslope cycle, allowing the puddle to taper down and solidify without crater cracks before the arc extinguishes. With a manual lift torch lacking downslope, quickly snap the torch back along the solidified bead to break the arc, hold the nozzle over the crater while shielding gas flows to protect the cooling metal, and then close the manual gas valve.
Listing specifications show how makers configure these machines. The PUWU ARC-200 listing states an adjustable current range of 20-200A on 110V power for mild steel thickness from 1/16 to 1/8 inch, pairing with a separate WP-17V lift TIG torch and standard 10-25 connectors. Meanwhile, the PONEY PROTIG-200i listing includes 4T/2T DC TIG settings for torch switch operation, and PONEY rates its FCW-135 at 135A for welding mild steel up to 1/8 in and joints up to 3/16 in. For dual-voltage setups, VEVOR lists its TIG/MMA 205 at 205A on 110V and 220V power with high-frequency non-contact arc ignition. By contrast, remote foot controls require dedicated cabling to regulate current: NOVA lists replacement pedals featuring 14-pin or 8-pin plugs with a 25-ft cable, while LOTOS lists its FP06 foot pedal with a 5-prong connector.
How to manage heat without pedal modulation
A foot pedal allows a welder to start with high heat to establish the puddle and back off as the base metal heats up. When welding without a pedal, your panel amperage remains constant throughout the run. Welders rely on mechanical adjustments to prevent the workpiece from overheating:
Maintain a tight arc length. Holding the tungsten tip close to the plate concentrates the arc column and keeps the puddle narrow, while long-arcing spreads the arc cone and overheats the surrounding metal.
Increase travel speed as heat accumulates. As the plate absorbs heat along the seam, pick up your travel speed to prevent the puddle from sinking or blowing through the root. You can also increase the frequency of your filler rod additions; dipping cold wire draws heat out of the molten metal.
Take advantage of pulsing functions if your power source provides them. Pulsing alternates rapidly between a higher peak current and a lower background current, letting the puddle freeze between pulses to limit total heat input on thin sheet metal. For a deeper breakdown of pulse settings, see our guide on what is pulse TIG welding, and read our overview comparing HF start vs lift arc TIG.
Can a single machine support both setups?
Yes. Many modern inverter TIG welders include front-panel receptacle sockets that accept either a foot pedal control plug or a torch trigger switch lead. On welders designed for remote controls, plugging in a foot pedal or selecting remote mode enables variable current regulation. Selecting 2T or 4T torch switch mode sets the machine to run at the panel amperage dial and uses the torch trigger as an arc contactor. Simple stick and multi-process welders that have no remote plug run lift TIG with a manual valved torch at any time, requiring no internal modifications.
TIG safety and electrical setup. TIG welding produces intense ultraviolet radiation and high electrical currents. Always wear a shaded auto-darkening welding helmet, dry goat or deer hide TIG welding gloves, and flame-resistant sleeves. Ensure work areas remain well ventilated to disperse argon shielding gas, which displaces oxygen in enclosed spaces. Fasten high-pressure argon cylinders upright with a safety chain, and inspect cables and torch insulation before striking an arc.
Frequently Asked Questions
Can you TIG weld without a foot pedal?
Yes. Welders routinely weld without a foot pedal by using torch-mounted switches with 2T or 4T sequencer logic, or by using a lift TIG torch equipped with a manual gas valve. Amperage is preset on the machine panel, and puddle heat is controlled through travel speed, arc length, and filler wire additions.
What is the difference between 2T and 4T torch modes?
In 2T mode, you press and hold the torch trigger to ignite the arc and weld, then release the button to terminate the arc directly. In 4T mode, you press and release the button to start the arc, weld comfortably without holding the trigger down, and trigger the switch again to initiate downslope crater fill before the arc shuts off.
How do you control heat in TIG welding without a pedal?
Without variable pedal control, heat management depends on operator technique. You maintain a short arc length to keep arc voltage low, increase your travel speed as the workpiece warms up, and dip cold filler wire more frequently into the puddle to chill the molten metal.
Can you weld aluminum without a foot pedal?
Yes, but it requires practice because aluminum conducts heat rapidly and requires decreasing amperage as the joint heats up. Welders use 4T torch switches with programmed downslope on AC TIG machines, or move significantly faster along the seam to stay ahead of the expanding heat zone.
How do you stop a lift TIG arc without crater cracks?
Because simple lift TIG torches lack automated downslope controls, do not lift the torch straight off the puddle. Instead, quickly flick or snap the torch back along the freshly solidified weld bead to taper the puddle, then immediately hold the gas cup over the crater so the shielding gas protects the cooling metal.
Related: best TIG torch, TIG welding argon flow rate, what color tungsten for steel, and the TIG welders hub. Also see our guide on how to sharpen tungsten for TIG welding.
About the author
WeldGearLab Editorial is the editorial team behind WeldGearLab. We research product listings, specifications, safety listings and warranty terms, score every pick with the published Gear Score method, and correct errors when readers report them. We do not run our own shop trials; see How We Pick for exactly how picks are made.