Dial Indicator Setup: Mounting and Zeroing
Dial indicator setup comes down to a rigid mount, a square contact point and a careful zero, and this guide walks through each step with four sets that cover the job.

On this page
Top picks at a glance
As an Amazon Associate I earn from qualifying purchases.
- 1
 Neoteck 0-1"/0.0005" Digital Dial Indicator9.7/10View on Amazon
- 2
 HDLNKAK Dial Indicator 0-1'' with Magnetic Base9.6/10View on Amazon
- 3
 Neoteck Dial Indicator 0-1in/0.001in9.6/10View on Amazon
- 4
 Dial Indicator with Magnetic Base9.6/10View on Amazon
A lathe part that should run true wobbles, a mill table that should sit square drifts, and the eye cannot see the error. Dial indicator setup is the fix: mount the indicator on a rigid base, bring the contact point square to the surface, zero the dial, then turn the work and watch the needle. This guide walks through mounting and zeroing, then shows the sets that do the job on a lathe, mill or table saw.
This guide links to our product roundups, where WeldGearLab gets a commission on purchases made through links on this page, and your price stays the same. Read our affiliate disclosure.
Neoteck 0-1"/0.0005" Digital Dial Indicator
A digital indicator with the finest resolution here, an inch/metric switch, a 176 lbs magnetic base and a stated 18 month warranty.
Pros
- Finest resolution here at 0.0005 inch, with a 0.01 mm metric step
- Switches between inch and metric and has a zero setting function
- Magnetic base rated at 176 lbs pull, with on/off control and 2 solid magnet faces
- Stated 18 month warranty, the only warranty term in this set
Cons
- Digital readout, so fine readings mean reading digits rather than watching a needle sweep
- Total height of 14.1 inch with the arms extended needs clear bench space
- Full 176 lbs pull needs a steel surface at least 30mm thick
- No extension rod in the box for longer reach
HDLNKAK Dial Indicator 0-1'' with Magnetic Base
An analog set with a jeweled movement, a 250mm gooseneck arm, a 176lbs (80kg) magnetic base and a calibration certificate in the box.
Pros
- Jeweled movement with 0.001 inch resolution, listed as 0.02mm
- Gooseneck arm reaches 250mm for multi-angle positioning
- Magnetic base holds at 176lbs (80kg) maximum pull
- Calibration certificate included, the only one stated in this set
Cons
- Analog dial only, so readings mean watching the needle rather than a display
- No warranty term is stated
- White finish shows shop grime faster than the silver sets here
- Resolution of 0.001 inch is coarser than the digital set here at 0.0005 inch
Neoteck Dial Indicator 0-1in/0.001in
An analog indicator with a copper sleeve probe, a locking bezel and an aluminum housing on a 132lbs/60kg magnetic base.
Pros
- 0.001 inch resolution with a high-contrast scale of 100 divisions per revolution
- Rotatable bezel with a clamp locks the zero in place
- Copper sleeve probe resists corrosion, and the 0.37 in shaft keeps flex down
- Aluminum alloy housing stands up to workshop drops
Cons
- No warranty term is stated
- Magnetic base pull is 132lbs/60kg, below the two 176 lbs bases in this set
- Reads in inches only, with no metric mode
- No calibration certificate in the box
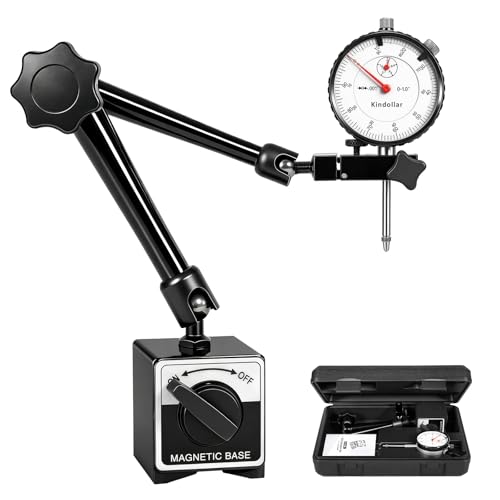
Dial Indicator with Magnetic Base
A simple analog set with a large 2 inch dial, a carbide-tipped probe and a three-section arm on a 132lbs(60kg) base.
Pros
- Large 2 inch white dial reads clearly, with a lockable bezel for quick zeroing
- Carbide-tipped probe resists wear and rust
- Three-section arm with a single locking knob and a 10mm main arm
- Ready to use in three simple steps, with a storage case in the box
Cons
- No digital readout, so fine readings mean watching the needle
- Magnetic base pull is 132lbs(60kg), below the two 176 lbs bases in this set
- No extension rod in the box for longer reach
- No calibration certificate in the box
Dial indicator setup, step by step
Mounting comes before zeroing, and reading comes last. A loose base or a contact point that meets the surface at an angle makes every reading suspect, so work through the steps in order.
- Clean the steel and switch the base on. Wipe the mounting surface clean, set the base down flat, and switch the magnet on. Full pull needs steel at least 30mm thick, so a thin plate will not hold the base the same way.
- Set the arm and bring the point to the surface. Loosen the arm joints, swing the indicator into place, and lock each joint. The contact point should meet the surface square, not at a lean.
- Give the point a little preload. Push the contact point in slightly, so the needle sits off zero and can move both ways as the surface rises and falls.
- Zero the dial. Turn the bezel until the needle points at zero, then lock the bezel clamp. The digital set zeroes with a button and switches between inch and metric.
- Turn the work and read the sweep. Rotate the part slowly through a full turn and watch how far the needle travels from its lowest point to its highest point. That total travel is the runout.
Mounting: the base and the arm
The base does the holding and the arm does the reaching. A magnetic base with on/off control sits flat and locks down hard, and the arm joints let the indicator reach the surface without bending the stem. Keep the arm short and the joints tight: a long reach with loose joints turns vibration into needle movement. The digital set uses 2 adjustable arms, a lower arm of 5 inch and an upper arm of 4.5 inch, with a total height of 14.1 inch, while the gooseneck set reaches 250mm. See the metal fab tools hub for the wider tool range.
Zeroing the dial
Zeroing sets the reference point. Bring the contact point to the surface, turn the rotatable bezel until the needle reads zero, and lock the bezel clamp. Once zero is set, do not move the base or the arm.
Reading runout and what the needle tells you
Turn the work slowly and watch the needle. A steady needle means the surface runs true, while a needle that climbs and falls shows runout, and the total travel from the lowest to the highest point is the figure that matters. If the needle jumps, check the mount, then re-zero and read again.
Dial indicator sets for this setup
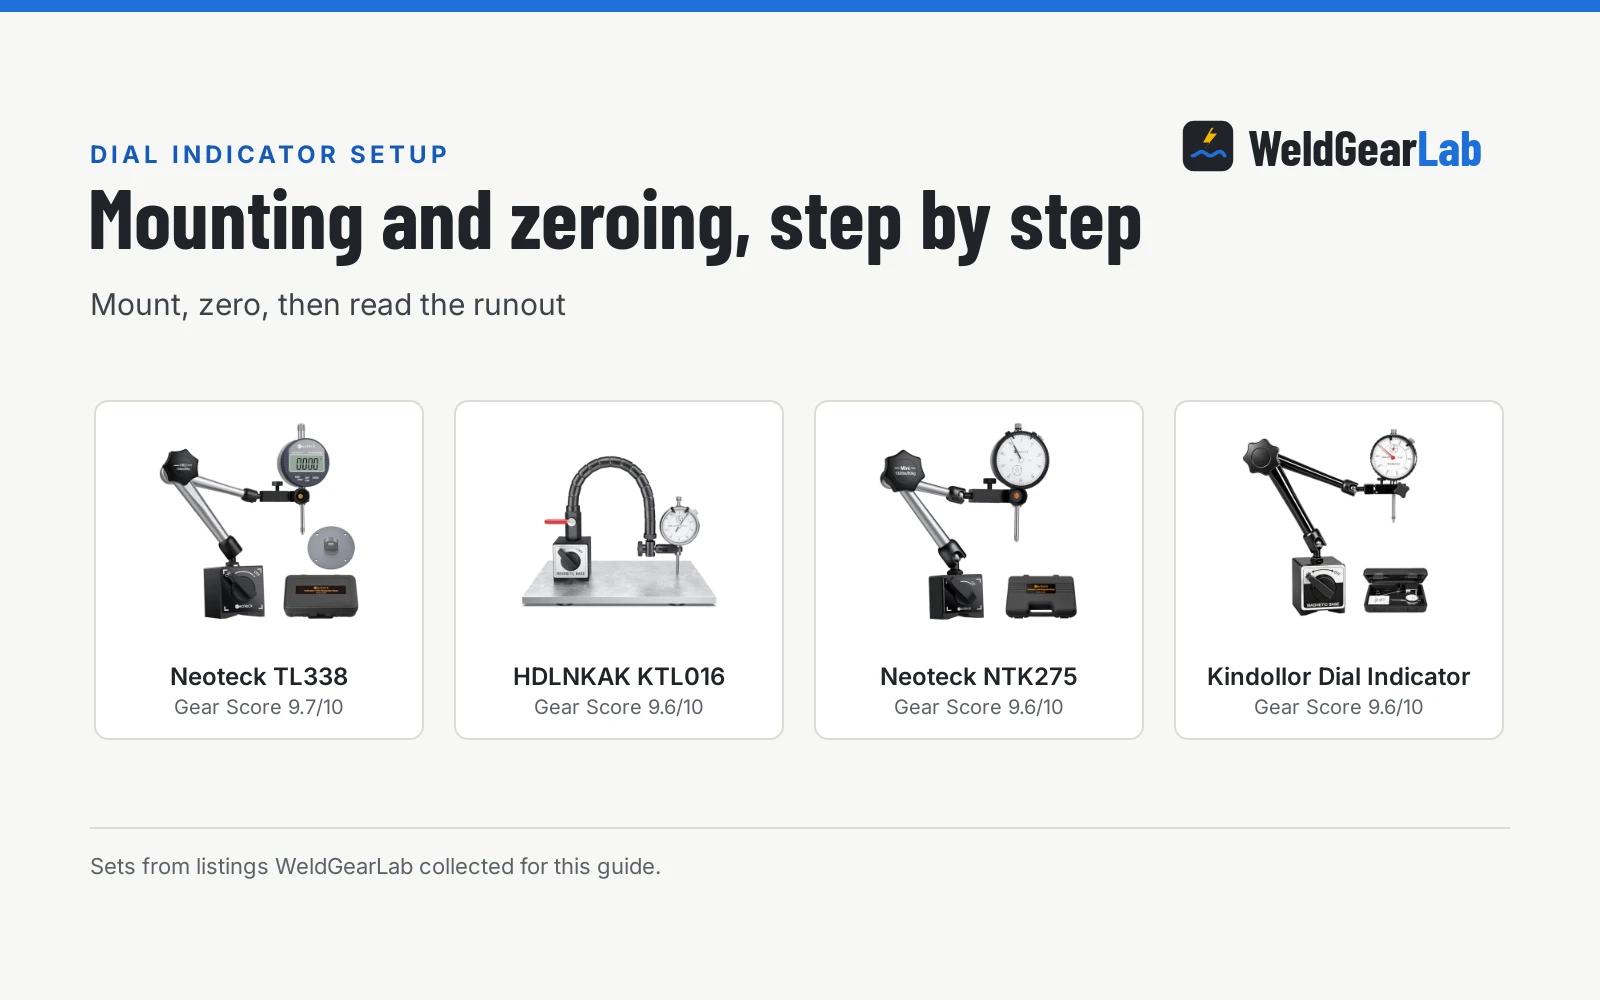
Each set below covers the same job in a different way: the indicator reads the movement, the base and arm hold it steady, and the case keeps the set together. The digital set reads finest, the jeweled set brings a calibration certificate, and the analog sets keep the kit simple.
Side by side
| Product | Range | Resolution | Magnetic base | Warranty |
|---|---|---|---|---|
| Neoteck TL338 | 0-1 inch (0-25.4mm) | 0.0005 inch (0.01 mm) | 176 lbs | 18 months |
| HDLNKAK KTL016 | 0-1 inch | 0.001 inch (0.02mm) | 176lbs (80kg) | Not stated |
| Neoteck NTK275 | 0-1 inch | 0.001 inch | 132lbs/60kg | Not stated |
| Kindollor Dial Indicator | 0-1 inch | 0.001 inch | 132lbs(60kg) | Not stated |
Resolution separates the digital set from the rest, and magnetic pull separates the two stronger bases from the two lighter ones. Warranty is stated for one set only: the digital Neoteck carries a stated 18 month term.
Which set fits your bench
For the finest readings, the digital Neoteck leads: its 0.0005 inch resolution and inch/metric switch suit fine tolerance work, and its stated 18 month warranty is the only term in this set. For a calibration certificate in the box and a gooseneck that reaches around awkward work, the HDLNKAK set is the pick. For a simple analog kit with a copper sleeve probe and an aluminum housing, the Neoteck dial set does the job. For a large 2 inch dial that reads at a glance, the Kindollor set is the pick.
FAQ for welders
How do I zero a dial indicator?
Mount the base, bring the contact point to the surface with a little preload, then turn the bezel until the needle reads zero and lock the bezel clamp.
Why does my dial indicator reading drift?
Drift usually means the mount moved. Check that the base sits flat on clean steel, that each arm joint is locked, and that the steel is at least 30mm thick for full magnetic pull. Square the point to the surface and re-zero before reading again.
Can I use a dial indicator on a table saw?
Yes. 2 of the sets here list the table saw among their uses: the digital Neoteck set and the Kindollor set list it along with the lathe, the 3D printer and the CNC machine. Mount the base on the saw table, bring the point to the fence, zero the dial, and slide the fence to check alignment.
What is the difference between a dial indicator and a digital indicator?
A dial indicator shows the reading on an analog needle, while a digital indicator shows it on a display. Both types here cover a 0-1 inch range: the digital set reads to 0.0005 inch and switches between inch and metric, while the analog sets read to 0.001 inch. See the dial indicator vs digital indicator guide for a full comparison.
Do I need a magnetic base for a dial indicator?
For most bench work, a magnetic base is the usual mount. The base holds the indicator steady while both hands stay free, and the on/off control lets the base sit flat before locking down. All four sets here include a magnetic base, an indicator and a storage case, so the mount is part of the kit rather than a separate buy.
Related: dial indicator vs digital indicator, best welder for beginners, how to choose a MIG welder, and the metal fab tools hub.