How to Clean a Welding Helmet Lens
Learn how to clean a welding helmet lens safely, wash clear cover plates, protect sensitive auto-darkening filters, and replace a scratched welding lens.
 By WeldGearLab Editorial
Updated October 9, 2026
By WeldGearLab Editorial
Updated October 9, 2026
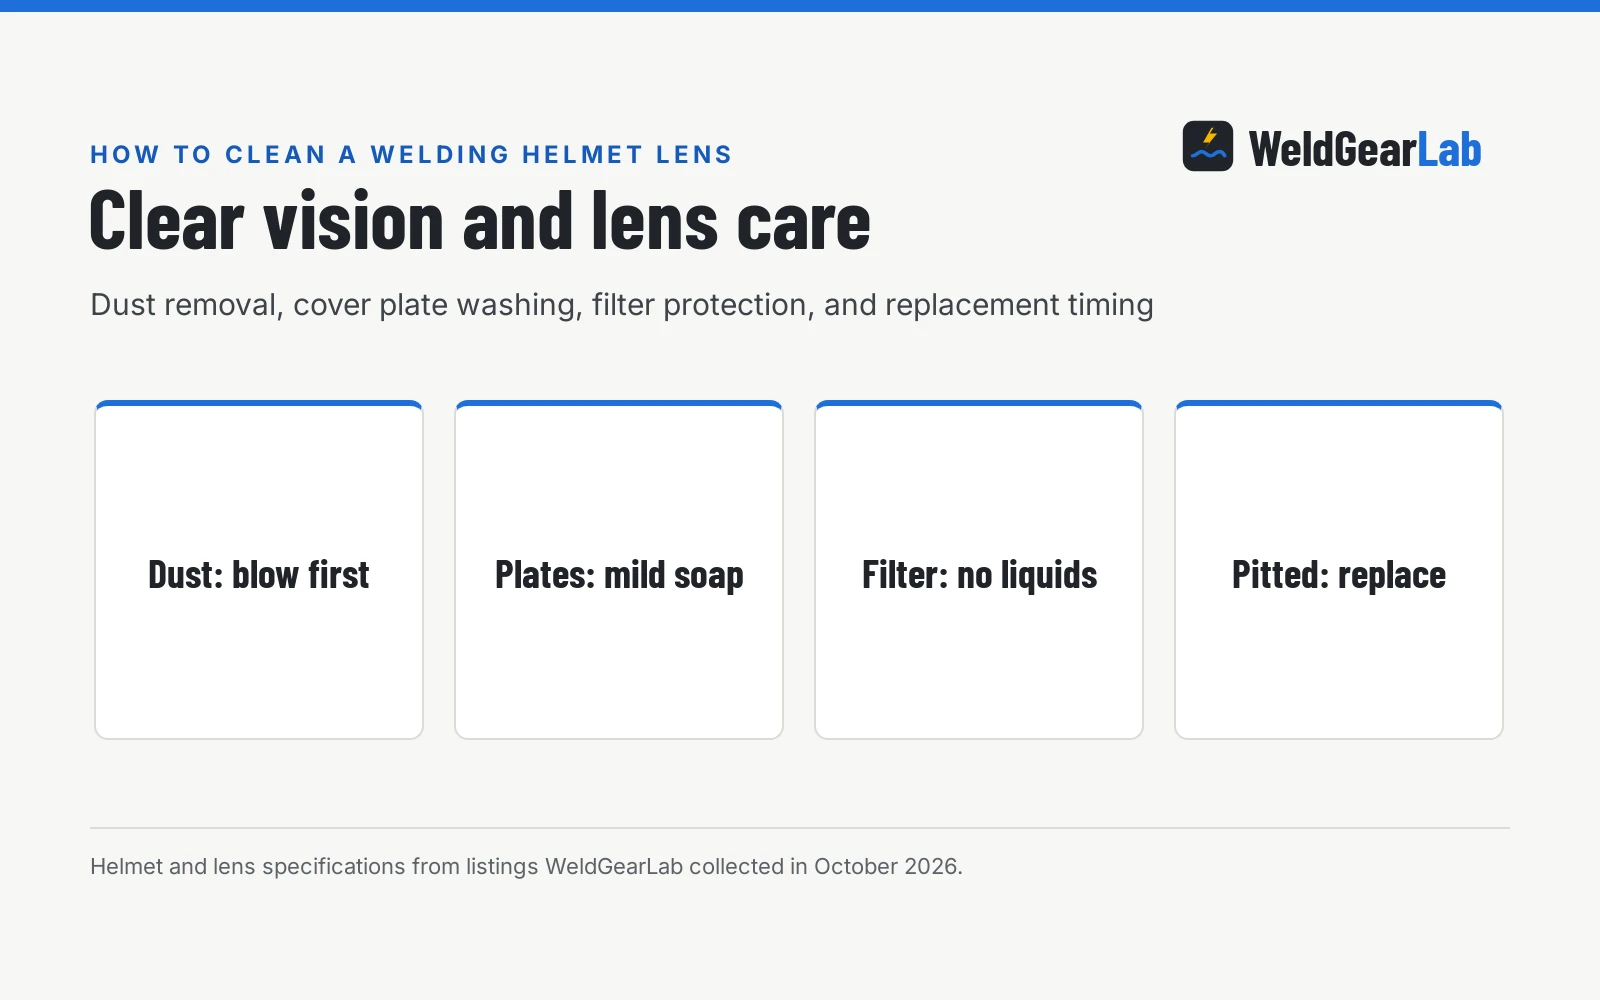
To clean a welding helmet lens, blow away loose dust, remove the clear cover plate from the hood, wash the plastic with warm water and mild dish soap, dry it with a clean microfiber cloth, and wipe the electronic auto-darkening cartridge with a dry optical cloth without liquids. Knowing how to clean a welding helmet lens correctly keeps your view of the weld puddle clear and protects sensitive optics from scratches. This guide covers safe cleaning steps, solutions to avoid, and replacement timing.
As an Amazon Associate I earn from qualifying purchases. This guide links to our product roundups, where WeldGearLab earns a commission when you buy through links, at no extra cost to you. Read our affiliate disclosure.
How to clean a welding helmet lens
A welding helmet uses a layered assembly rather than a single viewing pane. In front sits a clear sacrificial cover plate made of polycarbonate plastic. Behind that sits the electronic auto-darkening filter cartridge, followed by an inner clear cover plate. Cleaning requires treating the sacrificial cover plates and the electronic cartridge as separate parts with different care rules.
Never spray liquid cleaner directly onto an assembled helmet. Liquid can seep past the bezel and enter the internal circuitry or trap moisture between lens layers, causing fogging, sensor failure, or optical distortion. Always remove the cover plates before cleaning so each piece can dry completely.
Side by side
| Clear Outer Cover Lens | Auto-Darkening Filter Cartridge | Clear Inner Cover Lens | |
|---|---|---|---|
| Position | Front exterior of hood | Center between cover plates | Rear interior facing welder |
| Primary function | Shields against molten spatter and sparks | Switches shade to protect eyes from arc radiation | Protects filter from smoke, sweat, and condensation |
| Material | Optical-grade polycarbonate | Liquid crystal display in sealed housing | Optical-grade polycarbonate |
| Routine cleaning | Wash with warm water and mild dish soap | Gently wipe with dry microfiber cloth | Wash with warm water and mild dish soap |
| Liquid exposure | Fully washable in water | Keep completely dry, never immerse | Fully washable in water |
| Common damage | Spatter pitting and abrasion | Electronic sensor failure or cracked display | Sweat haze and rubbing from safety glasses |
| When to replace | When pitted, scratched, or warped | When electronics fail or glass cracks | When cloudy, scratched, or discolored |
The clear outer cover plate takes the brunt of molten spatter, radiant heat, and shop grit. The inner cover plate protects the cartridge from inside smoke, sweat, and scratches from safety glasses. The auto-darkening cartridge stays protected between the two plates and needs only gentle, dry dusting.
Cleaning the clear outer and inner cover lenses
Clear cover plates protect the auto-darkening cartridge from sparks and soot. Follow these steps to restore optical clarity:
- Blow off loose grit first. Blow away loose grinding dust and shop dirt with clean air, or brush it away gently with a soft bristle brush. Rubbing a dusty lens with a cloth drags abrasive particles across the plastic, causing fine scratches.
- Remove plates from the helmet. Unlatch the front retaining bezel according to the maker’s instructions and slide the outer cover plate out. Remove the inner clear cover plate as well so rinse water never enters the helmet shell.
- Wash with warm water and mild soap. Rinse the plastic under warm running water to flush away grit. Work a drop of mild dish soap over both sides with bare fingertips to lift greasy smoke film. Avoid abrasive sponges and shop rags.
- Dry with a clean microfiber cloth. Rinse away all soap under running water and pat the plate dry with a lint-free microfiber towel. Avoid vigorous rubbing, which generates static electricity that draws airborne dust.
For pre-moistened cleaning, Nice ‘N Clean lists boxes of 100 ammonia-free wipes that clean plastic lenses without scratching. For bottled cleaner, Leader lists an 8 oz spray lens cleaner formulated for eyewear.
Cleaning the auto-darkening filter cartridge
The auto-darkening filter cartridge contains liquid crystal layers, light sensors, solar cells, and internal controls that require delicate handling:
- Keep all liquids away. Never rinse, submerge, or spray liquid cleaners on the filter cartridge. Moisture entering the sealed housing can damage the sensors or ruin the liquid crystal display.
- Wipe gently with dry microfiber. Use a clean, dry optical microfiber cloth to lift dust and fingerprints from the front and rear glass surfaces. Use light circular motions without pressing hard on the glass.
- Clean arc sensors and solar cells. Wipe clear the optical arc sensors and solar strips. Dust on sensors can cause flickering or erratic switching while you weld; see our guide on why auto darkening helmets flicker.
- Verify clarity before reassembly. Look through the cartridge toward a light source to verify uniform clarity. For details on clarity standards, see our guide on welding helmet optical clarity ratings explained.
If smoke film clings to the cartridge glass, dampen a cloth lightly with water so it is barely moist, wipe the glass, and dry immediately. Never let liquid bead near the edges.
Safe cleaning solutions and materials to avoid
Polycarbonate cover lenses and optical glass have sensitive surfaces that react poorly to common shop chemicals:
- Ammoniated glass cleaner. Household window sprays containing ammonia attack polycarbonate, causing permanent cloudiness and brittle plastic over time.
- Shop solvents. Acetone, lacquer thinner, brake cleaner, and mineral spirits dissolve polycarbonate instantly, creating crazed surfaces.
- Paper towels and shop rags. Wood fibers in paper towels and coarse shop rags grind micro-scratches into plastic lenses, creating blinding arc flare.
- Abrasive pads. Scouring pads and abrasive powders strip protective coatings and destroy clarity immediately.
Use warm water with mild dish soap or dedicated optical lens cleaners. Quality plates carry safety ratings; for example, Angksorm lists clear replacement lenses certified to ANSI Z87.1 for impact protection, and WZKO lists clear lenses also meeting ANSI Z87.1 standards.
Cover lens sizes and replacement options
When cleaning fails to restore a clear view, install fresh replacement plates. Common sizes include:
- Standard 2 by 4.25 inch plates. Compact pipeliner hoods and fixed-shade helmets use 2 by 4.25 inch viewing windows. For these hoods, jhtii lists packs of 20 clear lenses measuring 2 by 4.25 inches with a thickness of 0.04 inches, and WZKO lists packs of 20 lenses in the same 2 by 4.25 inch size. This size also fits drop-in cartridges such as the American Alloy XA-1004VD PRO, which features a 2 by 4.25 inch size, variable shade 5 to 13, and compliance with ANSI Z87.1 and CSA Z94.3.
- Large viewing plates. Larger hoods require broader cover lenses. OXING lists 10-piece packs measuring 3.94 by 3.66 inches and 20-piece packs measuring 4.5 by 5.25 inches with a thickness of 0.04 inches. Angksorm lists packs of 5 replacement covers measuring 4.5 by 5.25 inches with an upgraded thickness of 0.048 inches (1.2 mm).
- Heat shielding. OXING notes that clear outer cover plates block 60% of radiant heat, protecting the filter cartridge from heat distortion.
- Peel protective films. Replacement plates arrive with protective film on both sides. Peel both films off before installation to avoid severe blurriness.
Browse our roundup of the best auto darkening welding helmet models for premium hoods, or check our best welding helmet for MIG welding guide. You can also explore our welding helmets hub for more hood guides.
When to clean versus when to replace a scratched welding lens
Cleaning removes surface soot and dust, but it cannot fix physical plate damage:
- Surface dust versus deep scratches. Dust washes away with soap and water. If you feel grooves with a fingernail, you have a scratched welding lens that cleaning cannot fix. Deep scratches scatter arc light and cause glare.
- Welding spatter pitting. Molten spatter burns into polycarbonate, leaving rough craters. Washing will not smooth out spatter pits.
- Heat warpage. High heat close to the weld can warp cover plates, distorting vision and breaking the dust seal around the cartridge.
- Cartridge lifespan. Auto-darkening cartridges last for years when protected. See our guide on how long auto darkening welding helmets last.
Safety reminder. Welding arcs emit hazardous ultraviolet and infrared radiation. A dirty or scratched welding lens degrades puddle vision, tempting welders to move too close or lift their hood prematurely. Always wear ANSI-approved safety glasses under your hood, and review our how to use auto darkening welding helmet guide for arc safety.
Frequently Asked Questions
Can I use Windex or glass cleaner on a welding helmet lens?
No, you should never use household glass cleaners like Windex on a welding helmet lens. These cleaners contain ammonia that degrades polycarbonate plastic, causing cloudiness and micro-cracking over time. Wash plastic plates with mild dish soap and warm water instead.
Can you buff scratches out of a welding helmet lens?
Buffing scratches out of a clear polycarbonate cover plate is not recommended. Polishing alters the optical thickness of the plastic, creating visual distortion across your puddle. Because replacement clear plates are inexpensive consumables, swapping in a new plate is safer and restores true clarity.
How often should I clean or replace the outer cover lens?
Wipe loose dust before every welding session and wash cover plates whenever smoke film dims your view. In heavy welding work, replace the outer plate as soon as spatter pits or scratches obstruct your sightline. Clean lenses reduce eye strain and help you follow joint seams accurately.
Can I wash the auto-darkening filter cartridge with water?
No, you must never wash an auto-darkening cartridge with water or submerge it in liquid. Water entering the housing can short out electronic sensors and ruin the liquid crystal display. Clean the cartridge surfaces gently using only a dry optical microfiber cloth.
Why is my new replacement welding lens blurry after installation?
A newly installed cover plate appears blurry when the protective shipping film has not been removed. Manufacturers apply thin clear plastic films to both sides of replacement lenses to protect them during shipping. Peel the plastic film off both sides before sliding the lens into your helmet.
Related: best fixed welding lens, how to replace a welding helmet battery, how long auto darkening welding helmets last, and the welding helmets hub. Also see our guide on welding helmet optical clarity ratings explained.
About the author
WeldGearLab Editorial is the editorial team behind WeldGearLab. We research product listings, specifications, safety listings and warranty terms, score every pick with the published Gear Score method, and correct errors when readers report them. We do not run our own shop trials; see How We Pick for exactly how picks are made.