How to Fix MIG Wire Birdnesting
Learn how to fix MIG wire birdnesting at the drive rolls by releasing tension, clearing the feed path, and balancing spool brake and drive roll pressure.
 By WeldGearLab Editorial
Updated October 9, 2026
By WeldGearLab Editorial
Updated October 9, 2026
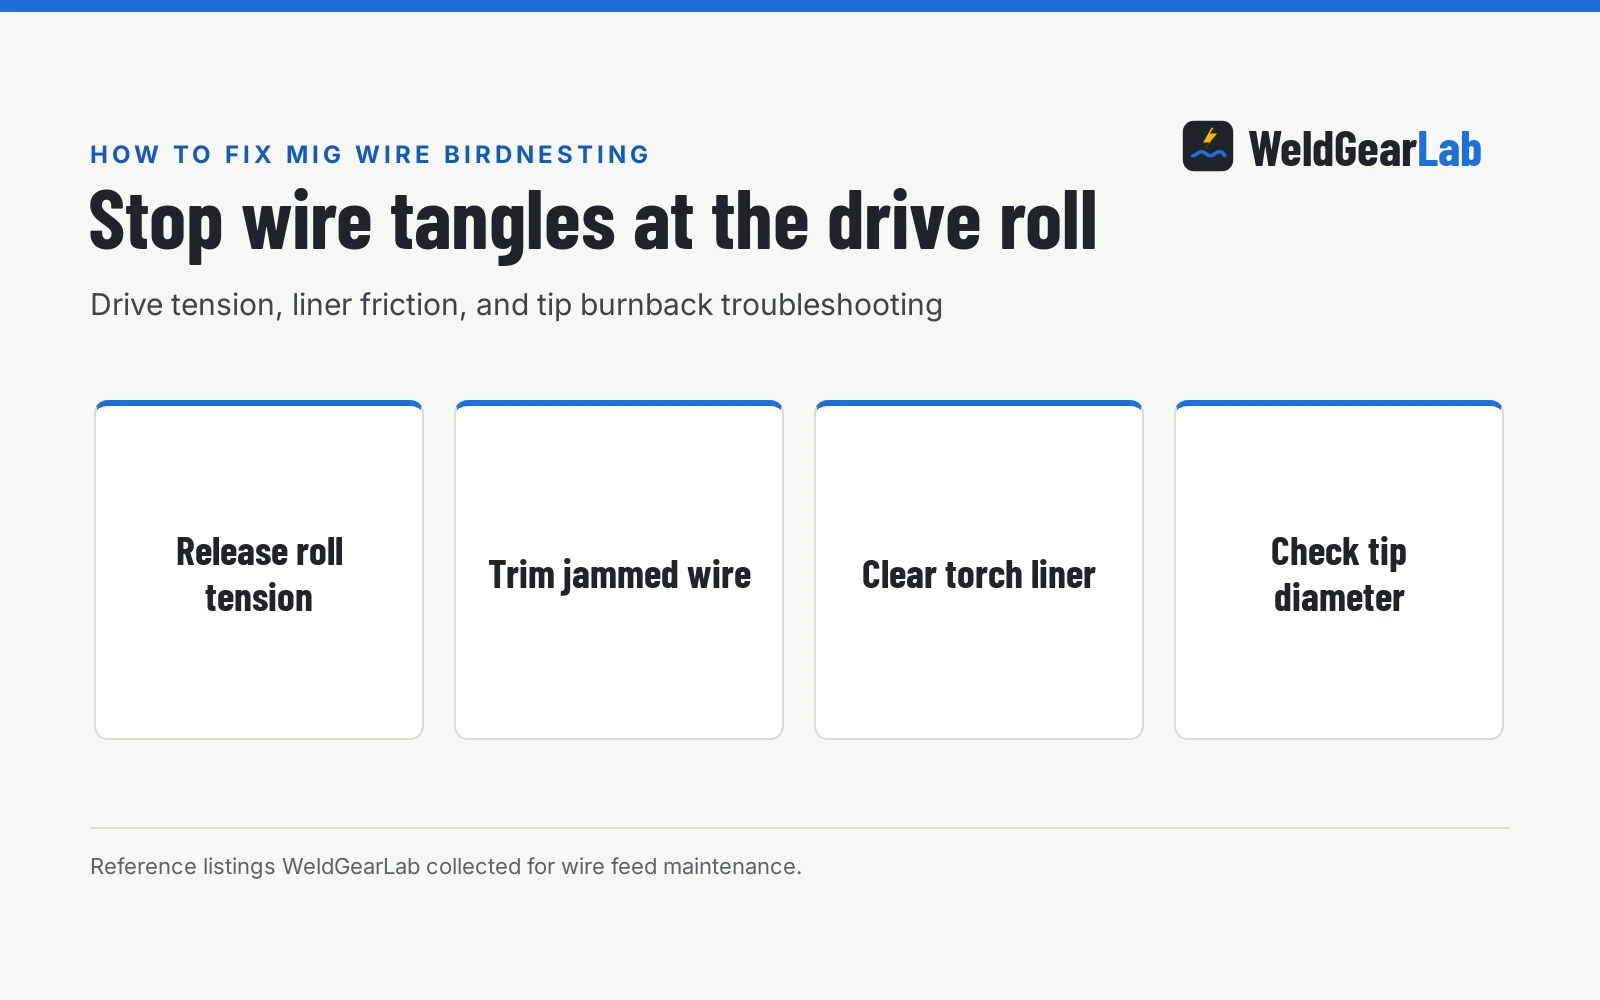
MIG wire birdnesting happens when drive rolls continue pushing wire after downstream resistance blocks travel through the torch cable or contact tip, forcing the wire to buckle into a tangled nest inside the drive cabinet. To fix MIG wire birdnesting, release the drive roll tension arm immediately, disconnect machine power, cut away the snarled wire wad with wire cutters, inspect the contact tip for burnback, and recalibrate drive roll pressure so the rolls slip before buckling the wire. Knowing how to fix MIG wire birdnesting also requires setting proper spool hub brake tension to prevent freewheeling, and clearing drag along the conduit liner and contact tip.
As an Amazon Associate I earn from qualifying purchases. This guide links to our product roundups, where WeldGearLab earns a commission when you buy through links, at no extra cost to you. Read our affiliate disclosure.
What causes wire birdnesting
Wire birdnesting occurs when mechanical pushing force from the feeder exceeds the column strength of unsupported welding wire. The drive motor turns hardened drive rolls to push wire through the gun cable. Under normal conditions, the wire slides through the conduit liner, enters the gun neck, passes through the contact tip, and feeds into the weld puddle. When an obstruction halts wire movement at the nozzle, or when heavy internal drag resists travel inside the cable, the wire comes to a sudden stop. If drive roll clamping tension is set too tight, the drive rolls cannot slip. Instead, the rolls keep driving wire into the narrow space between the drive roll pinch point and the liner entrance guide. Because thin steel wire has low column strength over open gaps, the wire buckles instantly, tangling into a chaotic nest around the drive mechanism.
Side by side
| Component | Feed issue | Cause of birdnesting | Corrective fix |
|---|---|---|---|
| Drive rolls | Wire crushes and curls at feeder | Excessive clamping pressure crushes wire when resistance occurs | Loosen tension knob until rolls slip slightly during wire resistance |
| Drive roll groove | Wire slips or metal flakes off | Incorrect groove shape deforms wire or slips under load | Match smooth groove to solid wire or knurled groove to flux wire |
| Contact tip | Wire burns back and fuses solid | Spatter accumulation or burnback welds wire inside the orifice | Replace damaged contact tip and clean nozzle orifice |
| Conduit liner | Wire stalls inside the torch lead | Kinks, tight loops, or metal shavings create drag inside cable | Keep torch lead straight and blow out or replace dirty liner |
| Spool hub brake | Wire coils unravel inside cabinet | Loose brake lets spool freewheel and spill loose coils into cabinet | Tighten hub friction nut until spool stops without freewheeling |
| Outlet guide tube | Wire buckles past drive rolls | Wide gap between drive rolls and guide tube leaves wire unsupported | Align guide tube close to drive roll pinch point to prevent buckling |
Checking each component along the wire path isolates where friction or blockage develops. Disconnect machine power before reaching into the wire drive compartment or clearing tangled wire.
How to fix MIG wire birdnesting
Clearing a birdnest and resetting your feeder requires a methodical sequence to protect the drive motor and avoid repeating the tangle on your next weld bead.
- Release tension and disconnect power. Flip the drive roll tension arm up to relieve clamping pressure on the wire. Turn off the welder power switch and unplug the electrical connection before touching internal components.
- Cut away tangled wire. Use welding pliers to cut the crumpled wire directly past the drive roll pinch point and at the entrance of the conduit liner. A Ziopetru welding pliers listing specifies an 8-inch carbon steel tool with built-in wire cutters and serrated jaws designed for cutting wire and gripping workpieces. Pull the damaged wire wad out of the drive housing and discard it.
- Inspect the contact tip for burnback. Unscrew the nozzle and contact tip at the gun neck. If molten wire has fused to the copper orifice, replace the contact tip. A Weld-Aid listing claims its pre-treated lubricant and cleaner pads reduce burn back 50 percent. Ensure the replacement contact tip matches the wire diameter.
- Verify wire diameter and liner compatibility. Check that wire thickness matches the gun conduit liner. For instance, an ARCPEX spool listing specifies .030 inch wire (0.8mm), whereas a Rumvita spool listing specifies .035 inch wire (0.9 mm). A USWELDWIRE replacement liner listing specifies a conduit sized for .023 to .035 inch wire over a 15 foot length, and a Tweco conduit liner listing specifies a 15-Foot length. Feeding thicker wire through an undersized liner creates severe drag that prompts mig wire tangling at drive roll.
- Reload wire and set slip tension. Thread fresh wire through the inlet guide tube, across the drive roll groove, and into the gun liner by hand. Lower the drive roll tension arm and adjust the pressure knob so the rolls grip firmly enough to feed wire, but loose enough to slip if the wire jams downstream.
Drive roll groove selection and tension calibration
Matching the drive roll groove profile to your wire type is essential for stable feeding. Smooth V-shaped grooves are designed for solid steel wire, providing clean traction along the wire circumference. Knurled grooves feature serrated teeth designed for flux-cored wire, gripping softer tubular wire without excessive clamping force. Using a knurled roll on solid copper-coated wire can shave off metal flakes that clog the liner, while using a smooth V-groove on flux-cored wire often tempts operators to overtighten tension, crushing the hollow wire out of round.
Overtightening drive roll tension frequently leads to birdnesting among hobby and farm welders. When operators encounter erratic feeding, their instinct is often to crank down the tension knob. Excessive pressure flattens round wire into an oval profile, causing it to drag and bind inside the contact tip. To calibrate drive roll tension safely, lay the torch cable flat and straight across the shop floor. Lower the tension arm with moderate clamping pressure. Point the torch nozzle toward a scrap block of wood or an old work shoe sole, keeping your hand away from the contact tip. Depress the gun trigger so the wire feeds forward against the solid surface. If the wire stops and the drive rolls slip smoothly without birdnesting, tension is calibrated correctly. If the drive rolls slip during ordinary feeding before touching the block, tighten the tension knob slightly. If the wire continues driving into the block and buckles past the drive rolls, loosen the tension knob immediately.
Gun liner maintenance and cable friction
Friction inside the gun cable is a major source of feed resistance. When torch cables are curled in tight loops or draped over sharp table edges, the internal conduit liner bends sharply. Steel welding wire must push past heightened resistance at each bend, increasing motor load and encouraging the wire to buckle at the feeder.
Over time, conduit liners collect metal shavings, copper dust from wire coatings, shop dirt, and rust flakes. Inspecting and maintaining the torch cable prevents persistent jams. Disconnect the torch lead from the machine and blow clean, dry compressed air through the liner to expel accumulated debris. Spatter accumulation around the nozzle orifice also impedes smooth wire exit. A VASTOOLS nozzle reamer listing describes hardened steel blades designed to scrape away spatter buildup inside nozzles with a simple twist, reducing wire sticking. Similarly, a Forney nozzle gel listing describes dipping gel that creates an anti-spatter film to keep nozzles and contact tips free of clogging debris.
Spool hub brake adjustment
Spool brake tension prevents the wire reel from spinning out of control during feeding cycles. The spool spindle assembly includes an adjustable friction nut or spring-loaded brake disk. If the brake nut is adjusted too loose, the rotating inertia of a heavy spool causes it to freewheel when the drive motor stops, spilling loose coils of wire into the cabinet. These loose strands jump over the spool flange, tangle around the spindle, or kink at the feeder inlet guide tube.
Conversely, tightening the spool brake excessively forces the drive motor to drag the heavy spool against strong mechanical resistance, causing drive roll slippage and wire deformation. A HOgardenME spool holder assembly listing specifies compatibility with 1kg and 5kg reels, including 100mm diameter reels with a 15mm center hole and 200mm reels with a 50mm center hole. Whether mounting a compact 2-Pound ARCPEX wire spool or a 10LB Rumvita spool, adjust the spindle brake nut until the spool stops turning the moment you release the torch trigger, with no freewheel overrun and no heavy dragging resistance.
Choosing reliable wire feed equipment
Consistent wire feeding depends heavily on build quality inside the drive compartment. Inexpensive wire feed welders with lightweight plastic feed housings or weak drive motor gears can flex under load, misaligning the drive roll groove with the liner inlet tube. Upgrading to a machine with a rigid metal drive assembly provides stable wire alignment and repeatable tension calibration. Our guide to the best MIG welder under 500 reviews dependable machines equipped with robust wire drive systems for shop and farm use. For broader machine selections, explore our complete MIG welders hub, or read our recommendations in the best MIG welder for hobbyist guide. If wire feeding stalls because the wire fuses directly to the copper tip, read our troubleshooting guide on why MIG wire keeps burning back to the tip.
Feeder electrical and mechanical safety. Disconnect electrical power before opening the wire feed cabinet, cleaning drive rolls, or cutting tangled wire. Moving drive rolls can pinch fingers, and energized welding wire can arc against grounded metal if the torch trigger is accidentally engaged. Wear leather welding gloves and safety glasses while unspooling or trimming wire, as spring-tempered wire ends can uncoil rapidly and create puncture hazards. Fasten shielding gas cylinders upright with safety chains, and keep work areas ventilated.
Frequently Asked Questions
Why does my MIG wire tangle right at the drive roll?
Wire tangles at the drive roll because the drive motor pushes wire against downstream resistance in the torch cable or contact tip. When drive roll tension is set too tight to slip, forward mechanical force buckles the wire into the open space between the drive roll and the liner guide tube.
How tight should MIG welder drive rolls be?
Drive rolls should be tightened only enough to feed wire steadily through a straight torch cable without slipping during normal welding. When feeding wire against a solid wood block, the drive rolls should slip smoothly on the wire rather than forcing it to bend into a birdnest.
Does contact tip size affect birdnesting?
An incorrect or worn contact tip frequently triggers wire jams that lead to birdnesting. If the contact tip orifice is too narrow for the wire diameter, friction prevents the wire from exiting smoothly, while an oversized or spatter-encrusted tip causes poor contact and burnback that fuses the wire solid.
Can a damaged gun liner cause wire birdnesting?
A kinked, crimped, or dirty conduit liner creates severe internal friction that stalls the wire inside the torch lead. When the drive motor attempts to force wire past that restriction, the unsupported wire buckles at the feeder. Keeping the torch cable straight and replacing clogged liners restores smooth wire feeding.
Why does wire unravel from the spool inside the cabinet?
Wire unravels inside the drive cabinet when spool hub brake tension is adjusted too loose. When the drive motor stops, momentum causes an unbraked spool to freewheel, casting loose loops of wire that catch on cabinet walls and foul the feeder inlet guide.
Related: why MIG wire keeps burning back to the tip, how to choose a MIG welder, best MIG wire for mild steel, and how to choose flux core wire. Also see our guide on why a MIG welder spatters.
About the author
WeldGearLab Editorial is the editorial team behind WeldGearLab. We research product listings, specifications, safety listings and warranty terms, score every pick with the published Gear Score method, and correct errors when readers report them. We do not run our own shop trials; see How We Pick for exactly how picks are made.