MIG Welding Best Practices: Setup, Technique, and Shop Care (2026)
A step-by-step guide to core MIG welding best practices covering clean joint fit-up, travel angle, wire stickout, voltage tuning, and regular gun nozzle care.

On this page
Top picks at a glance
As an Amazon Associate I earn from qualifying purchases.
- 1
 SPARC Premium Dual Argon Regulator for TIG/MIG Welding9.8/10View on Amazon
- 2
 Anti Spatter Welding Spray for TIG MIG Tip Welding9.6/10View on Amazon
- 3
 Akfix A90 Anti Spatter Welding Spray9.6/10View on Amazon
When you clamp steel tubing, plate, or sheet metal to the welding table, consistent bead quality comes down to a few repeatable habits. Following core mig welding best practices means dialing in wire stickout, choosing the right gun angle, balancing voltage with wire feed speed, and keeping your torch nozzle clean of spatter before you ever strike an arc. Solid MIG welding is not about rushing through a joint; it is about steady travel speed, proper gas coverage, and clean metal preparation that stops porosity and burn-through before they start. This shop guide breaks down the essential techniques, setup steps, and maintenance routines that keep your welds strong and your bead appearance clean.
This guide links to our product roundups, where WeldGearLab gets a commission on purchases made through links on this page, and your price stays the same. Read our affiliate disclosure.
MIG welding best practices in one paragraph
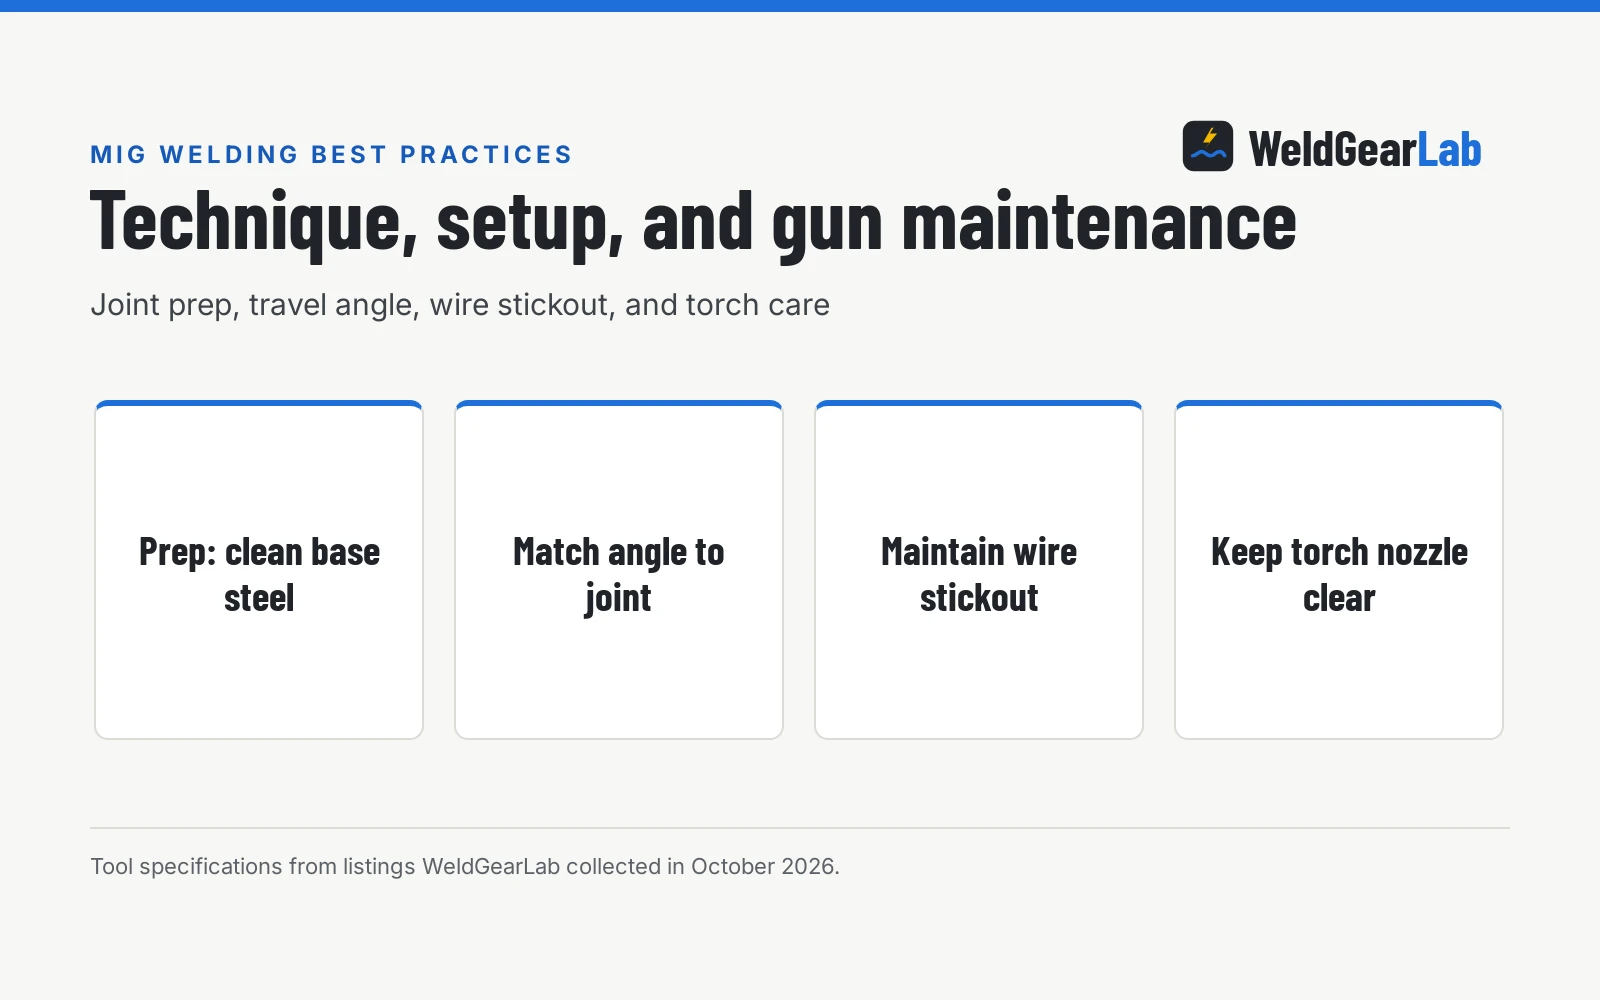
A sound MIG weld requires clean bare steel free of rust, paint, and mill scale, clamped tightly so the joint seam has no irregular gaps. Set your shielding gas flow to create a quiet, steady blanket over the puddle without creating air turbulence. Maintain a short wire stickout just past the nozzle edge, maintain a steady gun travel angle matched to your joint thickness, and move the puddle at a consistent rate that ties into both base pieces equally. Keep your ground clamp attached directly to clean metal on the workpiece, and clear nozzle spatter frequently so shielding gas flows without interruption.
Side by side
| Push technique (forehand) | Drag technique (backhand) | Perpendicular angle | |
|---|---|---|---|
| Torch angle | Pointed forward along the joint seam | Tilted back toward the completed weld | Held square to the seam line |
| Penetration depth | Flatter bead with shallower penetration | Narrower bead with deeper penetration | Moderate penetration balance |
| Bead profile | Wider, flatter crown with smooth tie-in | Taller crown with higher reinforcement | Balanced width and medium crown |
| Puddle visibility | Clear sight of the joint seam ahead | Arc and gun can obscure the leading edge | Direct overhead view of puddle width |
| Spatter control | Lower spatter on clean sheet and tube | Slightly heavier spatter build-up | Moderate spatter level |
| Common application | Thin sheet metal and auto body panels | Thick structural plate and fillet joints | General flat-position fabrication |
| Shielding gas coverage | Directs gas ahead over molten pool | Trailing shield protects cooling weld pool | Direct vertical shield envelope |
Travel angle fundamentally changes how heat and filler metal enter the joint. Pushing the gun directs arc force and shielding gas ahead of the molten puddle, producing a broader, flatter bead with shallower penetration that suits thin sheet metal and tubing. Dragging or pulling the gun tilts the nozzle back toward the completed weld, directing arc force into the root of the joint to deliver deeper penetration on thick plate. A perpendicular angle splits the difference, providing balanced penetration on general flat assemblies. Using the wrong angle for your metal thickness leads to either burn-through on thin panels or cold lap on heavy assemblies.
When pushing the gun is the better choice
- Thin sheet metal and auto body repairs. Pushing spreads arc energy across a wider surface area, reducing the risk of blowing holes through thin gauge panels.
- Tubing and ornamental fabrication. A pushing travel angle creates a flatter crown that requires less grinding and clean-up when joints remain visible.
- Clear joint visibility. Pushing allows you to see the seam ahead clearly, making it easier to track straight seams without wandering off the line.
- Smooth gas coverage on flat seams. The gas envelope moves ahead of the puddle, pre-shielding the joint area on clean workpieces.
Our push vs pull MIG welding guide details how travel angle shapes bead profiles, while our roundup on the best MIG wire for mild steel reviews solid and flux-cored spools suited for shop fabrication.
When dragging the gun is the better choice
- Thick steel plate and structural brackets. Dragging directs the arc deep into the root of the joint, ensuring full fusion on heavy metal.
- Beveled joints and heavy root passes. Pulling directs the arc into the root opening, building solid filler reinforcement in deep V-grooves.
- Deep fillet welds. Tilted back into the puddle, the gun drives molten metal into the corner of tee joints and lap joints where penetration is critical.
- Overhead and out-of-position joints. The puddle stays narrower and stacks more predictably against gravity when dragged slowly.
Dragging requires careful travel speed control. Moving too slowly causes the puddle to roll ahead of the arc, insulating the base steel and preventing sound root penetration.
How to set up the wire drive and gun
Smooth wire feeding is essential for a stable arc. When wire stutters or binds inside the liner, the arc flutters and spatters uncontrollably. Set drive roll tension just tight enough to feed wire smoothly without slipping when you pinch the wire between your gloved fingers, but loose enough that the rolls slip if the wire jams at the contact tip, preventing birdnesting at the drive rolls.
Gun maintenance is equally important. Spatter collects inside the nozzle shroud during regular welding, restricting shielding gas flow and causing porosity. Dedicated welding pliers are the standard shop tool for gun maintenance. For example, SPEEDWOX lists an 8-inch MIG welding plier measuring 205 x 90 x 13mm with PVC handles, designed for nozzle cleaning and tip installation. Czoynife lists an 8-inch carbon steel tool with a 44-millimeter jaw opening, while BEST WELDS lists an eight-function carbon steel plier with a 1.5-millimeter cutting width for trimming wire. VASTOOLS lists a 7-inch plier made from high-carbon steel with an HRC60 hardness rating, packaged with a magnetic torch stand. When checking sheet metal gauges before setting feed rates, KEILEOHO lists 8-inch pliers packaged with a stainless steel sheet metal thickness gauge. See our roundup of the best MIG welding pliers for shop options.
Always trim your wire stickout before striking an arc. A fresh, clean cut provides immediate electrical contact and prevents the wire from popping or stubbing against the plate on arc start.
Which shielding gas for steel
Gas selection determines arc stability, penetration depth, and spatter levels. For welding mild steel in a home or fab shop, a mixture of argon and carbon dioxide is the standard choice. The argon content smooths the arc and minimizes spatter, while the carbon dioxide content ensures deep heat penetration into the base metal. Pure carbon dioxide can also be used for mild steel; it provides deep penetration at lower gas cost, but produces heavier spatter that requires additional post-weld cleanup. For aluminum welding, pure argon is required, as carbon dioxide will contaminate the puddle. Review our breakdown on what gas for MIG welding mild steel to match the cylinder mixture to your projects.
Can proper fit-up replace torch technique?
No amount of gun control compensates for sloppy joint preparation and loose fit-up. Gaps along a seam force you to weave and pause, which dumps excessive heat into the base metal and increases warpage. Before striking an arc, grind away all mill scale, paint, and rust using the steps in our guide on how to remove mill scale before welding.
Clamp joints securely to keep seams tight and aligned during tacking and final passes. For fabrication clamping, GleamRad lists an 11-inch locking C-clamp plier rated for 900 pounds of clamping force with a 3-1/2 inch jaw opening and a 2-3/8 inch throat depth. TOOLUTION lists a 9-inch locking clamp with a 2.5-inch jaw opening and TPR grips for securing sheet metal and pipe. Check our guide on the best welding clamps for fabrication for tools that hold workpieces square on the table.
MIG welding safety and ventilation. Shielding gas displaces oxygen in enclosed work areas, and welding arcs vaporize metal into airborne fumes. Always weld with adequate ventilation or mechanical exhaust extraction, keeping your breathing zone away from the rising fume column. Wear a full welding hood with the correct shade, flame-retardant welding leather sleeves or jacket, and heavy leather gloves to protect skin from ultraviolet radiation and hot spatter. Secure gas cylinders upright to a cart or structural wall with a heavy safety chain, and keep a functional fire extinguisher within reach of your welding station.
FAQ for welders
What are MIG welding pliers for?
MIG welding pliers are specialized multi-function hand tools designed specifically for maintaining wire feed welding guns. Welders use them to ream spatter from inside the gas nozzle, install and remove threaded contact tips, pull wire through the liner, and snip wire stickout to a clean, square edge before starting an arc. Having one tool on your bench handles daily torch maintenance without searching for separate wrenches and wire cutters.
Who makes MIG welding pliers?
Several tool makers produce dedicated welding pliers for shop maintenance. In data collected across shop listings, VASTOOLS lists a 7-inch model, while brands such as SPEEDWOX, Czoynife, and KEILEOHO list 8-inch pliers with serrated jaws and built-in cutters. Welders choose between these tools based on jaw reach, grip comfort, and cutting performance for daily torch care.
Why does my MIG welder make heavy spatter?
Heavy spatter typically results from incorrect voltage and wire speed settings, excessive wire stickout, dirty base metal, or inadequate shielding gas flow. When the wire feed speed is too high for the set voltage, the wire stubs into the puddle and blasts droplets across the plate. Review our diagnostic guide on why a MIG welder spatters to isolate electrical and gas causes.
How does wire stickout affect the weld?
Wire stickout acts as an electrical resistor between the contact tip and the arc. Longer stickout increases electrical resistance, preheating the wire and lowering actual welding current, which leads to shallow penetration and a ropey bead. Keeping stickout short and consistent stabilizes the arc and ensures that shielding gas completely blankets the molten puddle. See our breakdown on MIG welding stick out length explained.
Can you MIG weld without removing mill scale?
Welding over mill scale, oil, or rust introduces non-metallic inclusions and moisture into the molten pool, resulting in porosity, lack of fusion, and brittle joints. Solid wire MIG does not contain chemical scavengers like stick electrode flux to clean contaminated steel. Always grind or sand joint seams down to shiny bare metal before welding to guarantee a sound, crack-free connection.
Related: best MIG welding pliers, best welding clamps for fabrication, best MIG wire for mild steel, and the MIG welders hub. Also see our guides on push vs pull MIG welding and why a MIG welder spatters, or browse the welding consumables section.