How to Use Digital Calipers: Step-by-Step
How to use digital calipers for outside, inside, depth and step measurements, from zeroing the jaws to reading the display.

On this page
Top picks at a glance
As an Amazon Associate I earn from qualifying purchases.
- 1
 iGaging IP54 Electronic Digital Caliper 0-6" Display9.7/10View on Amazon
- 2
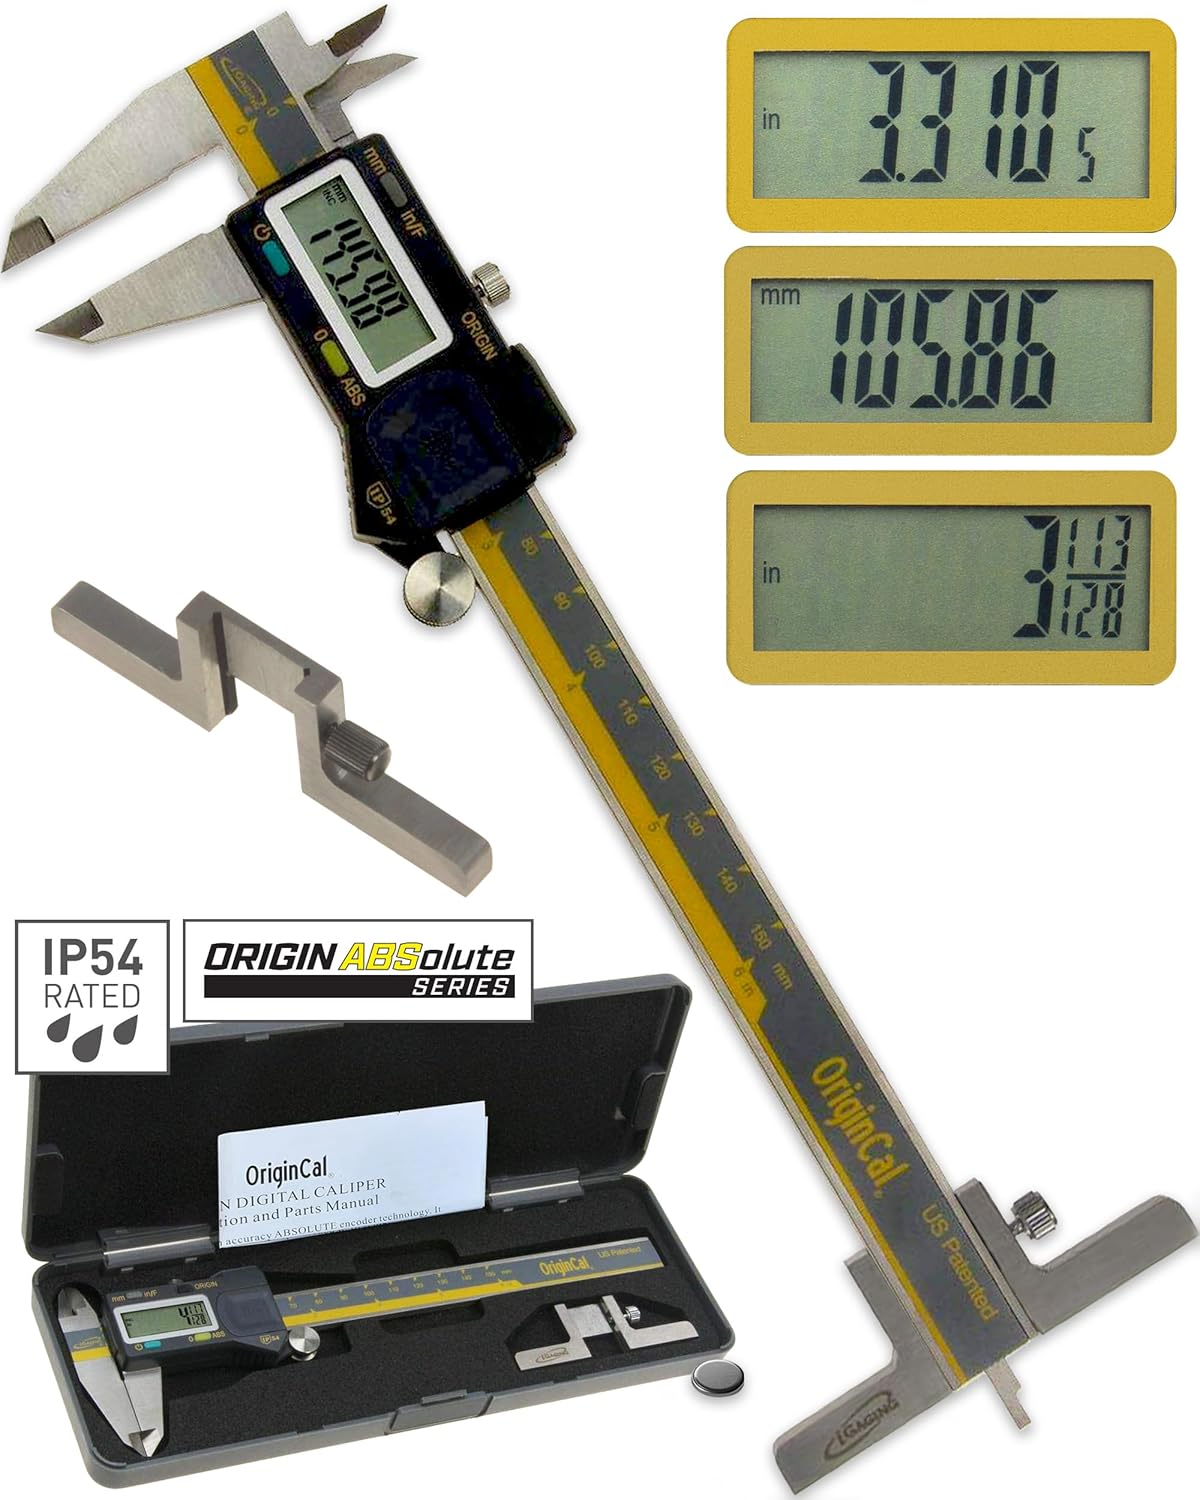 iGAGING Absolute Origin 0-6" Digital Caliper9.6/10View on Amazon
- 3
 Kynup Digital Caliper9.6/10View on Amazon
A part that measures a fraction off can jam a fit-up, leave a gap in a weld joint or waste a length of stock. Learning how to use digital calipers gives a fast, repeatable reading for outside, inside, depth and step measurements, all from the same tool on the bench. This guide walks through the parts, the zeroing step and each measurement, using the figures the makers publish for three reference calipers.
This guide links to our product roundups, where WeldGearLab gets a commission on purchases made through links on this page, and your price stays the same. Read our affiliate disclosure.
How to use digital calipers: the short version
Close the jaws, press zero, then open them around the part and read the display. That sequence sits behind every measurement in this guide. The rest is choosing the right jaws for the job: outside jaws for diameters and widths, inside jaws for bores, and the depth probe for holes and recesses.
Before buying, the digital caliper guide compares calipers for the shop, and the professional digital caliper guide covers picks for the fab shop.
The three reference calipers side by side
| HARDELL 12 inch | HARDELL 6 inch | Starrett EC799A-6/150 | |
|---|---|---|---|
| Range | 0-12 inches / 300 mm | 0-6 inches / 150 mm | 0-6 inches |
| Accuracy | ±0.04 mm / 0.0015 inches | ±0.02 mm / 0.001 inches | Not stated |
| Resolution | 0.01 mm / 0.0005 inches | 0.01 mm | 0.01 mm / 0.0005 inches |
| Auto-off | After 5 minutes | After 5 minutes | After 30 minutes |
The HARDELL 12 inch model covers the widest range in this set, while the HARDELL 6 inch model and the Starrett EC799A-6/150 (on Amazon) both read to the same range. Accuracy differs between the two HARDELL models, and the Starrett listing states no accuracy figure, so read the listings before choosing on precision alone.
The parts you will use
A digital caliper has two pairs of jaws, a depth probe, a thumb roller, a locking screw, a zero button and a unit button. The large outside jaws measure diameters and widths, the smaller inside jaws measure bores and gaps, and the probe slides out of the end to reach the bottom of a hole or recess. The thumb roller moves the slider smoothly, and the locking screw holds a reading while the caliper is lifted away from the part.
The display sits on the slider and shows the reading in the selected unit. HARDELL lists a large LCD screen on both of its models here, and the Starrett listing describes a large, clear, high-contrast LCD readout. The HARDELL 12 inch model switches between inches, millimetres and fractions at the push of a button, the HARDELL 6 inch model switches between millimetres and inches, and the Starrett listing states inch and millimetre conversion.
Step by step: an outside measurement
Wipe the measuring faces clean, close the jaws fully and press the zero button so the display reads zero. Open the jaws, set the part between the large jaws and close them until they touch the part without forcing it. Read the display, then tighten the locking screw if the reading needs holding while the caliper is moved. The HARDELL 6 inch listing notes that the jaws should be closed and re-zeroed before each use for consistent readings.
For tubing, bar and plate, measure across the widest point and check the reading again after re-zeroing. If the readings differ, clean the faces and the part and measure again.
Inside, depth and step measurements
For a bore, close the small inside jaws, slide them into the opening, open them until they touch both sides and read the display. For depth, stand the end of the caliper on the face of the part, slide the probe down until it touches the bottom of the hole or recess, and read the display. For a step, rest the end of the beam on the higher face and slide the probe down onto the lower face.
HARDELL lists all four modes, outside diameter, inside diameter, depth and step length, on both models in this set. The probe and the two jaw pairs cover those jobs without swapping tools.
Reading the display and switching units
Read the number on the LCD as shown, in the unit the display is set to. Press the unit button to switch between inches, millimetres and fractions on the HARDELL 12 inch model, between millimetres and inches on the HARDELL 6 inch model, and between inches and millimetres on the Starrett model. Take the reading in the unit the drawing or the next step calls for, so no conversion is needed at the bench.
Resolution differs by model: the HARDELL 12 inch model lists 0.01 mm and 0.0005 inches, the HARDELL 6 inch model lists 0.01 mm, and the Starrett model reads 0.01 mm or 0.0005 inches. A finer resolution does not change the accuracy the maker states, so check both figures in the listing.
Zeroing and checking the reading
Zeroing matters because a reading taken from a dirty jaw or a moved slider carries the error into every measurement after it. Close the jaws, check that nothing sits between the faces, press zero and confirm the display reads zero before measuring. The HARDELL 6 inch listing states the zero button resets the reading anywhere along the beam, which helps for comparative checks between two parts.
When the caliper is left alone, it switches itself off: both HARDELL models power down after 5 minutes of non-use, while the Starrett model turns off after 30 minutes with no slide movement. Pressing a button or moving the slide wakes the Starrett display with no loss of position, according to its listing.
Care and storage
Wipe the caliper before storing it, keep it in its case and store it in a dry place. Both HARDELL models come with a sturdy case, and the Starrett listing describes hardened stainless steel measuring surfaces for durability and corrosion resistance. Keep the slider moving freely, and do not force it if grit gets into the beam.
The HARDELL 12 inch model comes with a ruler, a screwdriver and two batteries, while the HARDELL 6 inch model comes with a case, two batteries, a mini screwdriver and a stainless steel ruler. Each kit includes two batteries, so a flat battery does not stop a measuring job.
FAQ for welders
Why does my digital caliper show a reading when the jaws are closed?
The caliper was not zeroed after the jaws were closed, or dirt sits between the measuring faces. Clean the faces, close the jaws fully and press the zero button, then check that the display reads zero before measuring.
How do I measure the inside of a bore with digital calipers?
Close the small inside jaws, slide them into the bore, open them until they touch both sides and read the display. HARDELL lists inside diameter among the four modes on both of its models here, and the same jaws measure gaps and recesses.
What is the depth probe for?
The probe slides out of the end of the caliper to reach the bottom of a hole or recess while the end of the beam rests on the face of the part. It measures depth and step length, and HARDELL lists both among the four modes on its models.
Can I switch between inches and millimetres on a digital caliper?
Yes, with the unit button. The HARDELL 12 inch model switches between inches, millimetres and fractions, the HARDELL 6 inch model switches between millimetres and inches, and the Starrett model converts between inches and millimetres. Take the reading in the unit the drawing calls for.
Why does the display go blank?
The caliper switched itself off to save battery. Both HARDELL models power down after 5 minutes of non-use, and the Starrett model turns off after 30 minutes with no slide movement. Switch the caliper back on to wake the display; on the Starrett model, pressing a button or moving the slide wakes it with no loss of position.
Related: digital vs vernier caliper, digital vs dial caliper, best large digital caliper, and the metal fab tools hub.